
 |
 |
|
|
 07-06-2012, 11:41 PM
|
#1 |
 Drives: 2012 Yaris SE 5MT Join Date: May 2012
Location: Midwest
Posts: 103
|
2012 Audio Upgrade FAQ and Build Log
First off, I'd like to say that I'm always available for help through PM or post in the thread! Our knowledge as a community is invaluable in helping others make good decisions on modifying or upgrading a Yaris/Vitz.
Second, this is a working FAQ and build log. As such you can expect this post to be updated as more information, photos or tricks come along. It will also follow the audio upgrades I have chosen to install in my 2012 Yaris 5 door SE. I don't expect everyone to like my choices in equipment, installation technique or music tastes. Please be kind, I don't mind your constructive criticism as that is how we learn, just try to remain objective for the sake of the community. :) Head unit removal instructions: The double-DIN head unit in our Gen 3 Yaris is so easy to remove, my 5 year old could handle it. Seriously. Easy. Stuff. (I will add removal step by step pics here) Step 1: Pull outward on the grey textured dash/radio trim on the outer edge of the passenger side, just to the right of the round vent. That end takes some grunt, but once it pops free the remaining clips come loose very easily. Once it is free, put it in a safe place like the hatch area or back seat. Step 2: Remove the silver painted trim surround with the passenger airbag occupancy telltale by again pulling it loose from the dash. Next, unplug the 5 pin connector from the telltale itself and place it in a safe location. Step 3: Remove the 4 phillips (10mm hex also) bolts holding the OEM radio to the dash. Unplug all the wiring and place the old radio on your bench so you can harvest its bracketry for your new deck. See, getting that out wasn't so hard!  After you make your new harness (more info below) and install the brackets to the new head unit, installation is exactly the reverse order. Parts I have verified will fit a double-DIN deck: -Scosche TA465B Toyota ISO DIN Brackets -Metra 95-8202 Toyota Multi DDIN Brackets (rear portion of this kit needs cut off at break line to clear your OEM brackets) If you are going single DIN I do not know of any kits yet available that are fully compatible with the Gen 3. I'm going to buy a Scosche kit and see if I can make it work in case someone goes this route. Wiring Instructions: Note: I'm working with a local installer on figuring out the OEM steering wheel controls using a Metra/Axxess interface and a wiring plug for Gen 2 Prius. I would like to get my steering wheel controls back online and provide clear instructions for other YW members to get theirs going too! More information on that when we figure it out.  Head Unit Wiring The Gen 3 uses the standard two plug Toyota harness for +12v/Ground/+12v ignition switched/4 speaker outputs. Depending on how your car is equipped there may also be a second multi-pin harness that has the USB/Aux-IN/Mic/Steering Wheel Controls. The Scosche TA-02B and Metra 70-1761 harnesses are compatible. The antenna wire on SAT/HD radio ready cars is rather unusual and neither Scosche nor Metra have an adapter listed at this time. I purchased mine from eBay and it works fine. http://www.ebay.com/itm/toyota-radio...c29134&vxp=mtr Shipping was slow from mainland China, but there are limited options. If someone has a workaround or part number for this, please chime in!! Also worthy of note; If your car is equipped with tweeters in the "A" pillar, (listed in Toyota-ese as 6 speaker premium) the wiring is different from a standard 4 speaker car. The output from the head unit goes to the tweeter first and then onto the woofer in the door. If you unplug the tweeter, the woofer is going to be dead also. So, keep this in mind if you decide to upgrade to different components and try to utilize the OEM wiring. This attempt will result in much frustration and epic fail. While I'm sure that you could engineer something, keep in mind that these plugs are in the "A" pillar cavity making them difficult to tap into, and the wire is crazy thin, like 20ga or less. It mabye has 5-6 strands of copper, thats it. Don't bother. Here's the good news. Toyota has the front body/dash harness plugs in nice connector holders in each front kick panel area. While you have the door panel off installing your new speakers take the time to run new speaker wire through the door grommet. Its very easy. Just unplug the three connectors that come from the door through the hole in the lower apron from the holder and fish them out the speakers you just removed. The hole in the apron and requsite hole in the door are plenty big enough to route the wires out easily. Once you have the wires hanging out the speaker opening, just take your wire and push it through the rubber grommet with a section of metal coat hanger or similar MacGuyver like device. Then push the wires back through the openings and plug the connectors back in. Note: One of the three connectors is a two pin yellow harness for the side impact airbag sensor that is mounted in the lower portion of each front door. As a precaution I STRONGLY reccommend you disconnect the negative battery wire before performing this operation. Of course it goes without saying you're are at your own risk and if you are afraid (and understandably so) you should have this done by a professional. If you decide to perform this on your own also note that the connector has a spring-loaded light grey safety clip that needs to be pushed toward the front of the car to get it loose. When pushed, it comes free easily so don't go using the sledge to get it off. :D In this pic, you can see the white connector housing and the door harness pulled out of the speaker opening. 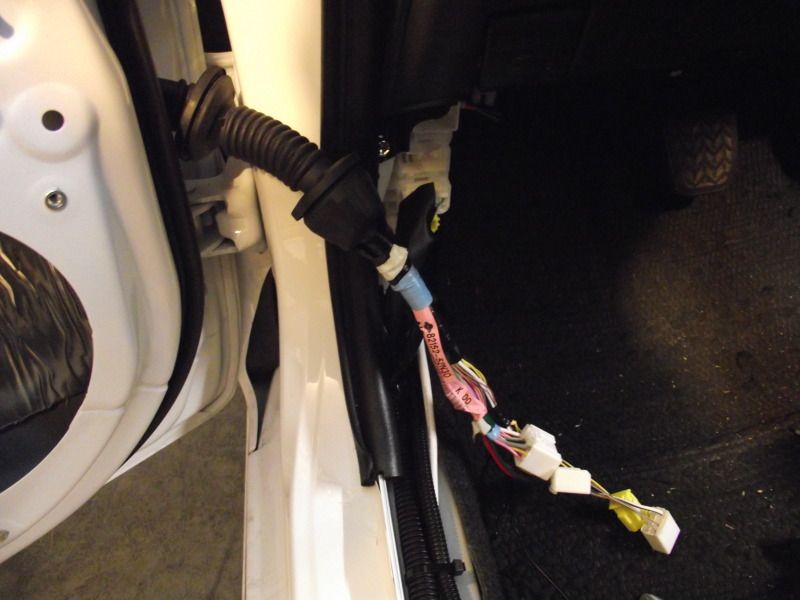 I routed two sections of two conductor wire on each side of the car for separate woofer/tweeter upgrade. There is plenty of room under the driver's side scuff plates for extra wiring and even more in the passenger side. In my car I routed the left side speakers and 12v battery cable on the driver's side. On the passenger side I routed 6 channels of RCA's, a standard phone cord for subwoofer gain control, remote turn-on wire, and two pairs of speaker wire for right side woofer/tweeter. As long as you take your time and keep it tidy the scuff plates will snap back on with ease concealing the wiring you just ran. Here is a pic from underneath with the wiring ran. 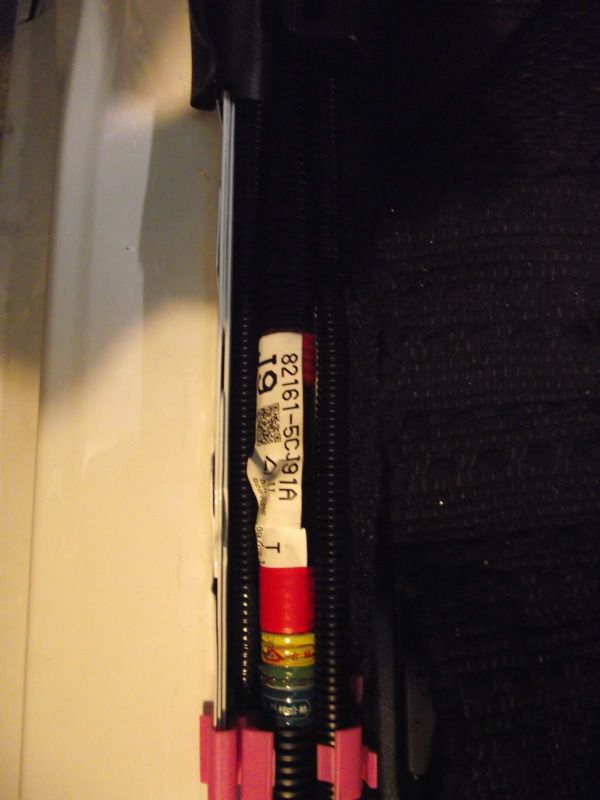 Speaker Installation and Door Panel Removal Getting the door trim panels off is relatively easy. It would have probably been a breeze if I had more upper body strength! First order of business is getting the power window/door pull trims popped off. No tools needed, just grab the rear most and and pull up... Hard. Once the back pops free work along the outer edge getting the clips freed up until its off. Unplug the wires and set aside in a safe place. 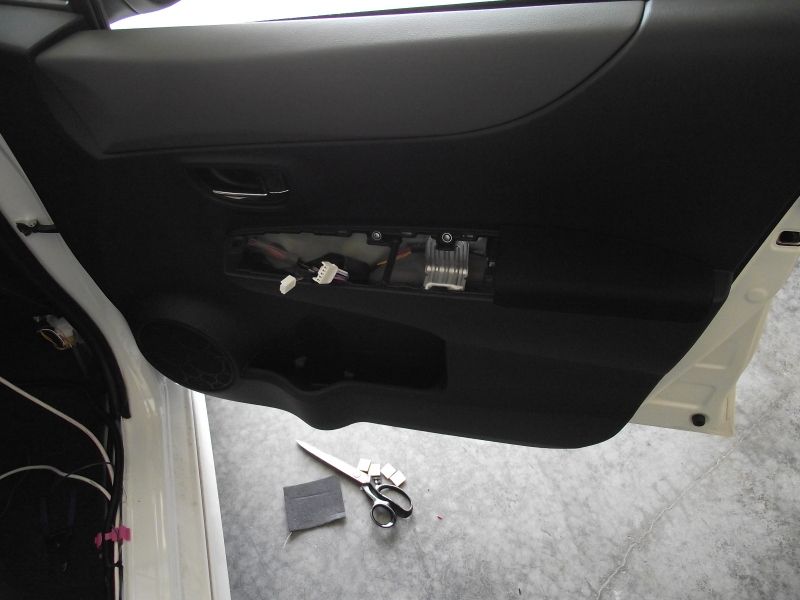 Next three phillips screws will need to be removed. Two were revealed when the window switch bezel was removed and the third is behind the round cover in the door handle pocket. 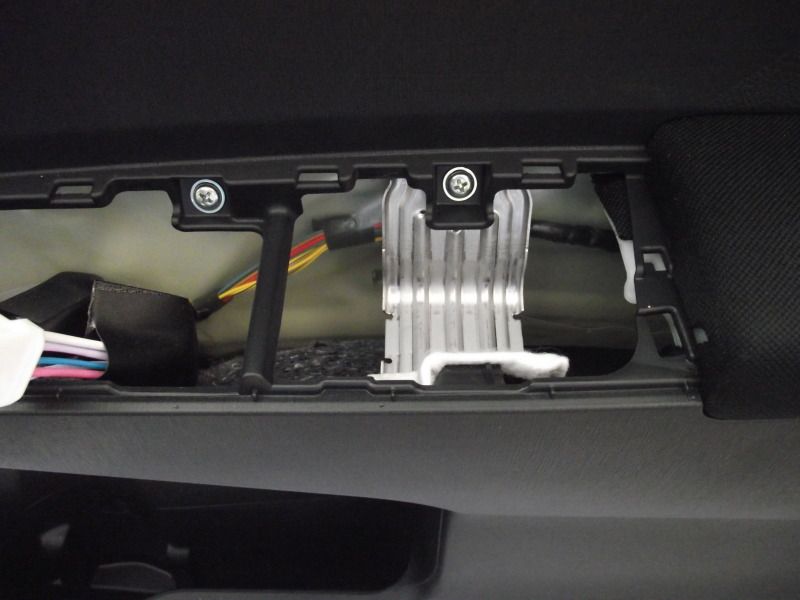 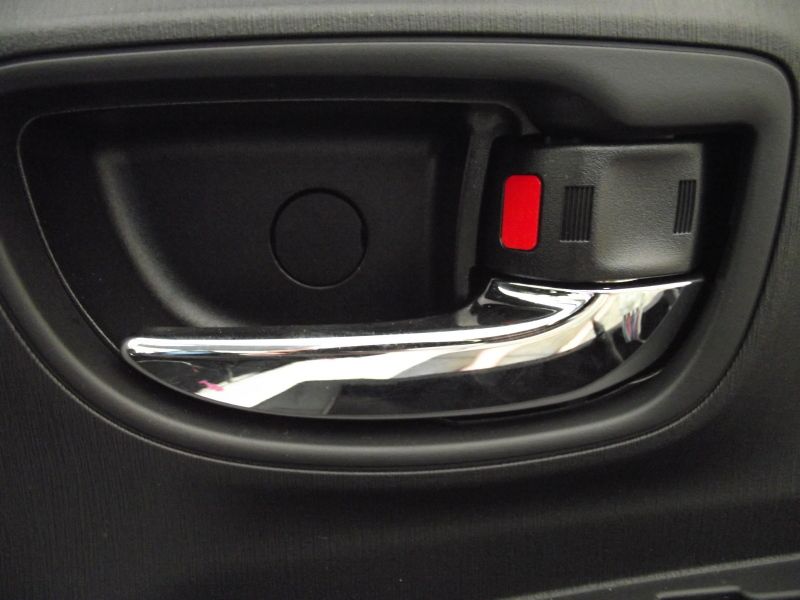 After the screws are removed you'll need to pull the door panel off the door shell itself. Best place to start is at the bottom center, just below the bulge for the water bottle holder. Your fingers will feel an edge with a slight opening, pull there. Give a nice even tug until the clip pops out. Then work around the perimeter until it's free. Lift up and off until the release/lock cable are revealed. Next you will just need to pop off the door latch/lock cables from the handle. Pull them free from the handle and route the ends out of the holder. They will just sorta dangle there after you take the door panel away. Place the door trim in a safe place while you work on the door. To remove the OEM speaker you will need a small (1/16th inch or similar) drill bit to take out the rivits securing it to the door. Once you drill out the rivits, unplug the speaker and place it in a box for safe keeping. Now, this is where I suggest you route new speaker wire for the woofer with the instructions above. The three holes remaining from where you drilled out the rivits will need either speed nuts, threaded inserts (sometimes called rivnuts or timeserts) or some similar fastner to secure your new speaker. The Scosche SAT-6 speaker adapters for other Toyotas work perfectly. Just note that the adapter has many holes and standoffs for different models. See the photo below for reference on which tabs stay and which ones need removed for proper fitment. Also take care to notice that while the adapters are not side specific they do need to be mounted with the writing upside down for the holes to line up. Here I used 10/24 threaded inserts with stainless steel fine thread screws to attach the Scosche SAT-6 adapter and the 6.5" woofer from my JBL P660c componet set. 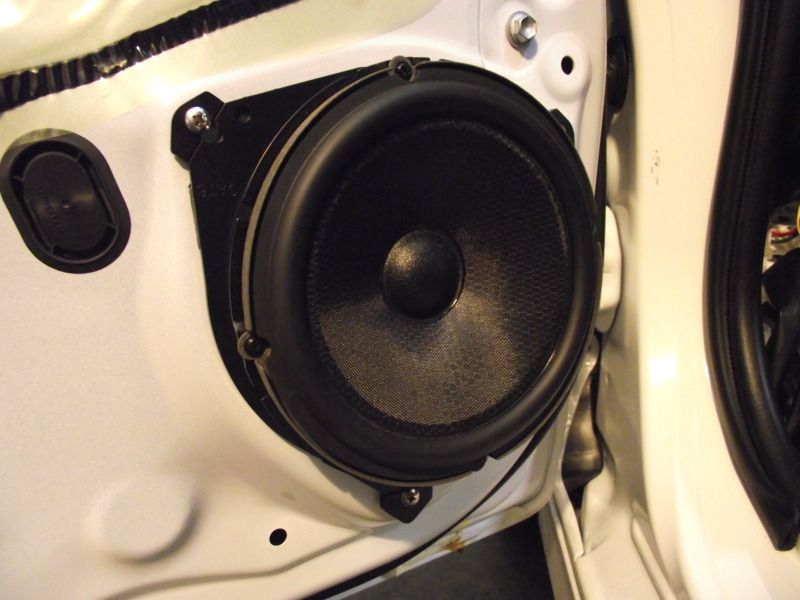 Note: The front and rear speakers are the same size and have the same opening. So, if you are doing a four speaker upgrade the back doors disassemble the same and reveal the same size speaker. Again, both front and rear doors have a 6.5" speaker! Update: The speaker opening measures 5 7/8 inches or 150mm. Depth with Scosche SAT6 bracket is 2.8 inches or 72mm, at this depth there is still room for window to move. Its close, but good amount of depth for most descent aftermarket speakers!! Last edited by muffin_top; 07-09-2012 at 09:34 PM. Reason: Added more information |

|

|
|
|


 Threaded Mode