
 |
 |
|
|
 02-11-2010, 11:59 AM
|
#1 |
 Drives: Highlander Join Date: Feb 2009
Location: Toronto
Posts: 3
|
Wes_R + Is250 [41 pics]
Hi guys, so this is a 1 stage polishing write up on a pretty brand new IS250 that was delivered from the dealer swirled up. The owner was pretty upset about the delivery condition and contacted me to correct the paint.
Not much else to say so on to the pics. 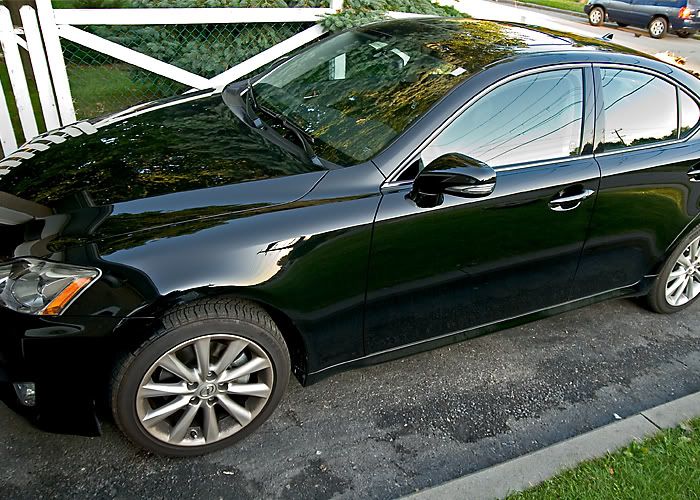 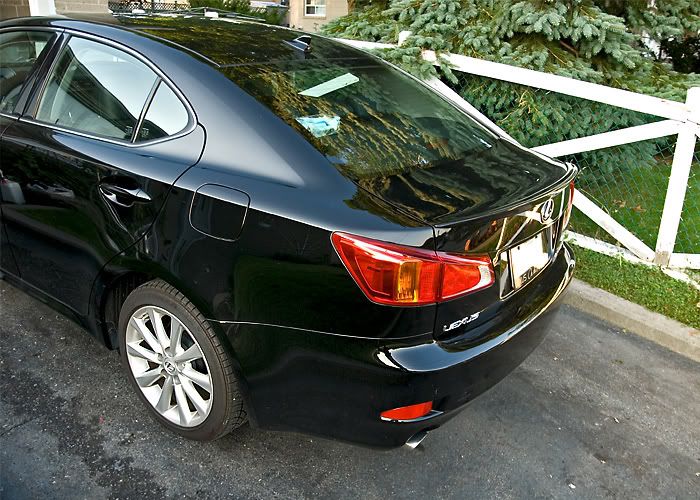 My usual routine is to start with the wheels first using P21s Wheel Cleaner Gel which is one of the most safest wheel cleaners out there for all types like forged, adonized, alloy, etc. and it's non acidic as well. You could basically put it on and leave all night and no damage. 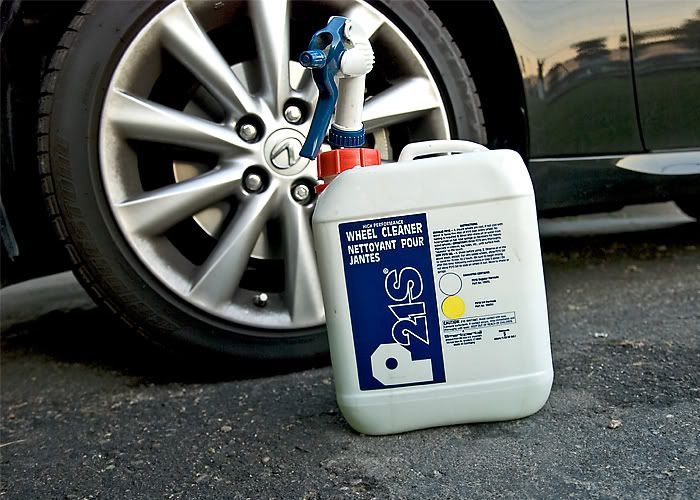 Applied it to all the wheels 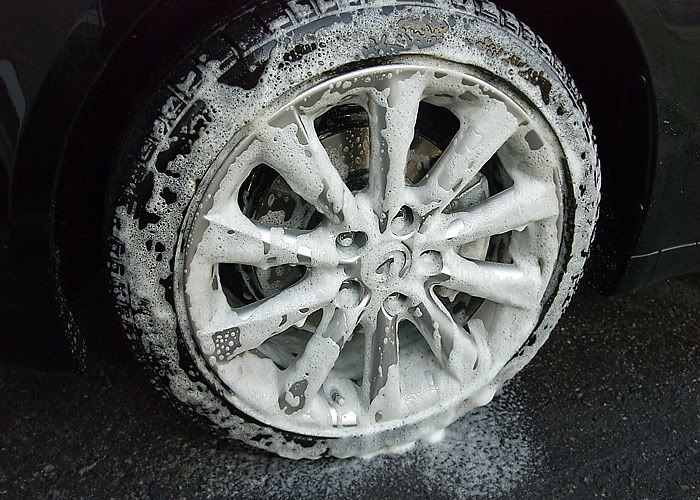 Then started cleaning the inner barrel with my EZ-Brush  Cleaned the rim face with a microfibre mitt 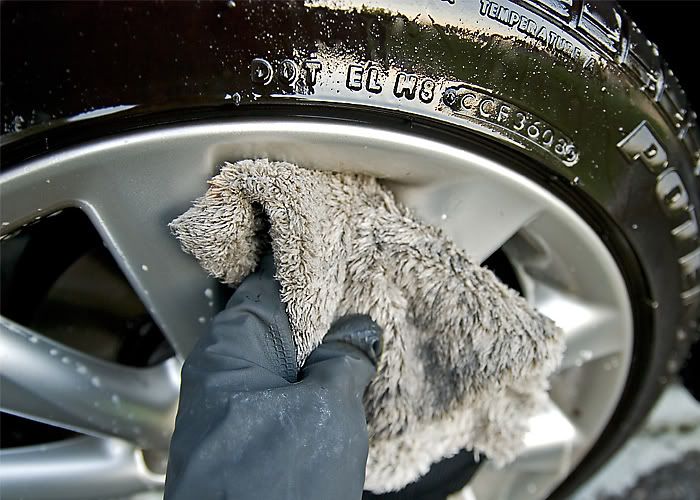 And all clean 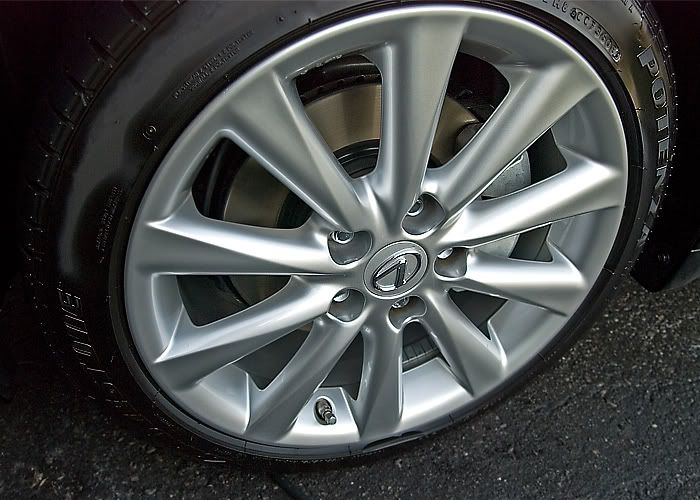 Now on to washing. This is my first thread here so I will do my best to be technical for those that are not familiar with proper washing technique. I rinsed down the car and right away noticed that there was no protection on the car either wax or sealant. A sign of this is that the water was not beading so no wax and it was not sheeting off so no sealant. It was just sort of sticking to the paint in a sheet like manner but not really coming off the paint, like in this pic. 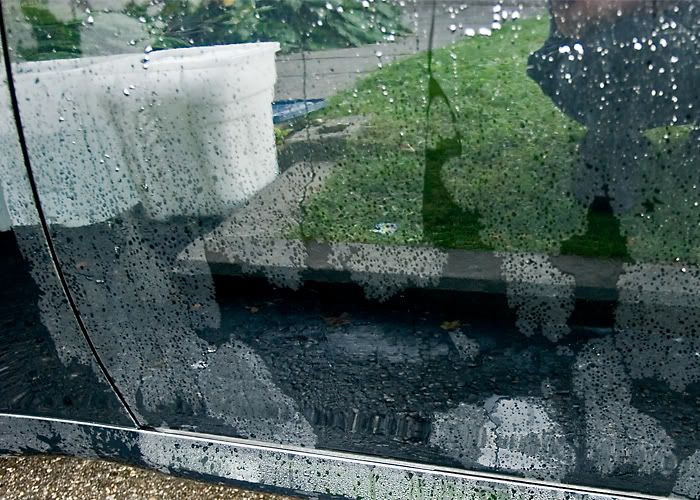 After the rinse now onto the actual washing using the two bucket method. One bucket is for soap only and the other bucket is water only which is for rinsing dirt off your mitt so that you don't contaminate the soapy water. Bottom line the reason you do this is so that you don't use one bucket and rub the same dirty soapy water all over car causing you to drag dirt all over your paint creating more swirls on your paint. Probably what the dealer did plus I'm sure it was the same water for at least a couple cars. 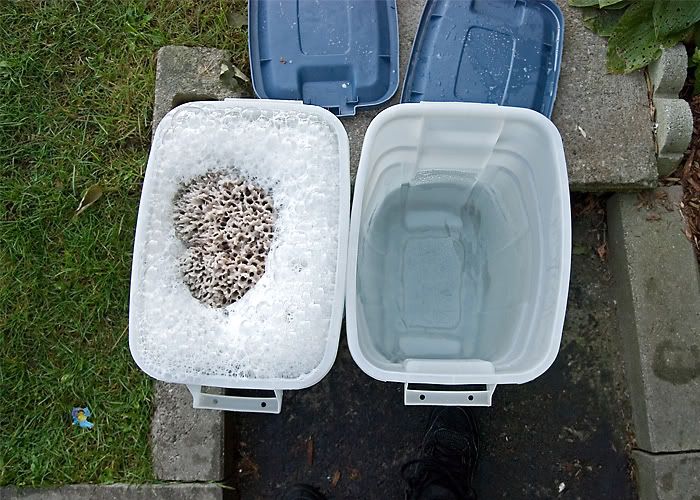 Used my natural sea sponge to wash. Also I would like to mention that on panels facing the sky I go in a back and forth motion not a circular motion. And all the panel facing the side I go in an up and down manner.  After each panel or half a panel I rinsed off my sponge. 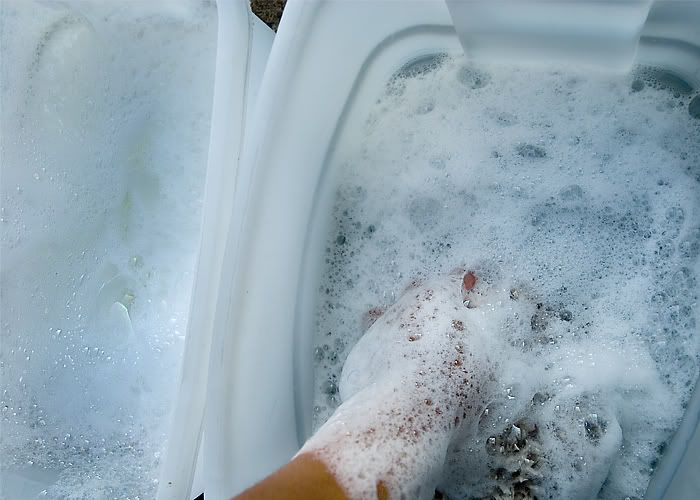 After rinsing off the car. I dried it with my waffle weave towel which is much more absorbent then a leather or synthetic chamois. 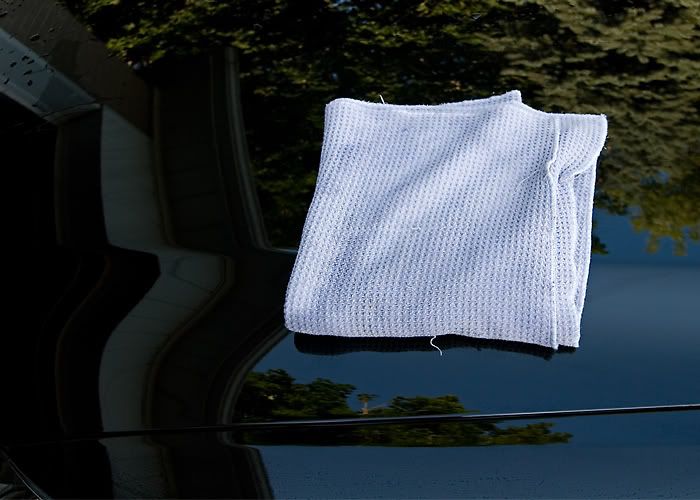 Pulled it in to my garage and started claying the car with Riccardo's Yellow Clay and Meguairs Last Touch cut 25/75 with water. Also wiped off the residue with a second waffle weave towel. 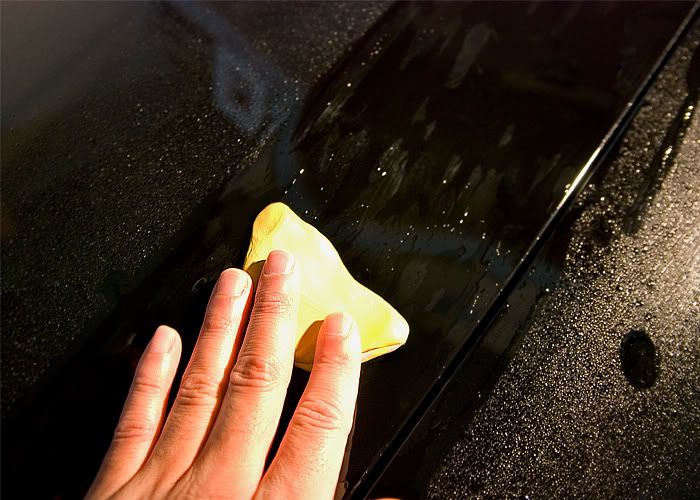 Not bad at all. 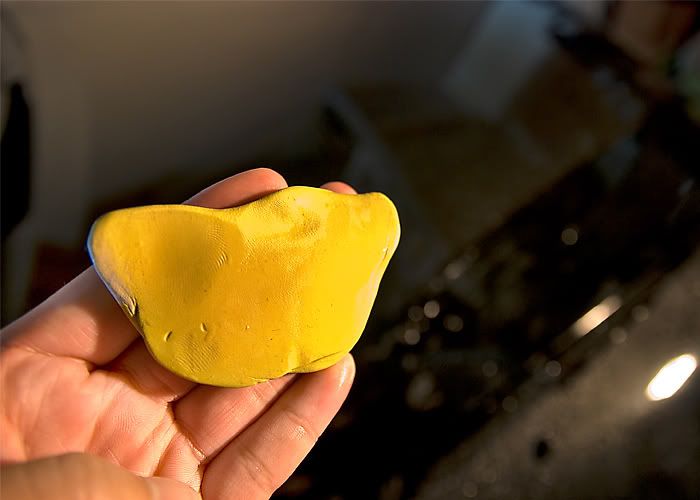 After the clay treatment I masked off all rubber trim and prone areas with blue painters tape. 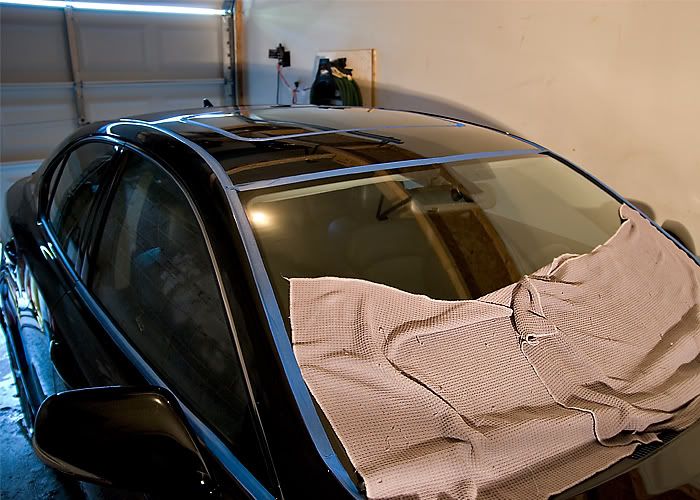 After masking I measured the paint with my Defelsko paint depth gauge to look out for any low points and to look out for any repainted panels. 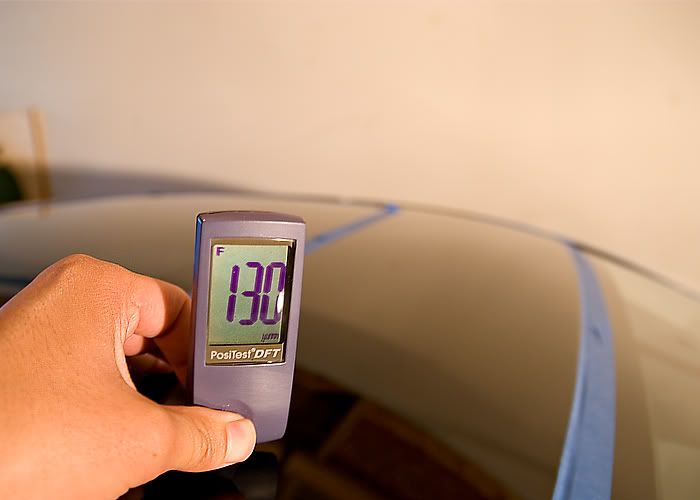 Paint levels were looking healthy 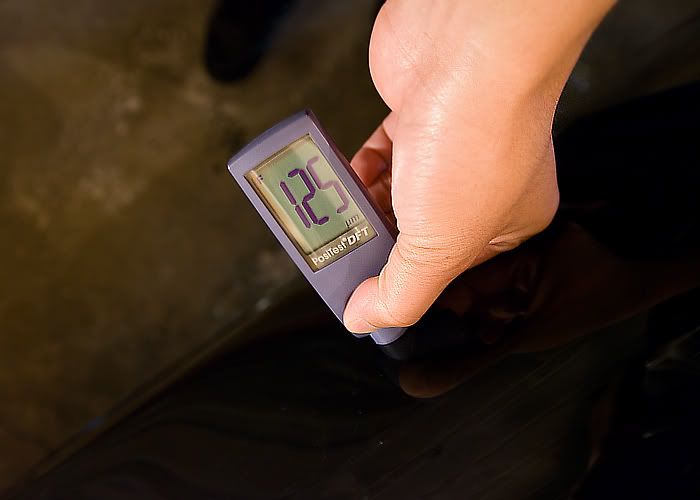 Now onto the polishing. I used my Flex 3401 with a white Lake Country Pad and Menzerna Power Finish. Here is a before shot of the paint and an idea of the condition of how they delivered the car. 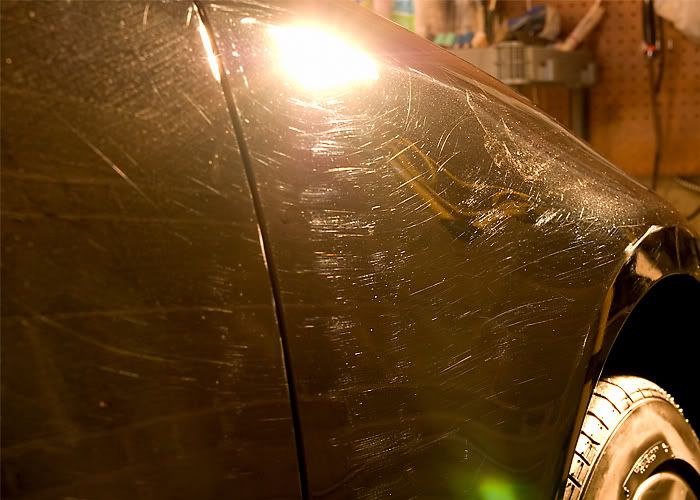 After 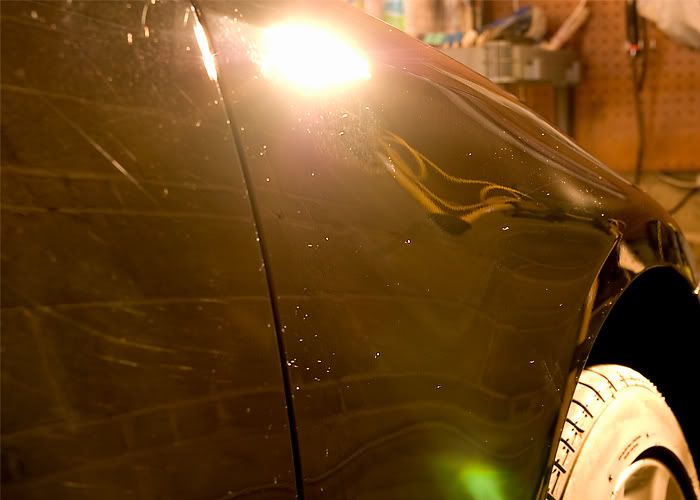 Before  After 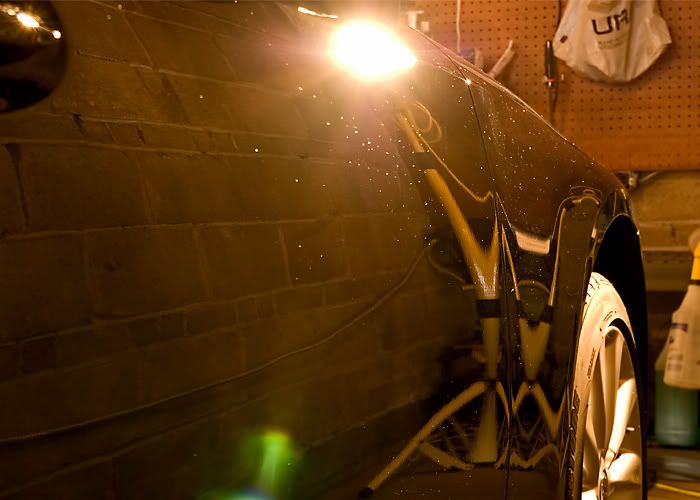 Unmasked the car. 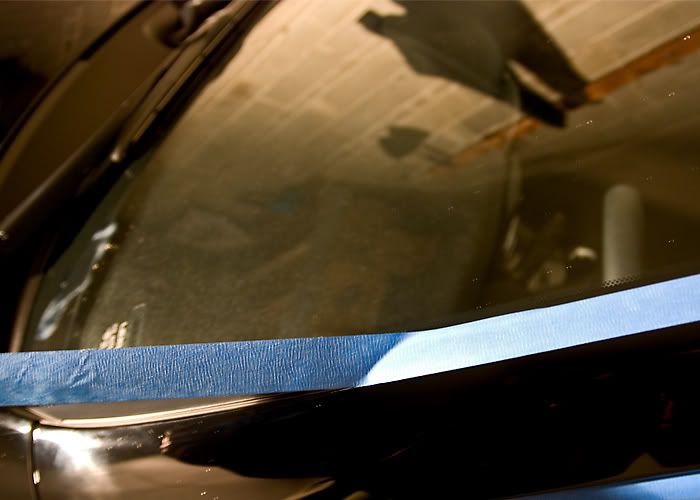 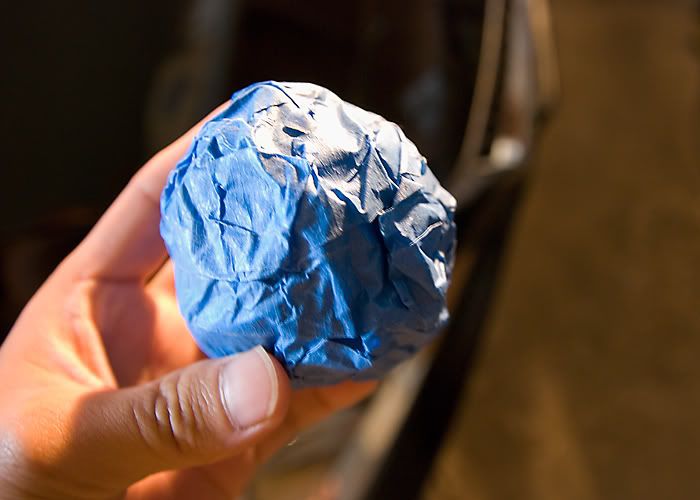 After unmasking I gave the car an ipa wipe down to clean off the polishing oils and create a clean surface for the wax to bond to. 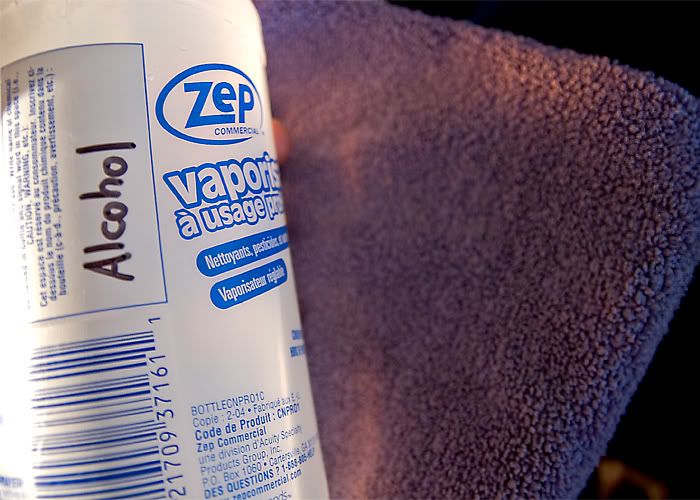  Brought out my 3M Sun Gun to inspect my work. A side note the 3M Sun Gun gives off the same spectrum light as the sun so it really helps on very cloudy days or rainy days when I can't use the real sun for a final inspection on my work.  The owner actually works near by me so dropped buy and brought me some Timmies and to see how things were going. 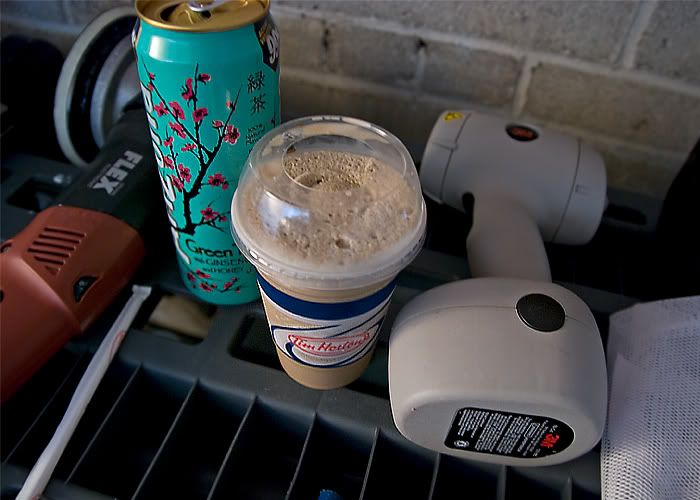 Waxed the car with Swissvax Concorso  While the wax was curing I cleaned the windows and dressed the tires. I have to also say at the time I was running low on Megs Hyper Dressing so had to dilute it for a matte finish on the tires. Cleaned the windows with Stoners Invisible glass laced with Rain Repellant and my Glass Master Pro and a window microfibre. 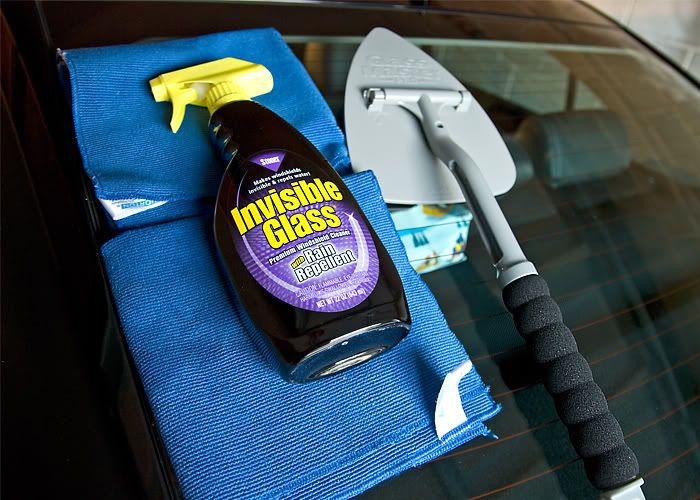 I love the Glass Master Pro cause it can reach into tight areas that are normally a pain to do. Here is a pic of it reaching into the back window. 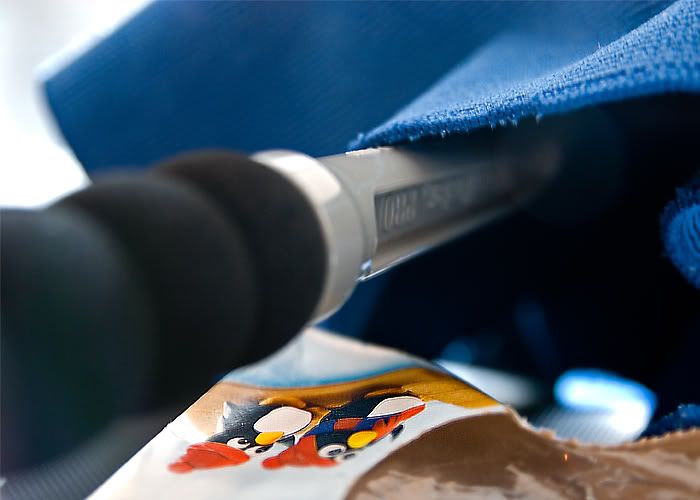 And now the Lexus pron. I had to kind of rush with these pics because it was getting pretty close to sunset so not to many shots. 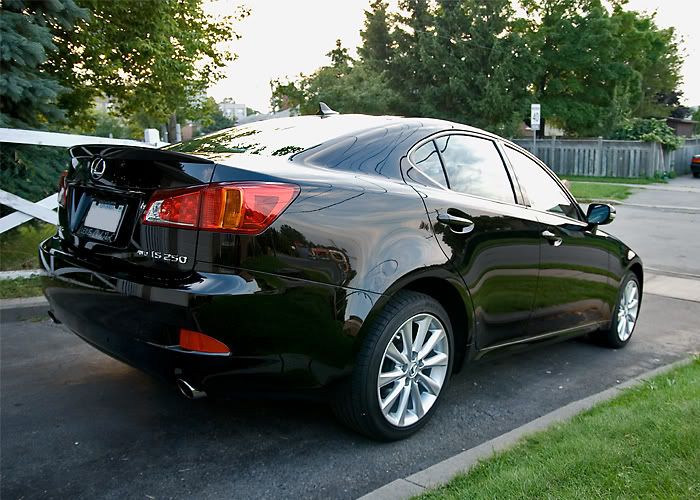 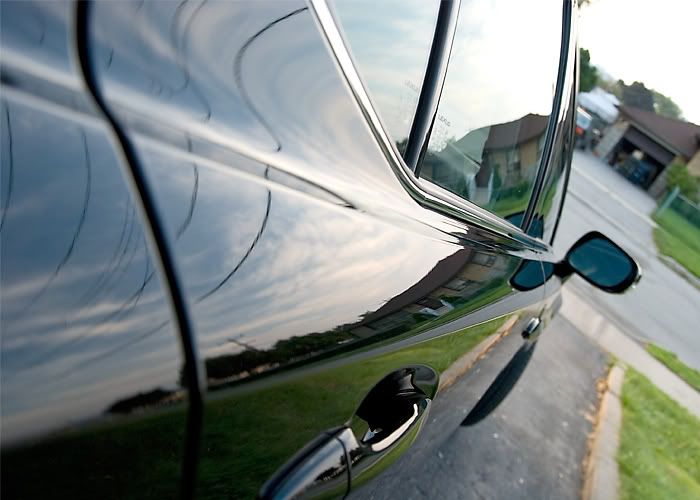 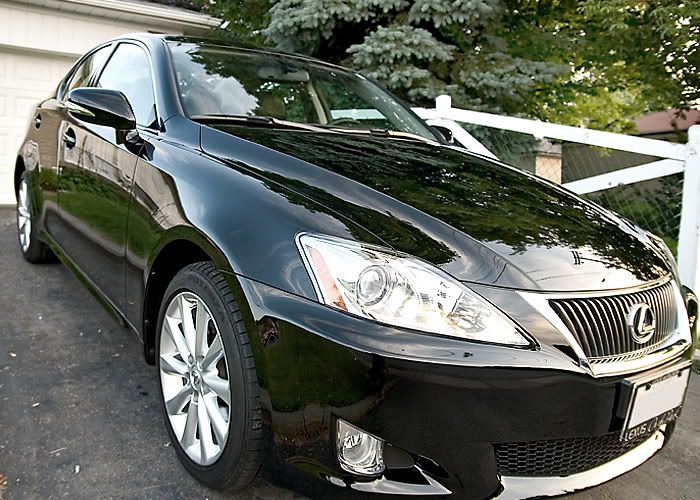 I love this reflection shot on the hood. 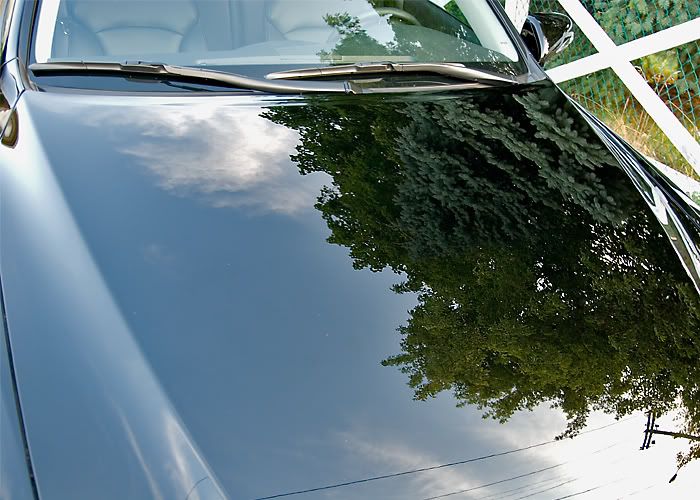 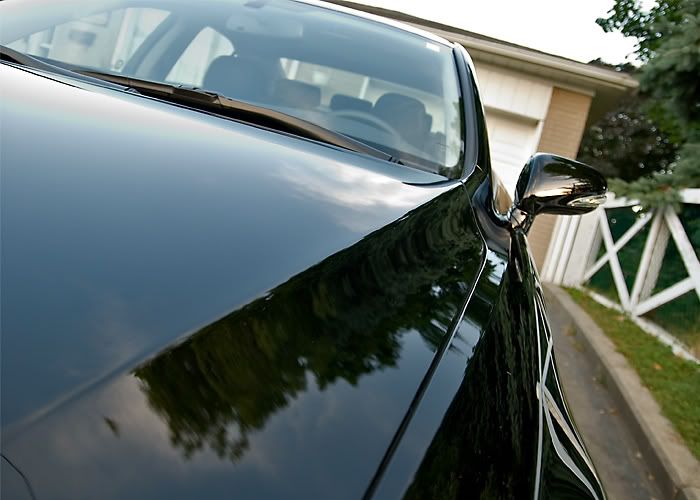 Some cool reflections shots on the roof. 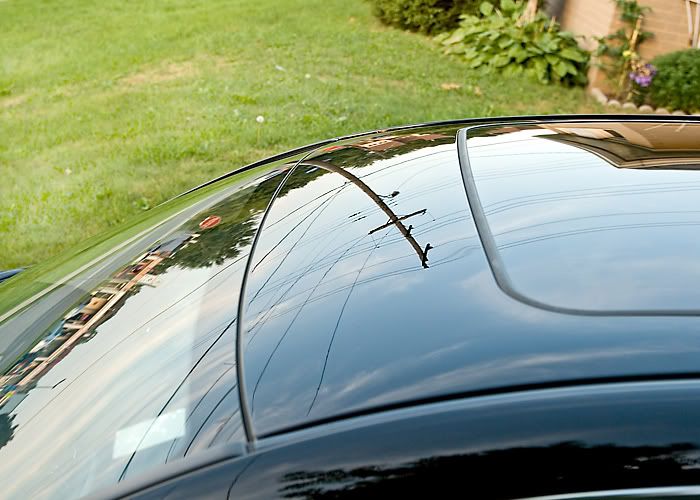 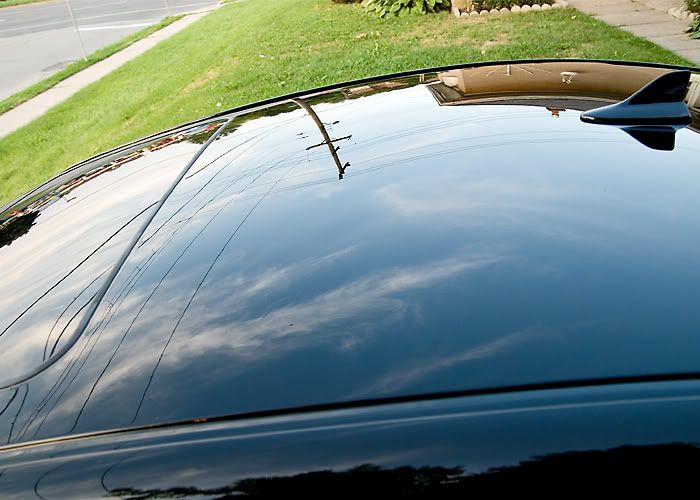 I thought this reflection was crazy! 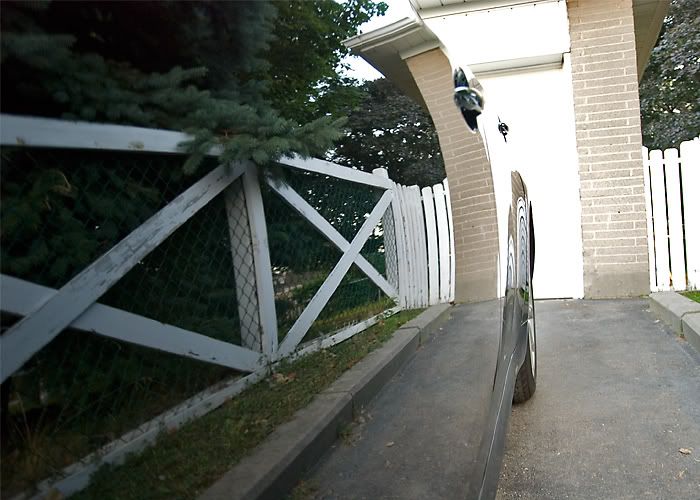 And some sun shots on the paint to show the true condition. 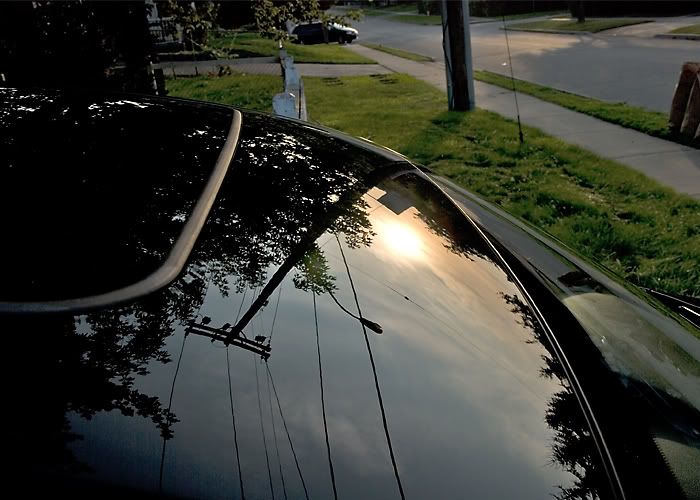  And my final shot. 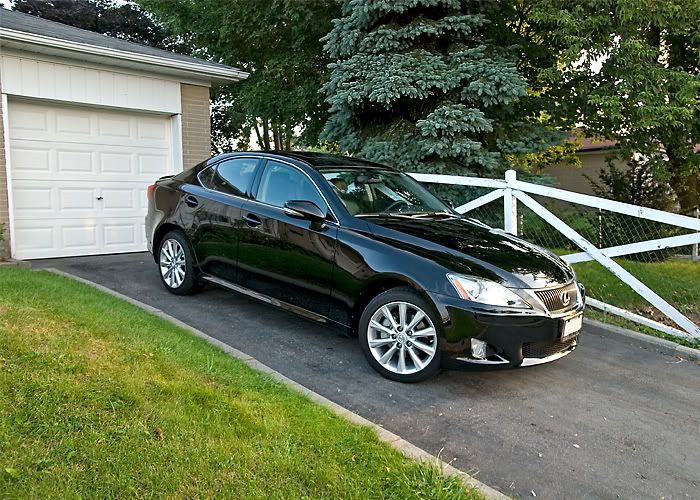 Hope you enjoyed the write up :). Wes |

|

|
|
02-11-2010, 12:18 PM
|
#2 |
|
daily driver

|
the grass is always greener in toronto....even in winter
__________________

|
|
|
|
|
02-11-2010, 02:47 PM
|
#3 |
 Drives: 2009 sedan Join Date: Dec 2009
Location: Texas
Posts: 54
|
good job, I always love doing black cars. Pain in the butt to keep clean but the results of a good polish/wax really are rewarding
|
|
|
|
|
02-12-2010, 11:00 AM
|
#4 | ||
|
Drives: Highlander Join Date: Feb 2009
Location: Toronto
Posts: 3
|
Quote:
Quote:
|
||
|
|
|
|
02-12-2010, 01:56 PM
|
#5 | |
|
Your mom goes to college

Drives: 08 Vitz Join Date: Oct 2008
Location: Just chillin' out brah !
Posts: 1,434
|
Quote:
__________________
Garm is permanently high because he is the king of smokin' deals! |
|
|
|
|
|
02-12-2010, 03:33 PM
|
#6 |
|
Drives: 2008 Yaris Sedan Join Date: Oct 2008
Location: CA
Posts: 158
|
i came
|
|
|
|
|
02-13-2010, 01:16 AM
|
#7 |
|
Banned

|
WHOAH! That is an awesome write up. I now own a black car.. which is really hard to keep clean!
__________________
DON'T LIKE ME? TAKE A SEAT WITH THE REST OF THE BITCHES WHO ARE WAITING FOR ME TO GIVE A FUCK. Sponsored by: Micro Image http://microimageonline.com |
|
|
|
|
02-13-2010, 01:38 AM
|
#8 | |

Drives: 07 Yaris 3dr LB (Bayou Blue) Join Date: Oct 2008
Location: Raleigh, NC
Posts: 2,602
  |
WOW!
__________________
-Jen <3  Quote:

|
|
|
|
|
|
02-13-2010, 01:40 AM
|
#9 |
|
やりすぎだ~

|
...ummm welcome to YarisWorld?
|
|
|
|
|
02-13-2010, 03:20 AM
|
#10 |
|
Drives: Copper Orange Mica Yaris Join Date: Feb 2006
Location: Surrey, BC
Posts: 503
|
Those are really nice write up and the reflection on the car looks unbelievably clear.
__________________
 My Copper Orange Mica Yaris with 9.3lb Kosei K1 TS http://www.yarisworld.com/forums/showthread.php?t=10951 http://www.yarisworld.com/forums/showthread.php?t=13882 http://www.yarisworld.com/forums/sho...180#post472180 |
|
|
|
|
02-14-2010, 03:38 AM
|
#11 |

Drives: 2017 VW Jetta 1.4L Manual Join Date: Feb 2009
Location: Olympia, WA
Posts: 349
|
What are the advantages to using a natural sea sponge versus a normal manufactured sponge?
|
|
|
|
|
02-14-2010, 12:44 PM
|
#12 |

Drives: 2008 Yaris HB Join Date: Oct 2008
Location: University Place,WA
Posts: 828
|
The natural sponges to me feel softer and they tend to stay cleaner.......I like using them as well.
|
|
|
|
|
02-15-2010, 12:46 PM
|
#13 | ||||||||
|
Drives: Highlander Join Date: Feb 2009
Location: Toronto
Posts: 3
|
Quote:
Quote:
Quote:
 . .Quote:
Quote:
Quote:
Quote:
Quote:
|
||||||||
|
|
|
|
02-15-2010, 02:03 PM
|
#14 |
|
Drives: 2017 VW Jetta 1.4L Manual Join Date: Feb 2009
Location: Olympia, WA
Posts: 349
|
That's good to know!
I'll have to try the natural sponge. I only want to use the BEST products (and nothing less) for my Yaris. |
|
|
|
|
03-02-2010, 12:12 AM
|
#15 |

|
fresh
__________________
http://www.youtube.com/user/ProjectYaris |
|
|
|
|
04-11-2010, 01:14 AM
|
#16 |

Drives: 2007 Yaris Hatchback Join Date: Apr 2010
Location: California
Posts: 9
|
Question: Did the swirl marks probably come from an abrasive brush they were using or from a buffer?
I'm just wondering because I was a n00b at taking care of my car for the first year I had it and used an abrasive sponge for scrubbing pots. T_T My paint looks like the before pictures you posted in the polishing part. |
|
|
|
|
04-11-2010, 01:54 AM
|
#17 |
|
Drives: Yarisito 07 negro Join Date: May 2009
Location: Arroyo
Posts: 273
|
Really nice wax lol !! Good job
|
|
|
|
|
04-11-2010, 12:53 PM
|
#18 |
|
Banned
Drives: 07 sedan Join Date: Mar 2010
Location: new mexico
Posts: 292
|
those reflection shots are absolutely amazing...
sticky! |
|
|
|
 |
|
|


 Linear Mode

