
 |
 |
|
|
 07-31-2010, 12:45 AM
|
#19 |
 Drives: yaris Join Date: Oct 2008
Location: seattle
Posts: 125
|
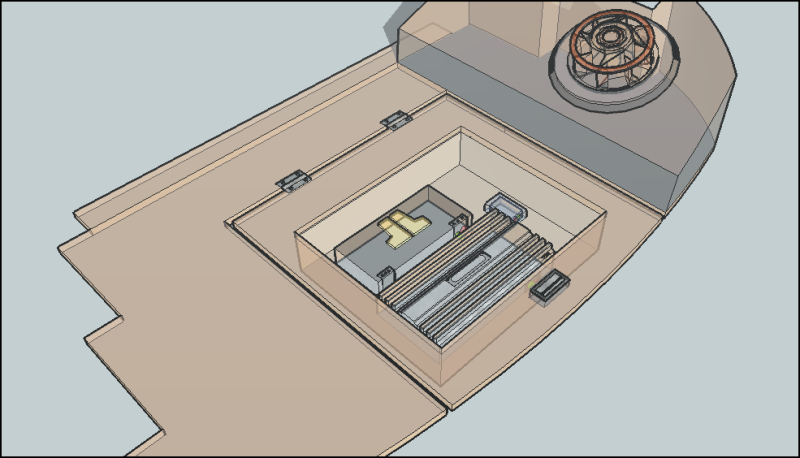
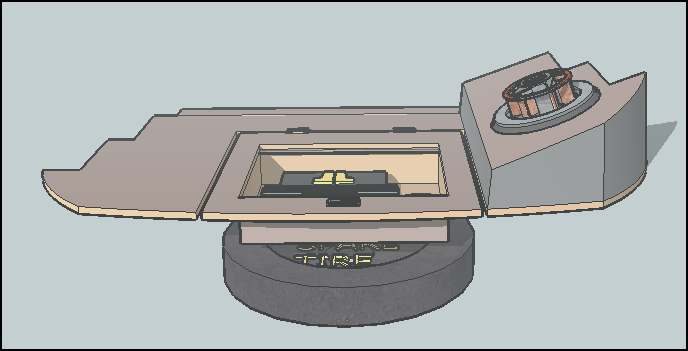
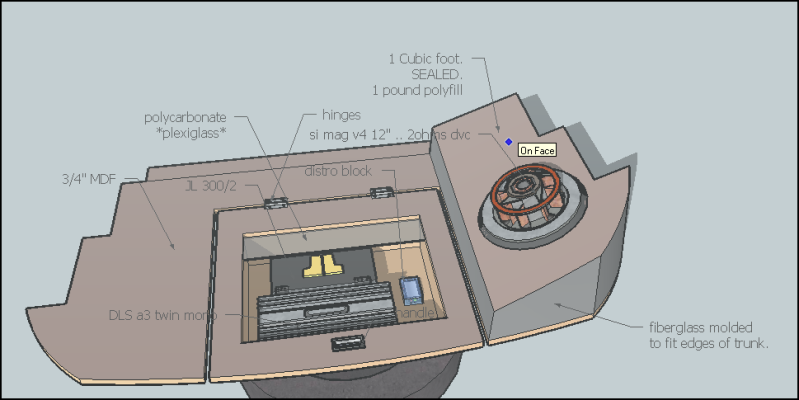
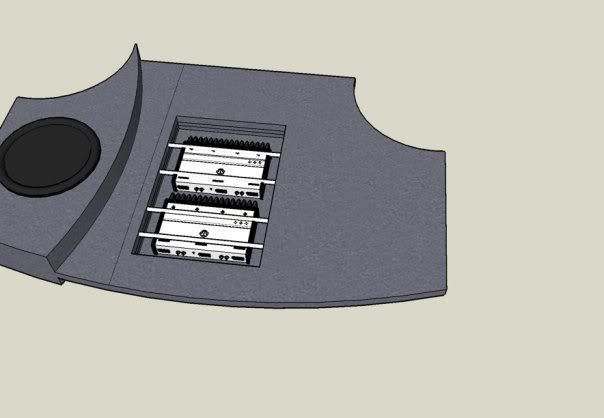 3d render. Except, 1 JL amp, 1 DLS amp in mid under plexi. Sub probably located on right side as well, |

|

|
|
08-02-2010, 01:29 AM
|
#20 |
|
Drives: yaris Join Date: Oct 2008
Location: seattle
Posts: 125
|
|
|
|
|
|
08-02-2010, 02:18 PM
|
#21 |
 
|
.
Nice presentation, is that Google SketchUp? I wish I had the time to do it virtually first (O:
__________________
.  My system may not blow your ears, but it will sweeten your senses. My system may not blow your ears, but it will sweeten your senses.CLA 250, 4MATIC |
|
|
|
|
08-02-2010, 02:58 PM
|
#22 |
|
Drives: yaris Join Date: Oct 2008
Location: seattle
Posts: 125
|
yup, google sketchup!
Super easy to use.. learned within 10 minutes of messin around. |
|
|
|
|
08-02-2010, 03:21 PM
|
#23 |
|
Roadrunner Jr.
|
hide those hinges. All it would take is some router work underneath. Make considerations for the wires into and out of the amplifiers and the board underneath; use grommets to pass the wire through the threshold of the mounting board. Map out the wiring run underneath that. Use little cable clamps ad 1/4" screws for the wiring. Think about techflex and heatshrink if you're going this far already. Think hard about the location of the distro block in reference to signal wires. Are those amps to scale? I'd almost say round the edges on the plexi and the sub enclosre to flow the look. I'm biased however, I've been seeing nothing but sharp edges dissapear for weeks off my pillars...
Okay..I just looked at your doors. No wonder you have cracking. There is nothing really holding the "pod" onto the door. You notice that shrinkage occurs with that filler, don't you (i.e. cracking)? What you need is fiberglass. Your molding skills seem to be fine, but you need the sub structure underneath more than anything. You've got to think about why and where the cracks are happening. The why is because of the nature of the oil based formulation itself, the temperature changes, AND the consistant use of the doors. Is the driver's door worse? We can take the baffle, use some tee nuts or thread serts, make a frame, stretch some fleece on the outside...I'm trying to think if using a staple gun or straight CA would do the trick... Anyway, resin (Bondcoat B poly resin from TAP Plastics-it's $30 a gallon) that down, bolster the inside and outside with some heavier thickness glass...THEN do the initial sanding, then your cover coats you're so good at.
__________________
To argue with a person who has renounced the use of reason is like administering medicine to the dead. ― Thomas Paine Last edited by sqcomp; 08-02-2010 at 03:40 PM. |
|
|
|
|
08-02-2010, 03:36 PM
|
#24 |
|
Drives: yaris Join Date: Oct 2008
Location: seattle
Posts: 125
|
They are, to the best of my abilities scaled.
The sketchup isn't a 100% accurate representation of where things are going to be/how they will exactly look. Just wanted to have a better visual concept for the design. The sub is going to be glassed to fit. The face of the enclosure will most likely be glassed as well. I have techflex/heatshrink and connectors all on its way, wire layout and pathing will be routed and cable clamped from underneath as you said. I'm not sure how much pre planning i'll be able to do beforehand, i almost feel like i'll just have to lay it all out and play with it in order to get the perfect fit. supplies should be comin within a week time. ><.. |
|
|
|
|
08-26-2010, 03:46 AM
|
#25 |
|
Drives: yaris Join Date: Oct 2008
Location: seattle
Posts: 125
|
Haven't shot up a post in a long time.
Tools and supplies came way late. Really pushed back my install. In the meanwhile i have been cleaning out my garage -- trying to get a workspace set up. I've got a crap ton done since i last posted.. But i'll try to get it all up here. |
|
|
|
|
08-26-2010, 04:10 AM
|
#26 |
|
Drives: yaris Join Date: Oct 2008
Location: seattle
Posts: 125
|
Random supplies from Parts Express
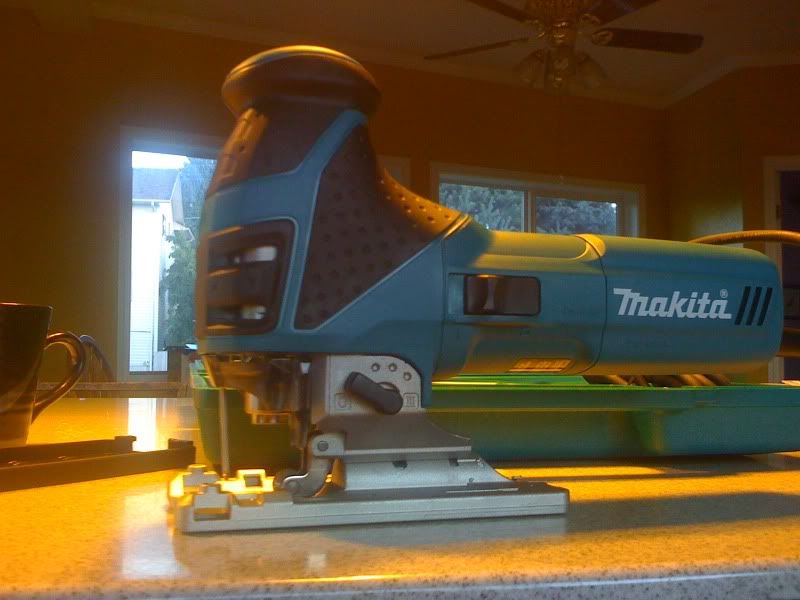
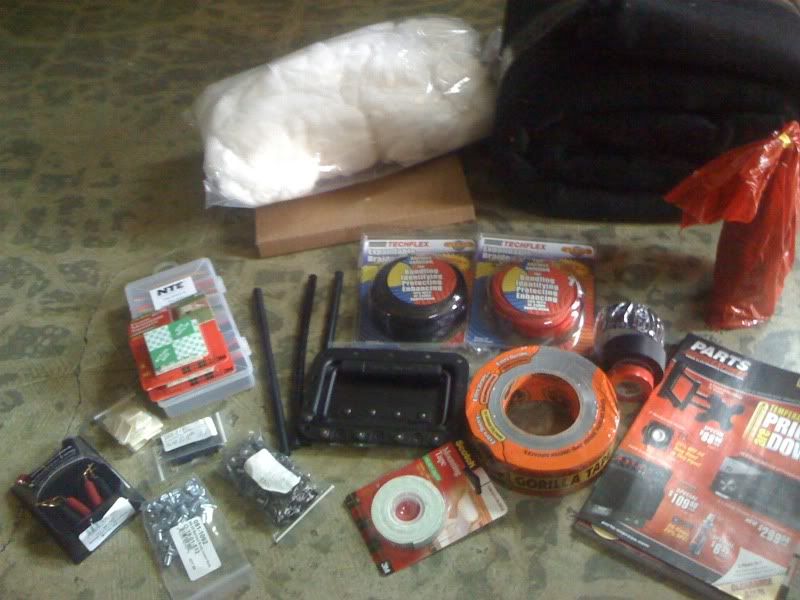 Redid my engine bay.. Doesn't look pretty but 100% effective. Wrapped with high heat electrical tape then shrink tape.. Expensive, but wow-- well worth it. 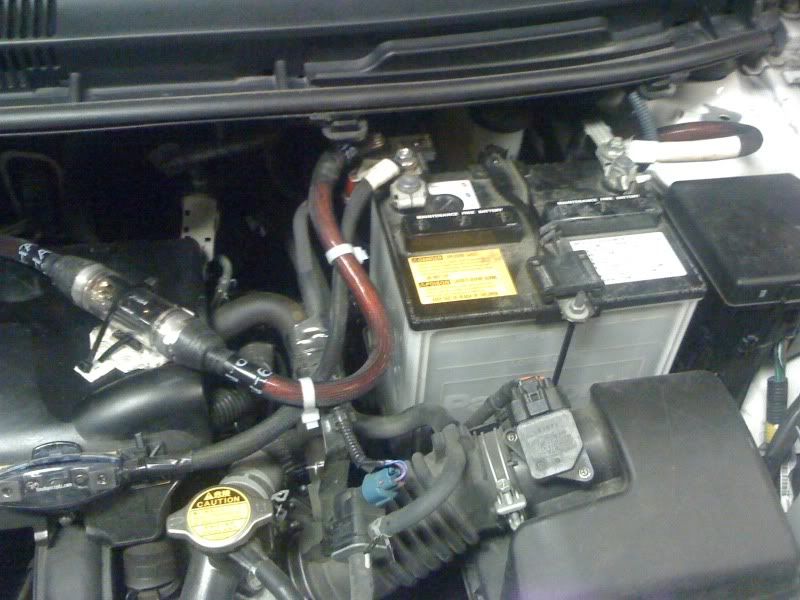 Just got the plunge router and cut out a ring for practice on a scrap mdf. 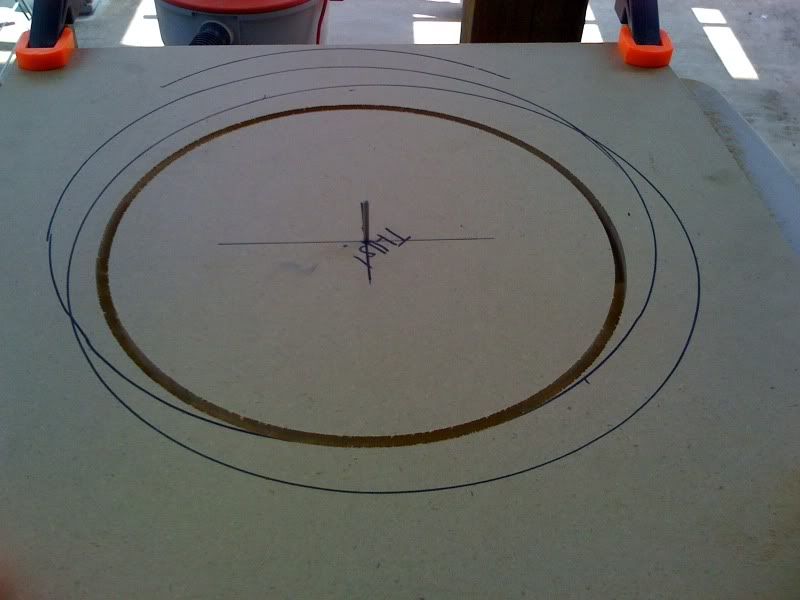 3 cuts in ;; the woofer gasket fits like a glove.. Don't mind the silly pic, the gf got bored. 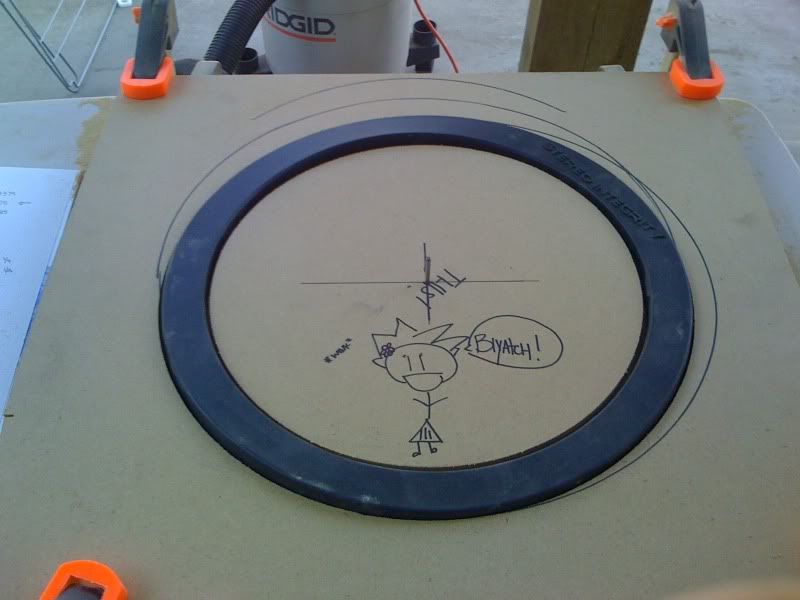 Yes guys -- Harbor Freights 3 dollar 18" Ratchet clamps.. Don't hate One of them is already breaking -.- 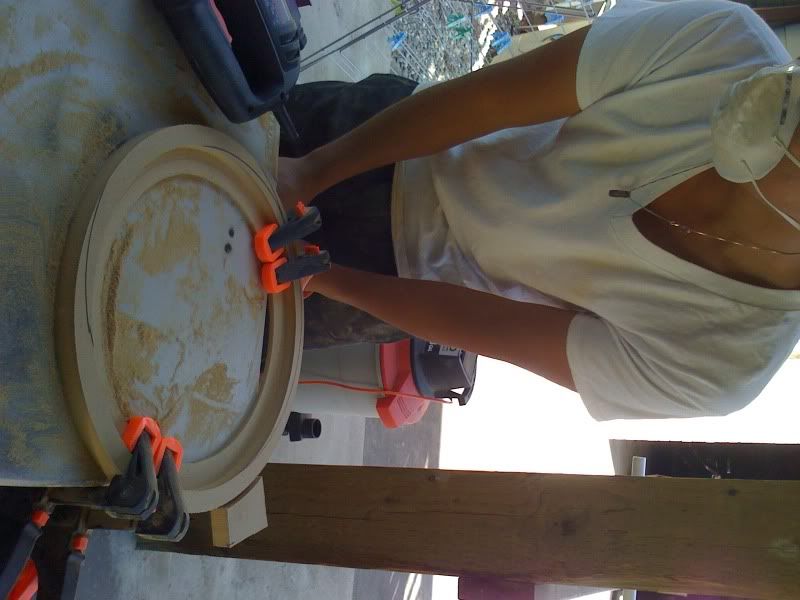 Ring cut out. I would layer another 3/4" mdf on it to make it more sturdy.. and give it a roundover + sanding treatment.. But since the ring was just for practice, meh 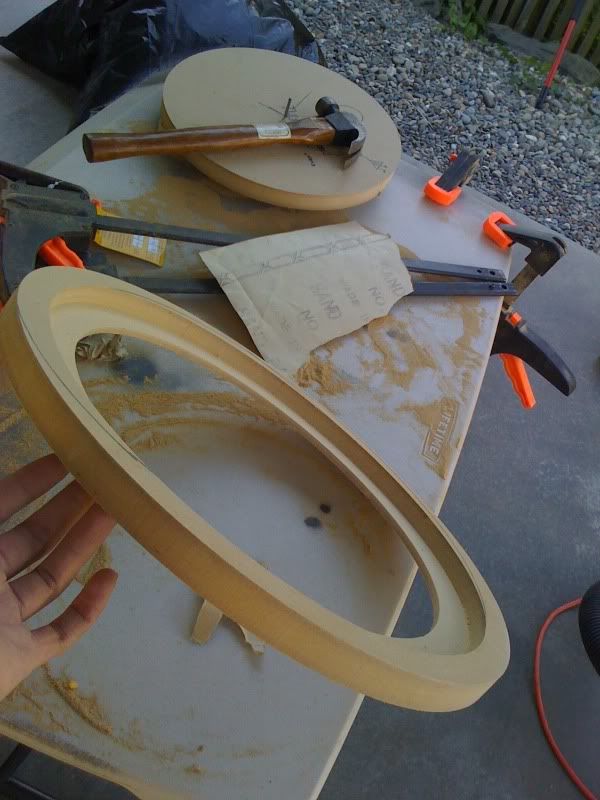 The trunk side was masked up : Yeah.. I missed a tiny spot.. Good thing i saw it and corrected it before i laid the resin. By the way, at the time i only had 1" masking tape... So that's what i used... can you say zen patience ?!?!? 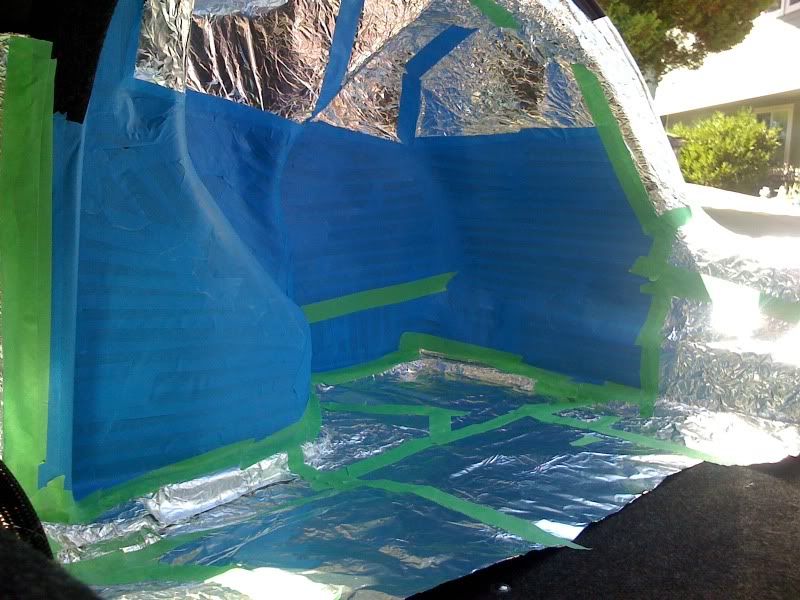 I did about half of the masking...before i threw in the towel.. To my surprise, my gf volunteered to finish the job-- She made it look easy... Oh and she fit perfectly in the trunk, ROFL. 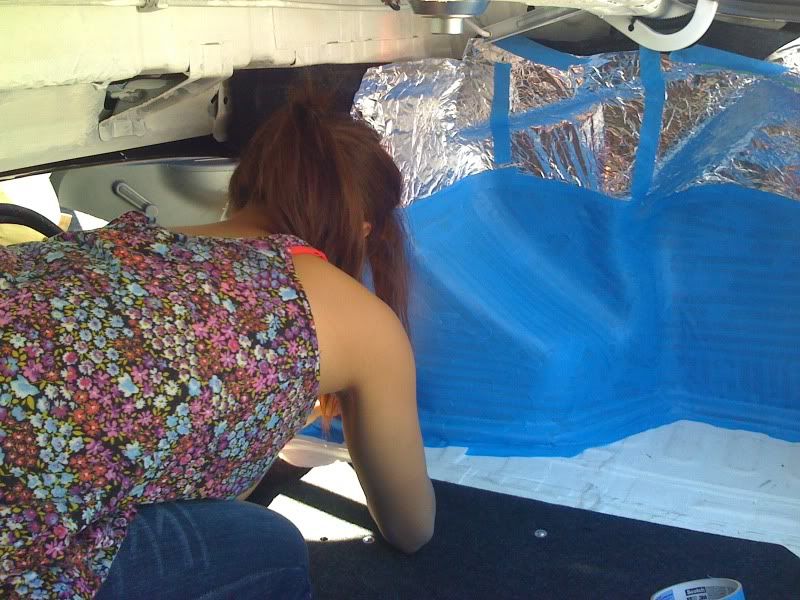 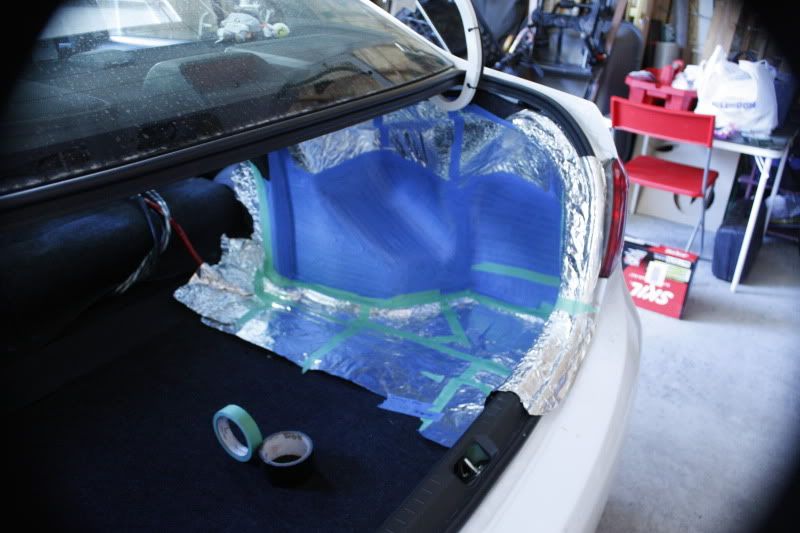 Drop cloth spread out : 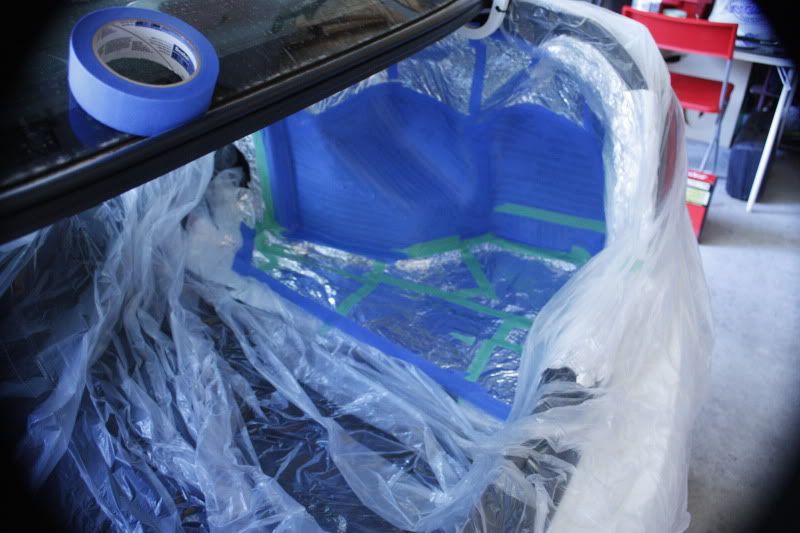 My lovely workspace.. Installing peg board and work bench 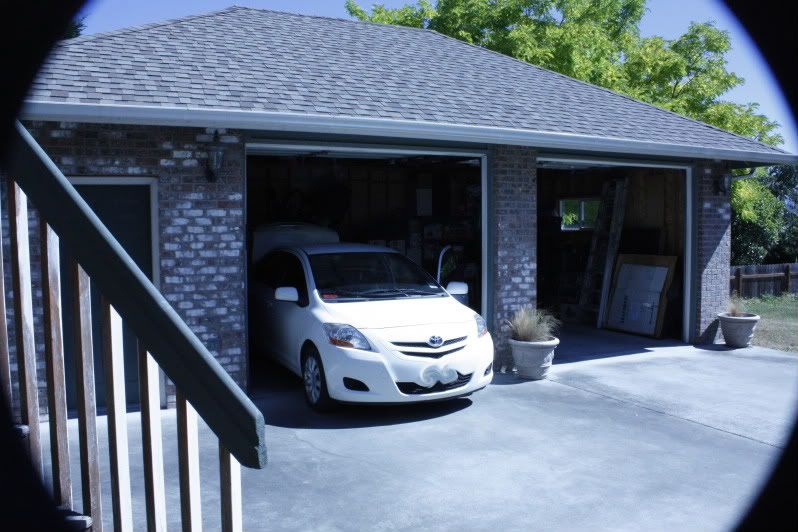 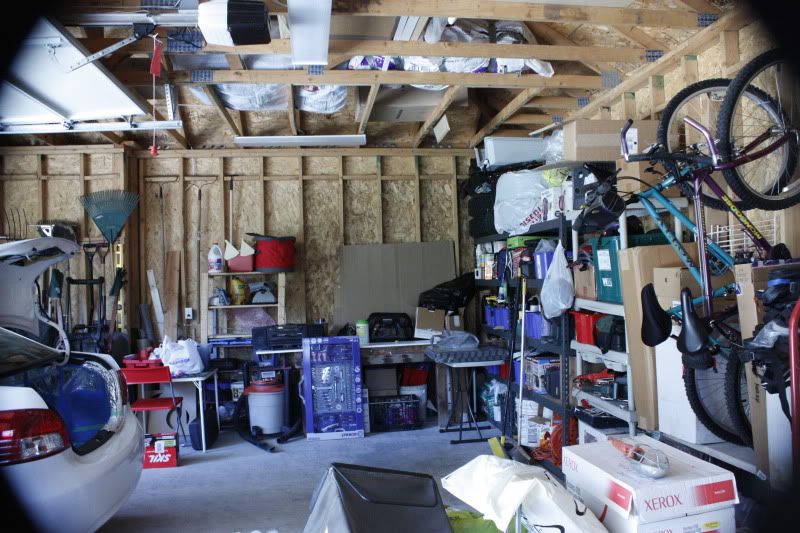 Glassing essentials 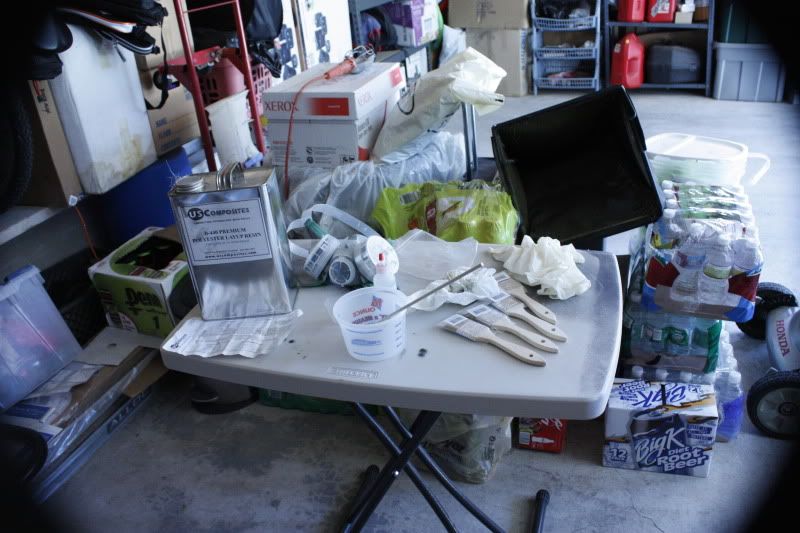 Chopped mat... itchy! 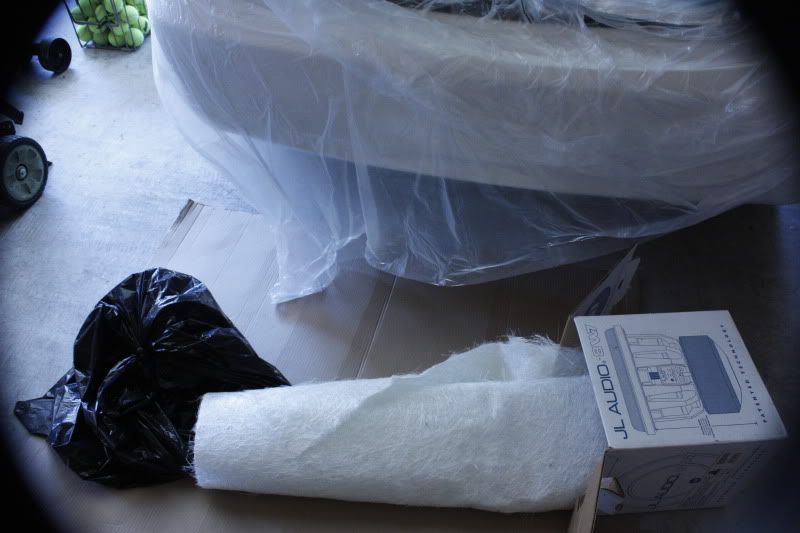 Heres a pic.. hard to see. With several layers of chopped mat and cloth. Still curing-- 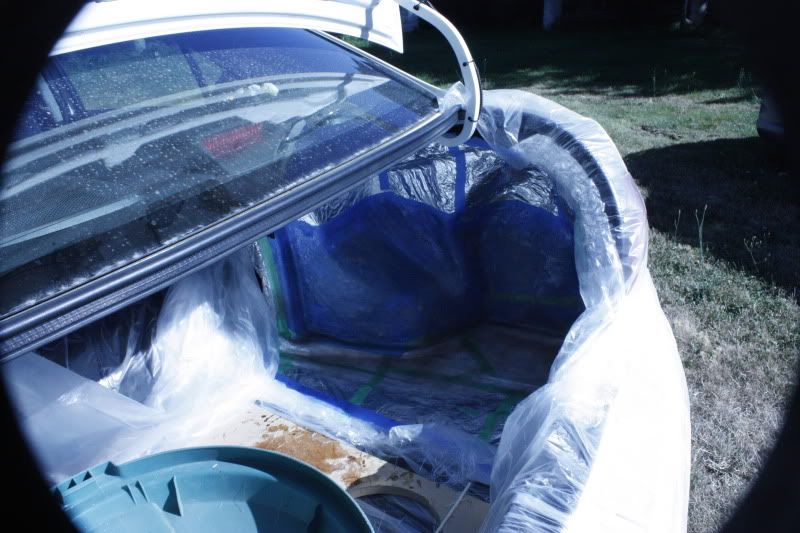 Pulled it out 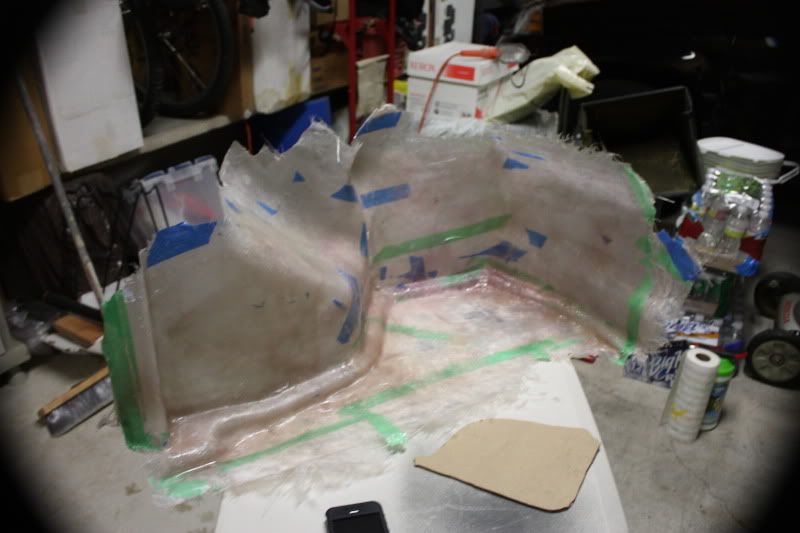 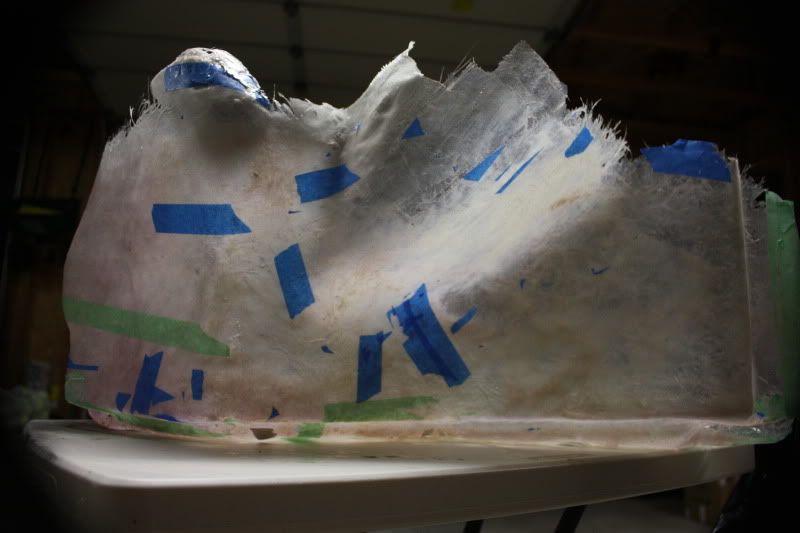 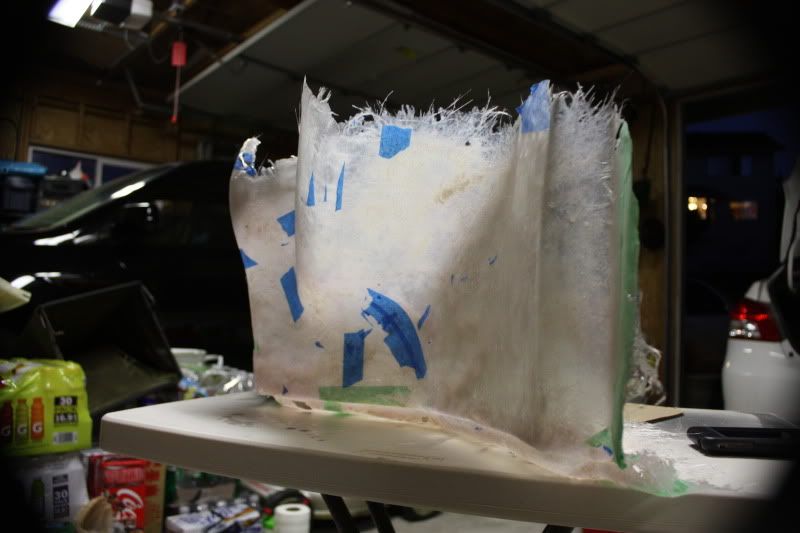 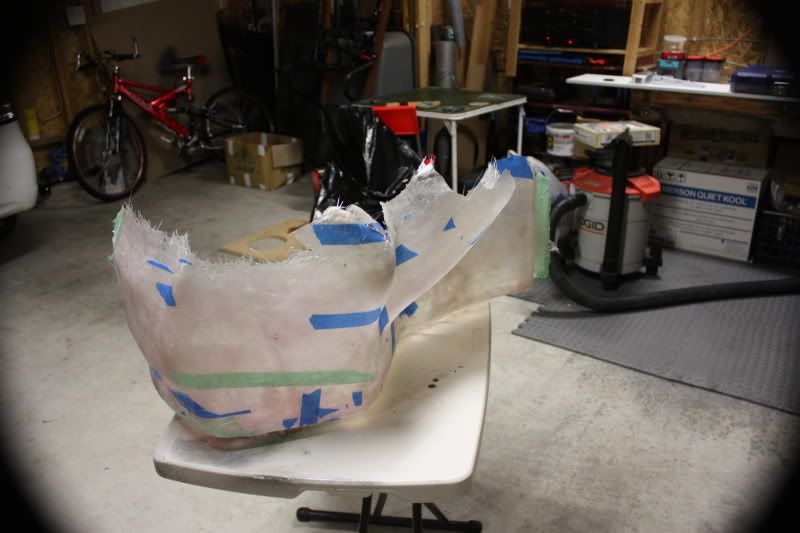 Fits perfectly -- If you look closely, you'll notice that the bottom corners of the plug are a pinkish color. This is NOT good! All that pink is excess resin, which i had to sand down-- 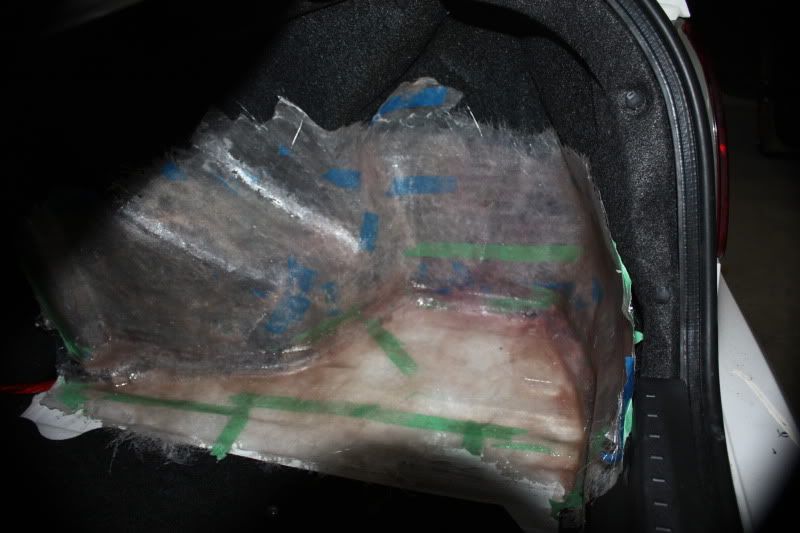 ------------------------ - - - Reinforcing the glassed plug An MDF base will be attached to the fiberglass plug. The enclosure is going to be half mdf, half glass. Since the pictures, i have added about 3-4 layers of chopped mat in the corners, and 2-3 layers of cloth weave in the general areas. I have begun laying down Kyntex Biaxial--. The end game will consist of 7-8 layers. Probably more in select parts. Estimations : 2-3 of chopped, 2-3 cloth weave, and 2 layers of Kyntex Biaxials. The kyntex really saves a shit load of time, and can conform to tight corners-- just takes a little extra resin. I may also resin in some nylon ropes.. The more the merrier-- Once the mdf pieces are kitty haired, and glassed in -- i will add some braces through the enclosure. Change in amp placement I'm shying away from the whole ' Amp wall ' and ' false floor ' idea.. I figured that since i am only doing the install for myself, i don't have to go out my way to make things flashy. Instead i'm going to fab a 'hanging shelf' from the rear deck so that it won't interfere with the spare tire accessibility and general trunk spacing. Idk why i haven't thought of it before. I need to find a good way to snake the wires. Update on Door pods Oh yea.. One more thing. refinished the doors pods. reinforced, sculpted and everything.. So far no sign of the slightest of flex. My inference was correct: The cracking wasn't due to heat nor tension of opening/closing the door (The driver side was less cracked than the passenger), they cracked because they were sculpted before installed. Once the panel was attached to the door, they conformed to the fitment and thus warped the pod. This time around, i worked straight from the door, without uninstalling the panel. Was a bit harder, but everything is good now. Future plans - Redo Tweeters in a-pillars Once i finish the trunk, i will most likely glass the tweeters into the a-pillars. The cheapy pvc's are annoying to look at. Since the tweets are already aimed, molding them on should be a breeze *cross fingers*. They will be vinyl wrapped so i won't have to worry too much about getting a perfect finish. - Create a face on trunk lid Right now, the trunk lid is covered in 2 layers of damplifier pro + 2-3mm of liquid deadener. To sum it up, it looks like ass. So i might create a trunk lid face to cover it all up.. this will be for aesthetics. Equipment on its way: makita jigsaw + rotary dremel. Pyramid Acoustic Foam. Last edited by FcukThis; 08-26-2010 at 05:07 AM. |
|
|
|
|
08-26-2010, 07:16 AM
|
#27 |
|
|
Looking good!
__________________
. My system may not blow your ears, but it will sweeten your senses.CLA 250, 4MATIC |
|
|
|
|
08-27-2010, 02:17 PM
|
#28 |
|
Drives: yaris Join Date: Oct 2008
Location: seattle
Posts: 125
|
Look what i got yesterday... 5 Gallons of second skin spectrum + air nozzle.
For 65$ !! It retails 250 + shipping. And the air nozzle, 30 bucks. :] 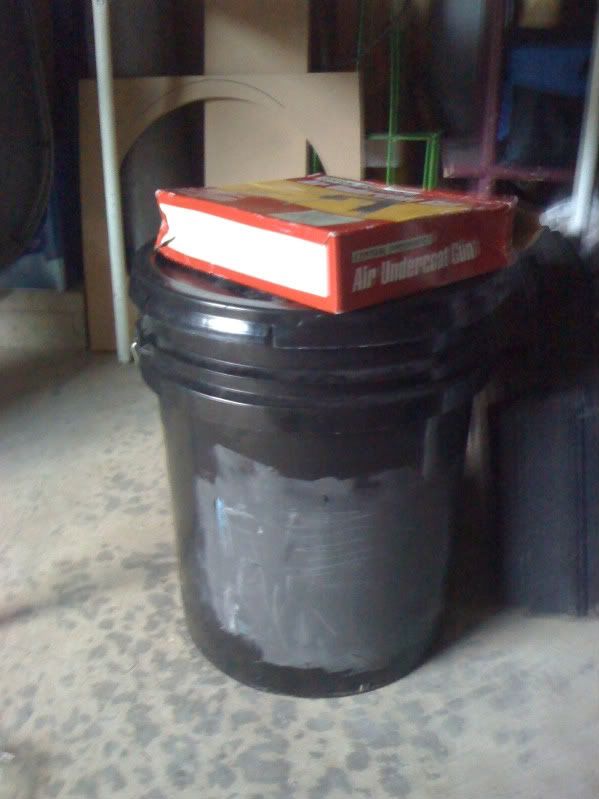 Here's a pic of the Kyntex Biaxials. After one layer, this is what it looks like. since the pictures i have added about 2-3 layers more of KYNTEX.. Crazy strong, i think i'm going overkill for just one 12. meh. 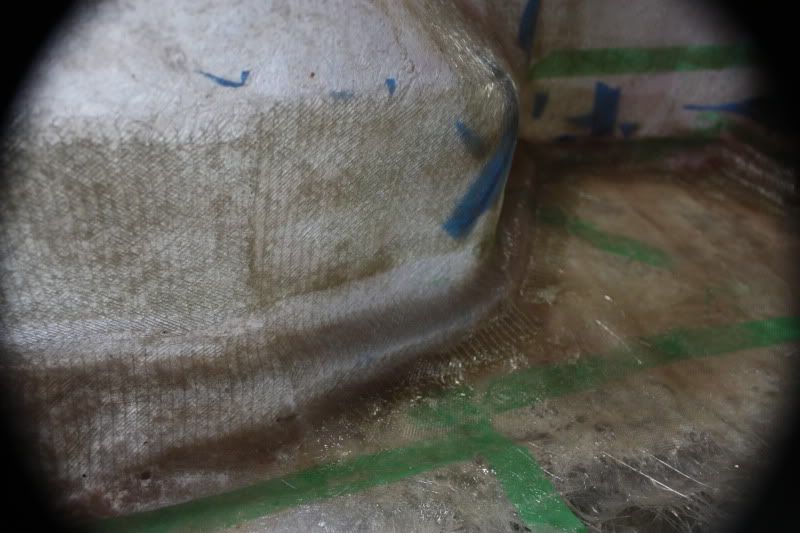 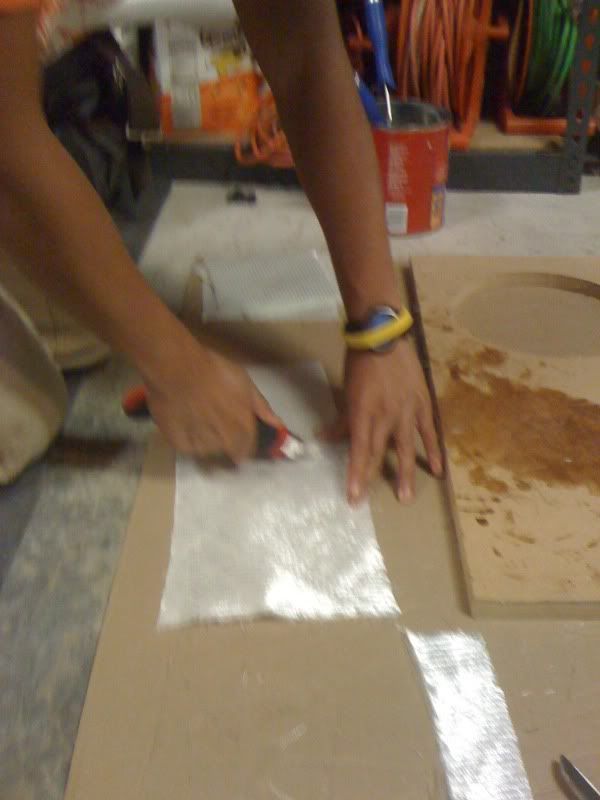  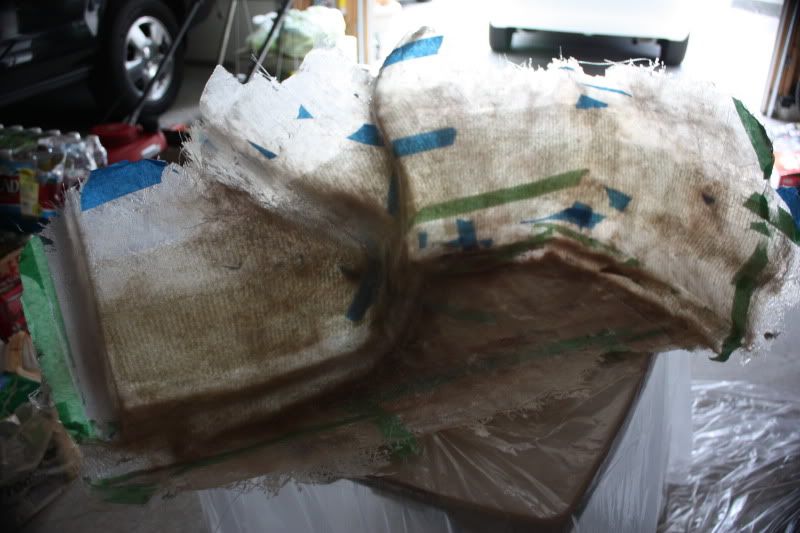 Here's just a shot of the trunk.. nothing special. I just wanted to have something to look off of when i'm trying to formulate some ideas. 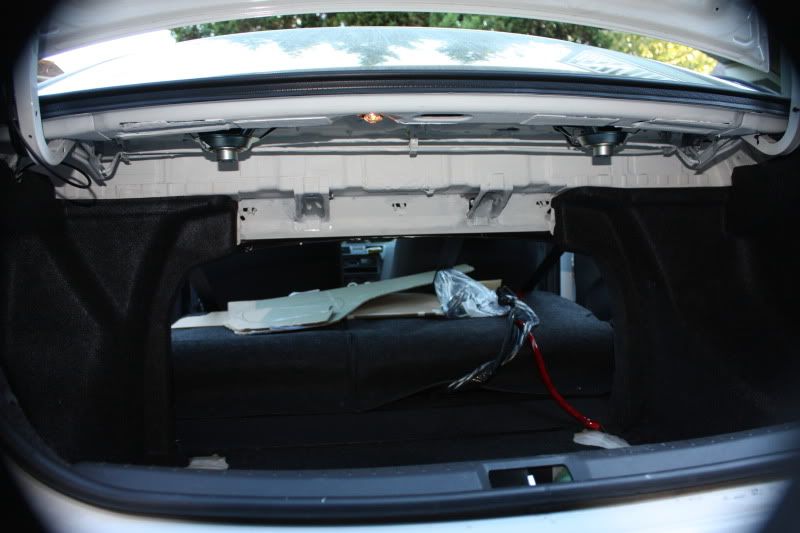 Here's prolly what i'll be shooting for now. 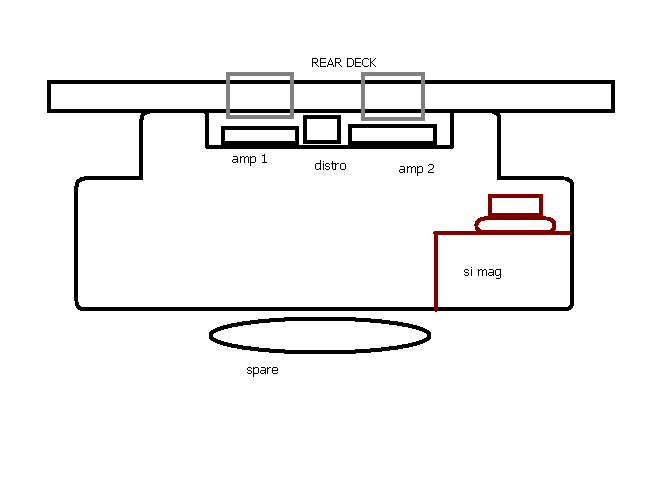 Pics of the doors redone. 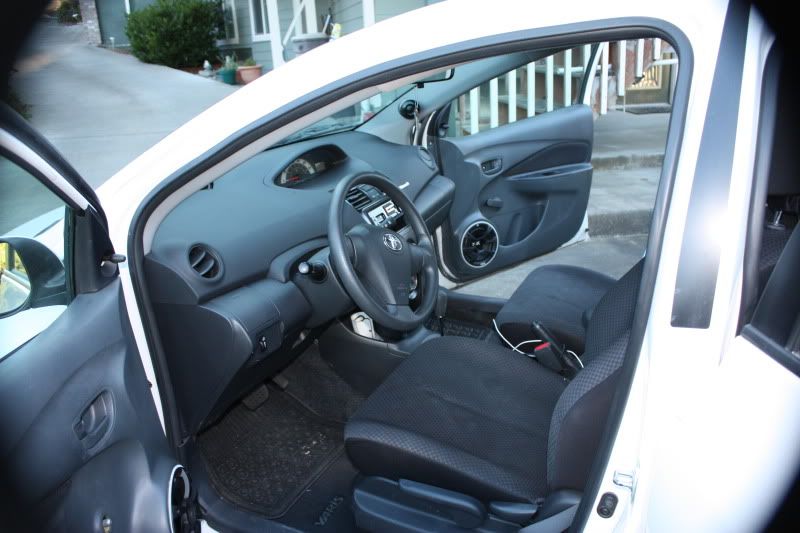 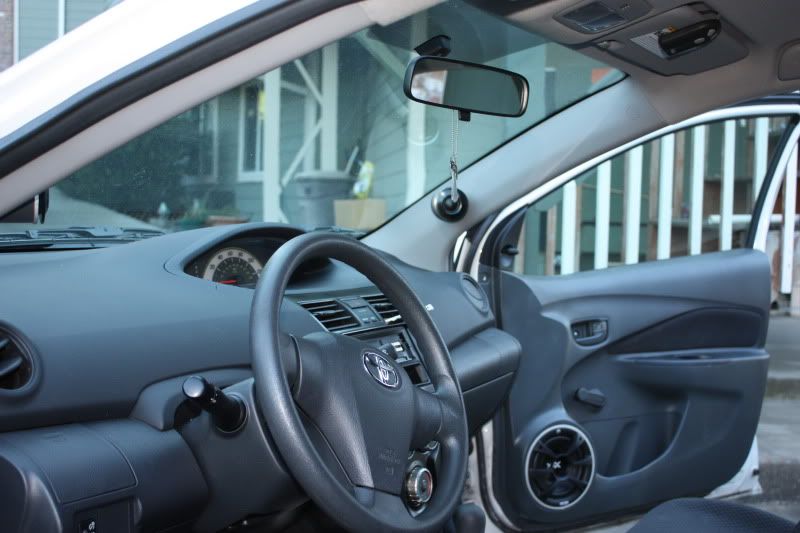 ------- - - - i gave the plug a good strength test this morning.. Holy crap its tough.. My jigsaw should be arriving later today, so i'll be mounting the base mdf piece really really soon. I thought about it, and realized that i don't have very much security planned out. My first security mod will be creating a flush cardboard piece that will hide my deck. Then wrap it in vinyl. ------------ Anyone know the best way to attach MDF to fglass ? I was thinking, screwing the pieces together first. Cut some holes so the resin will have something to attach to. Sludge on a nice thick layer of kitty hair to fill the gap where the MDF meets glass. Then CSM -> cloth weave -> 2 layers of Kyntex -> Cloth weave. Thoughts ? |
|
|
|
|
08-28-2010, 02:04 AM
|
#29 |
|
Drives: yaris Join Date: Oct 2008
Location: seattle
Posts: 125
|
The beast has arrived :]
 Fiberglass plug has been trimmed.. It was such a B*tch to do. I'm itchin'  Measurements .85 cu packing peanuts. 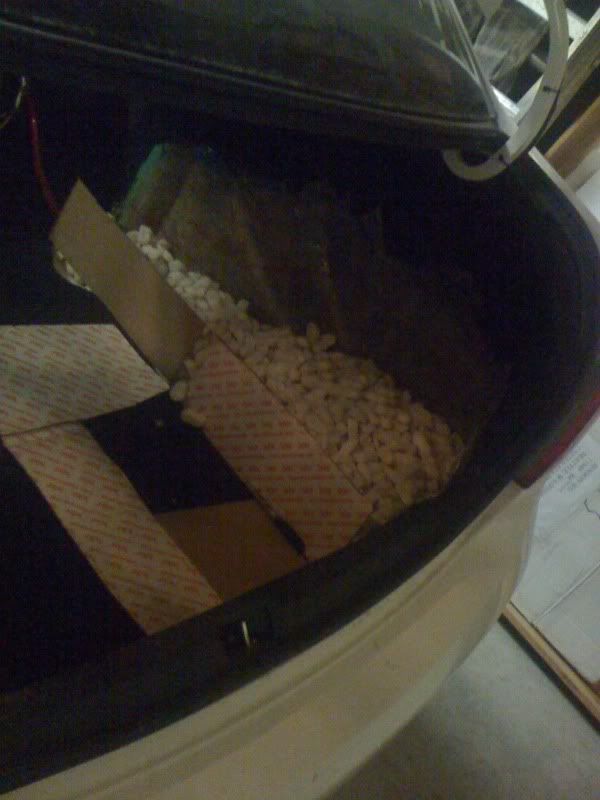 Thickness of glass. Almost 1/2".. i'd say 7/16" 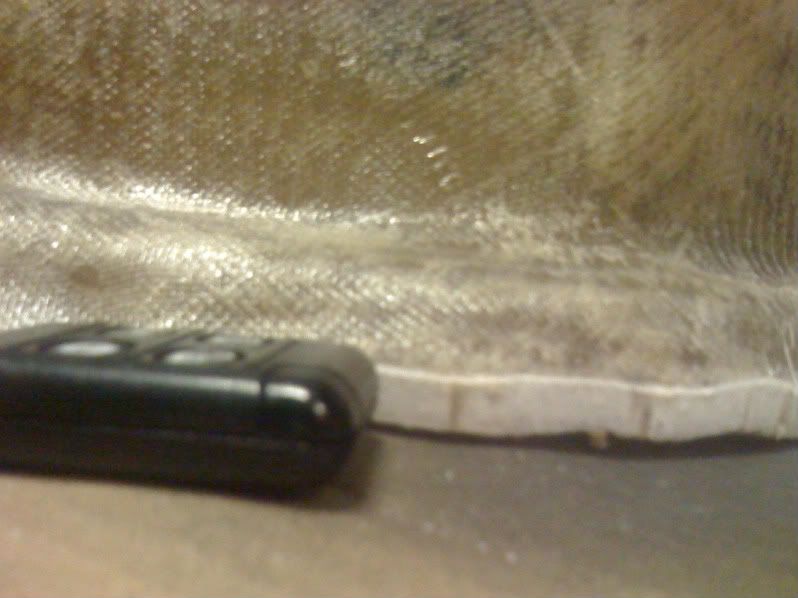 Cardboard template trimmed up 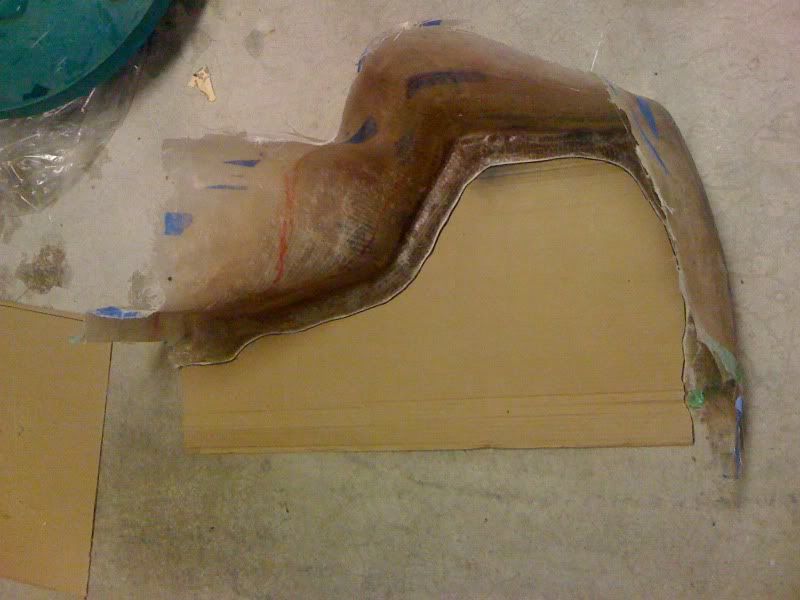
|
|
|
|
|
08-28-2010, 10:46 AM
|
#30 |
|
Roadrunner Jr.
|
That side build looks frightingly familiar!
__________________
To argue with a person who has renounced the use of reason is like administering medicine to the dead. ― Thomas Paine |
|
|
|
|
08-29-2010, 02:39 AM
|
#31 |
|
Drives: yaris Join Date: Oct 2008
Location: seattle
Posts: 125
|
I bet it does!
Boy.. Fiberglassing isn't hard.. but it's really just a nuisance to work with simply because its so messy! I need some advice guys. Need to attach several pieces of MDF to the fiberglass. Anyone have any ideas ?? I was thinking on using some epoxy caulk to attach the piece together... Then a mixture of resin + tiny bits of Chopped mat poured on top of the caulk bond to fill all gaps and create a stronger bond. Once that dries, i will layer it with glass. I'm contemplating screws too.. I know there's a better way to do it.. help anyone-- Anyways heres todays updates. 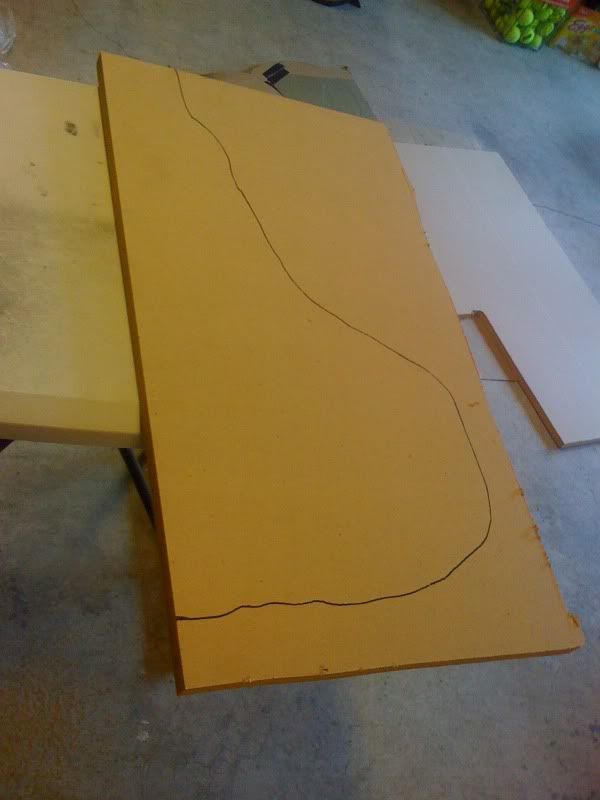 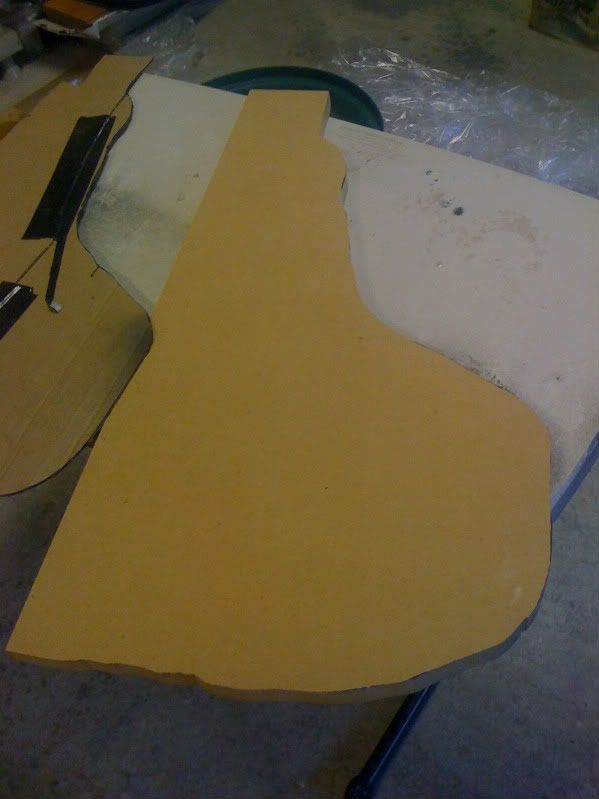 drilled some holes.. hopefully it'll help with the bonding. 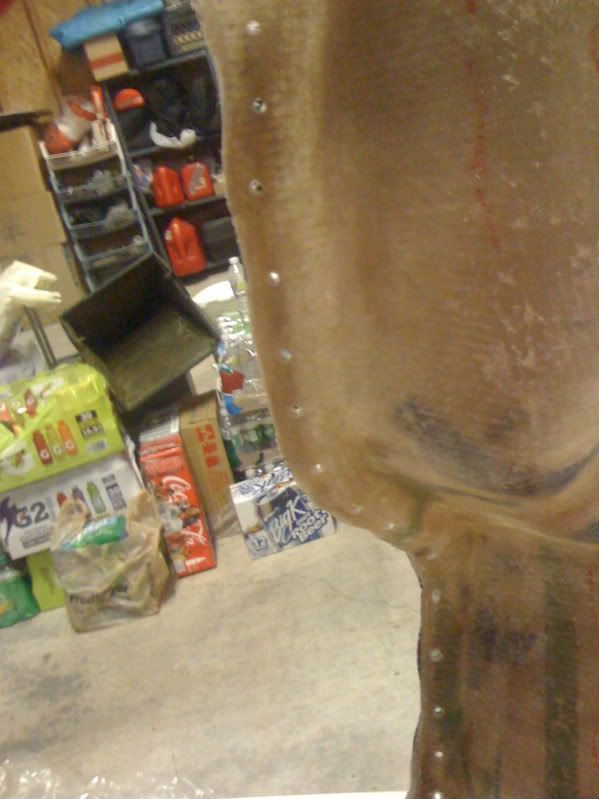 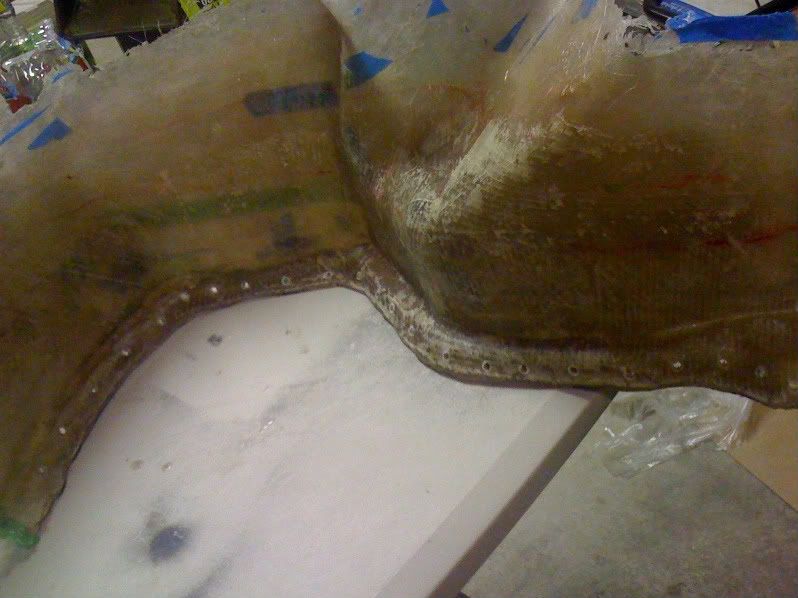 Light layer of mask to catch the resin when i bond it together.. I'm going to reinforce the piece with gorilla tape to ensure no movement while curing. The mask layer will also ensure a snug fit. 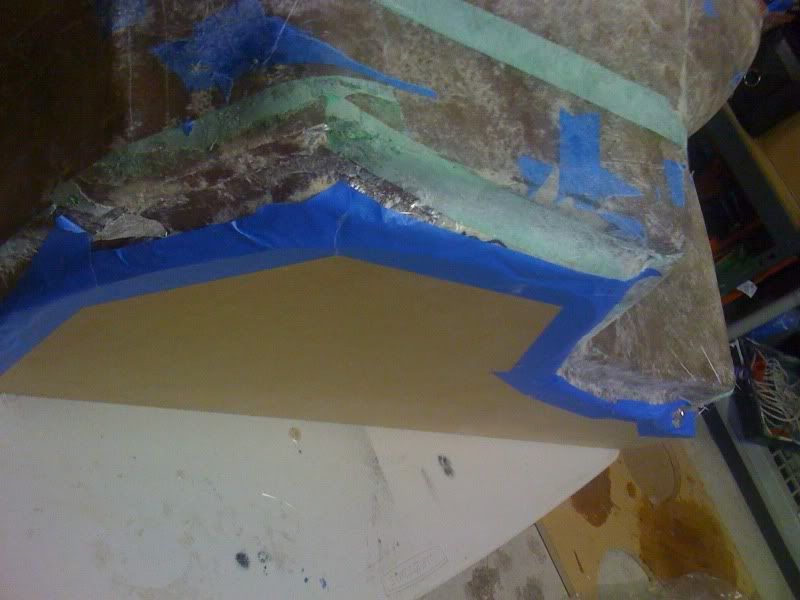
|
|
|
|
|
08-29-2010, 10:47 AM
|
#32 |
|
Roadrunner Jr.
|
What are you trying to do? Are you trying to make a frame and a baffle for the front?
__________________
To argue with a person who has renounced the use of reason is like administering medicine to the dead. ― Thomas Paine |
|
|
|
|
08-29-2010, 10:15 PM
|
#33 |
|
Drives: yaris Join Date: Oct 2008
Location: seattle
Posts: 125
|
No. That would actually be easier than what i'm doing..
I honestly dont even know why i'm doing this. I want a box enclosure that will sit flush with the contours of my trunk. So -- Glass on one side.. Mdf on the sides/bottom/top. |
|
|
|
|
08-29-2010, 10:21 PM
|
#34 |
|
Drives: 2007 red 2 door Join Date: Aug 2010
Location: jackson, ms
Posts: 6
|
resin + glass layer will be plenty fine to attach the glass to the mdf. mdf sucks up resin like crazy.
back in my competing days we used to resin the insides of sub boxes just because. |
|
|
|
|
08-29-2010, 10:25 PM
|
#35 |
|
Drives: yaris Join Date: Oct 2008
Location: seattle
Posts: 125
|
The thing is, i have a gap where the glass meets the mdf. Not major, but perhaps a 1/4" gap i want to fill up.
Yeah, i will probably end up doing a milkshake batch on the inside of the box.. then coat it with some liquid deadening. Way overkill for a single 12. But whateva! I just realized... What i need is Duraglass !! |
|
|
|
|
08-30-2010, 02:18 AM
|
#36 |
|
Drives: yaris Join Date: Oct 2008
Location: seattle
Posts: 125
|
WOW.
Alright.. I'll admit.. I didn't get much done today. I was way too busy fooling around.. Since i'm planning on mounting the amps to the underside of the rear deck, i stripped a little interior. The C-pillars gave me a headache.. The fricken metal anchors SQCOMP was talking about-- Holy crap. I ended up just yanking them towards the front of the car with my body weight, but there's a weird way you have to turn them... Anyways, i heres a quick shot of the rear deck removed.. yes.. i need to wash my car 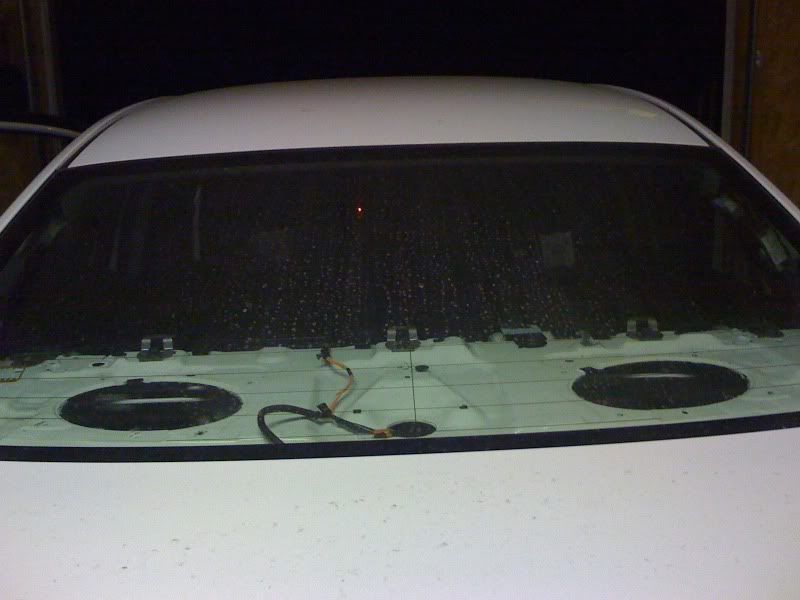 The speakers really gave me trouble... removing the last two screws right by the window.. what a PITA! I didn't feel like wasting a perfect pair of shitty 6x9's... I mean i probably only played them (personally) for 2 months before unhooking them. So i mean, i can't just trash them you know?! Here's what i did with the shit-tastic 6x9's Don't worry guys.. its only mounted on trash cardboard. 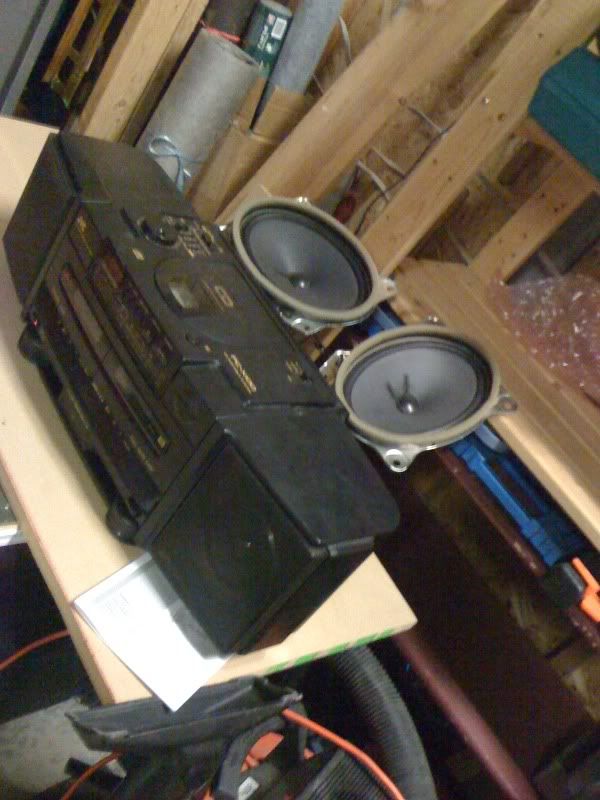 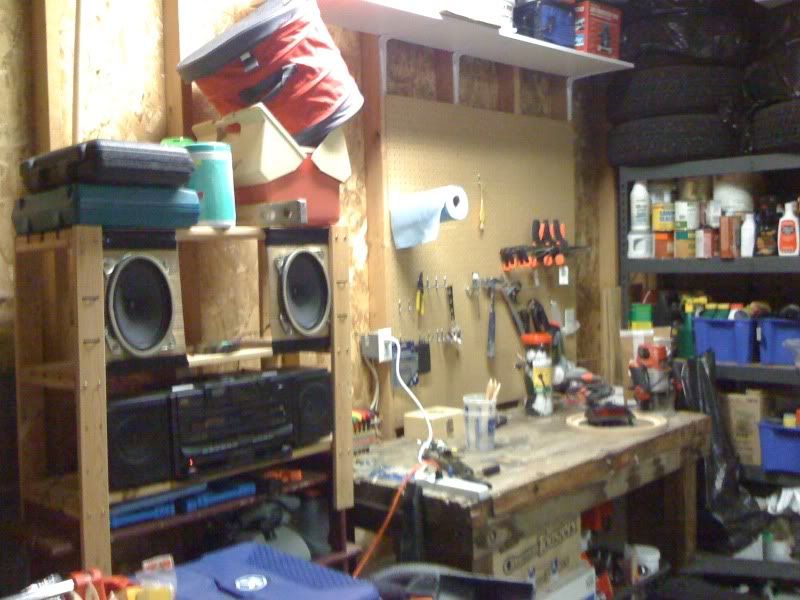 I also got a little peg board up. Still need to finish it.  Got a shelf going 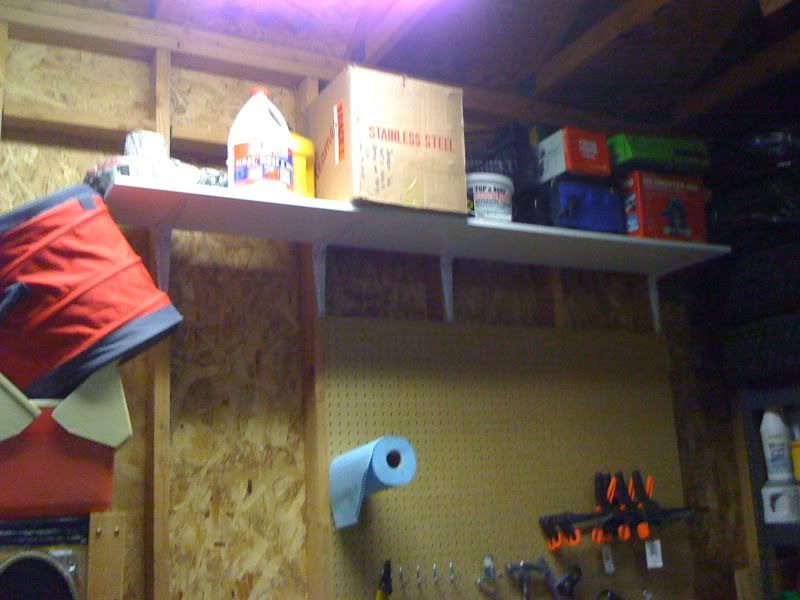
|
|
|
|
 |
|
|
 Similar Threads
|
||||
| Thread | Thread Starter | Forum | Replies | Last Post |
| Toyota.com build your car bullshit | gaffo | General Yaris / Vitz Discussion | 1 | 09-23-2007 02:16 PM |
| Recent box build | spkrman | In Car Entertainment + Electronics (audio / video / alarm) | 8 | 01-26-2007 03:14 PM |
| Enduro - Yaris BUILD! | EnduroMTS | Cosmetic Modifications (Exterior/Interior) | 3 | 10-17-2006 02:33 AM |
| Build Your Yaris, toyota.com | artyin | General Yaris / Vitz Discussion | 3 | 05-03-2006 04:52 PM |
| we can build our yaris now!!! | hhcchen | General Yaris / Vitz Discussion | 8 | 03-05-2006 06:38 PM |


 Linear Mode

