
 |
 |
|
|
 04-17-2007, 04:20 PM
|
#1 |
 Drives: 2007 Yaris Sedan Join Date: Jan 2007
Location: Southern New Jersey
Posts: 459
 |
final installation of nology hotwires
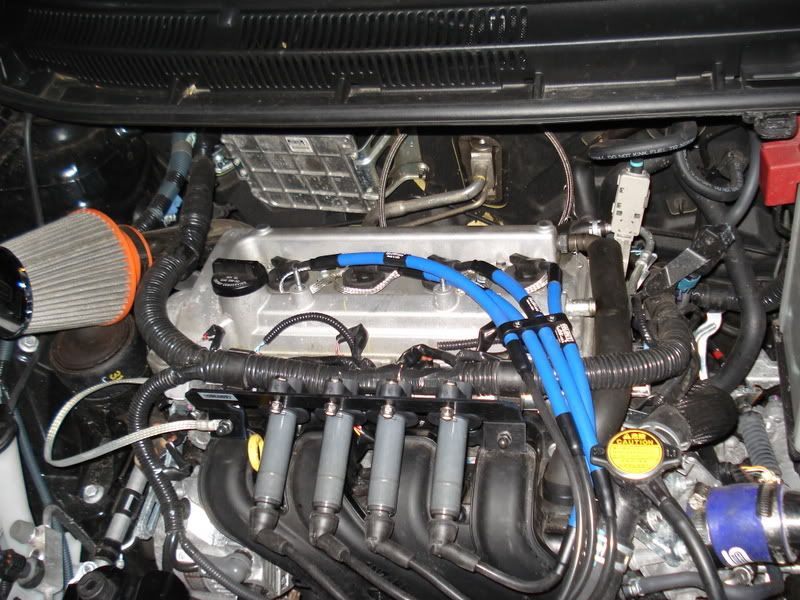
alright guys well I got around to remounting the nology hotwires yesterday. I have also included some pics of the engine i recently purchased after taking a few things off. first off though i will start again with the picture of the engine bay the way nology says to install them.
 now i will walk you through the steps of installing them the way I did in case you like the looks of my engine bay, I apologize chino its still not clean haha  First I started by removing the wiper cowl, which consists of popping off the wiper arm covers and removing the 14mm nut underneath, pull off the wipers and remove two plastic screw pieces on the far ends of the cowl, then just pull up and remove, remove the wiper fluid line and you can pull the cowl off and set it aside. From there I drilled two holes in the bracket supplied from nology for the ignition coils and I drilled two holes in the wiper cowl. Take care in measuring the distances to make sure the holes will line up the first time. I then just took two scrap pieces of a 90 degree angle about an inch in thickness and drilled two holes in that. After bolting each ignition coil to the bracket continue to then bolt the bracket to the 90 degree elbows and then to the wiper cowl. Here is a close up to give an idea at least. 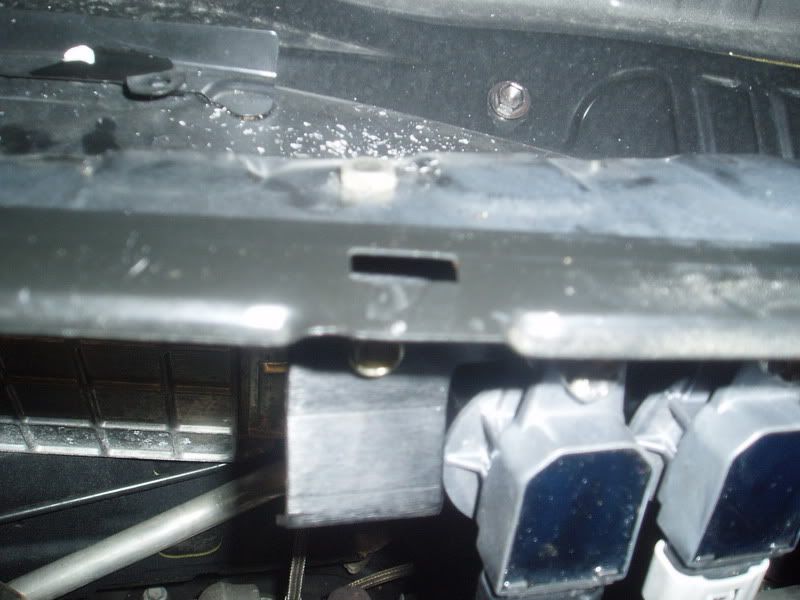 Now on to the tricky part, luckily the engine I bought had extra igntion coils harnesses. This made it easy to run the wires before having to cut into the existing ignition harness run 4 wires for each it is easiest to get 16 different colors, but it is doable with 4. The white wire in each is actually a ground so what I did was splice into each of these wires and did a nearby ground wire connecting to the bolt securing the bracket to the wiper cowl. 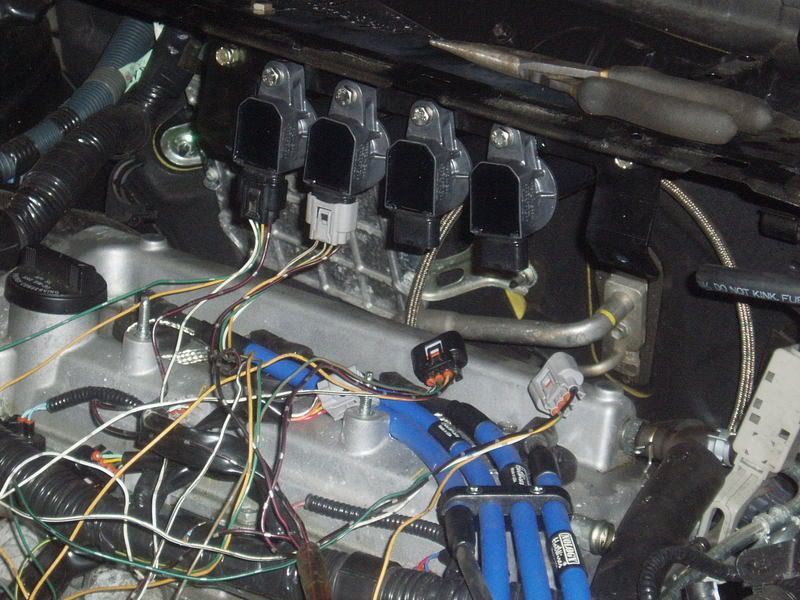 It is easiest to wire everything up first as far as connecting all the wires before you try and hide the wires and everything, I added about 2 - 2 1/2 ft of wire I kept them together and straight out to make the wiring job easier. 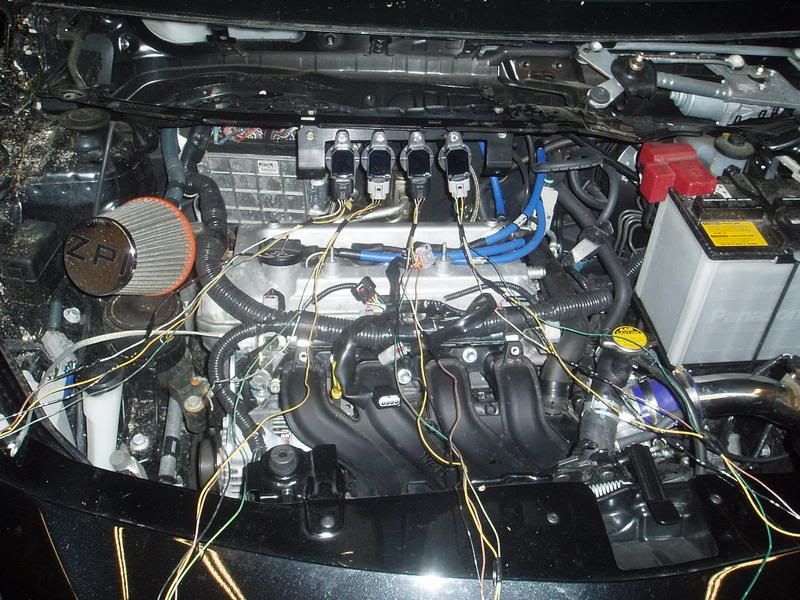 After this I just soldered the wires together and wrapped them all in electrical tape making sure to cover the connections with shrink wrap as well. After that I just tucked the wires underneath the main harness and used black electrical tape to hold them in place. This is the final result before installing the engine cover. 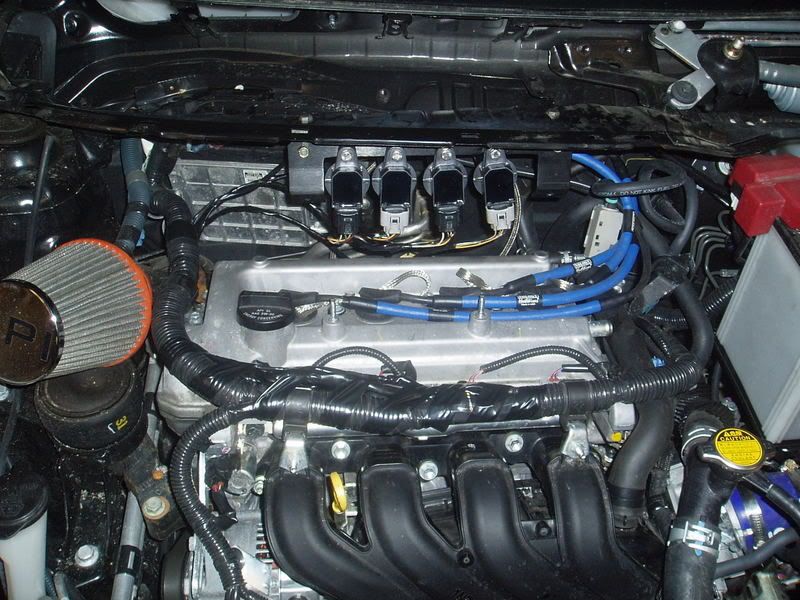 once that was completed and the wires were connected to the ignition coils you can reinstall the wiper cowl. Oh I forgot to mention but before you tape everything up its a good idea to start the car and make sure all your wiring is done correctly. You do need slight modification to the stock engine cover. You are required to take a small portion off of the back drivers side of the engine cover it is easily done with a hacksaw or air body saw if you have, the plastic is very easy to cut, here is just a shot of the quick cut, it doesnt have to be cut pretty because it isn't possible to see this part of the cover. 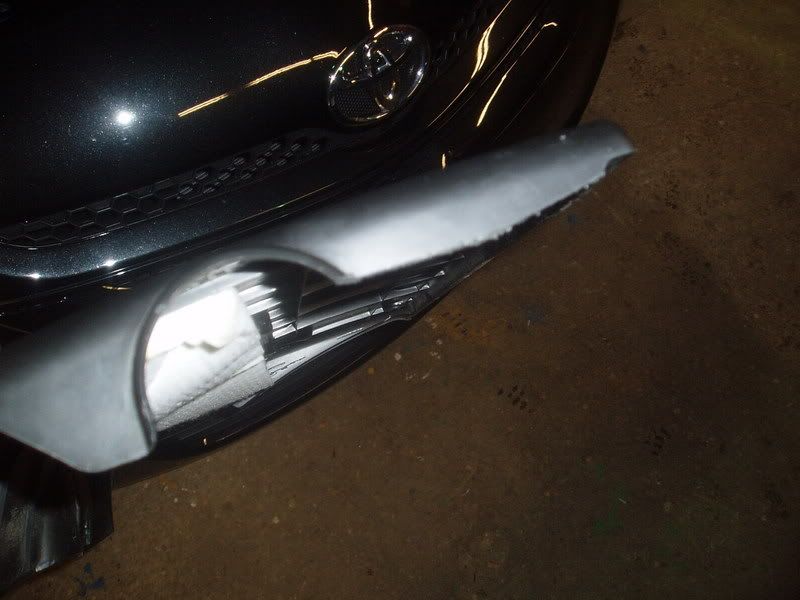 and here is the final result 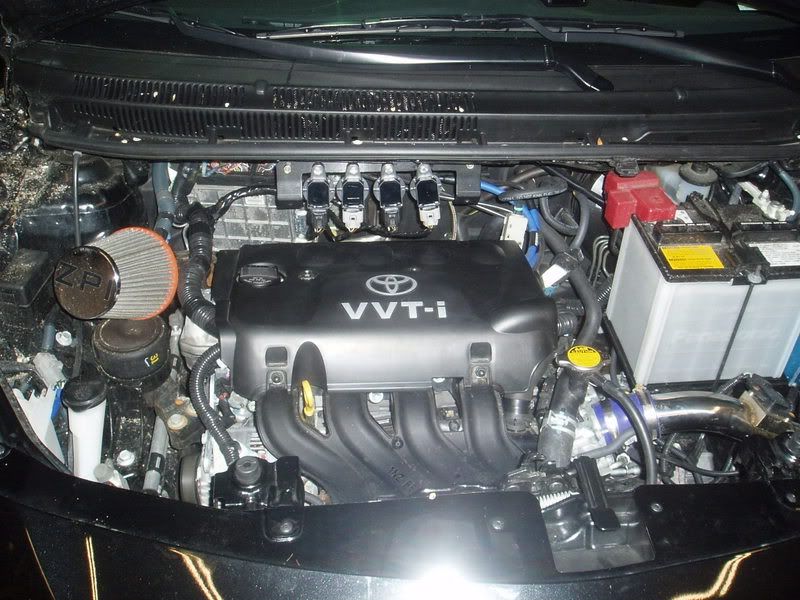 I wrote this over a decent amount of time and lost track of my thoughts a few times, if there is a step you feel i have missed or need more explaining just feel free to let me know. Also here are two pics I took while taking the extra engine apart last night 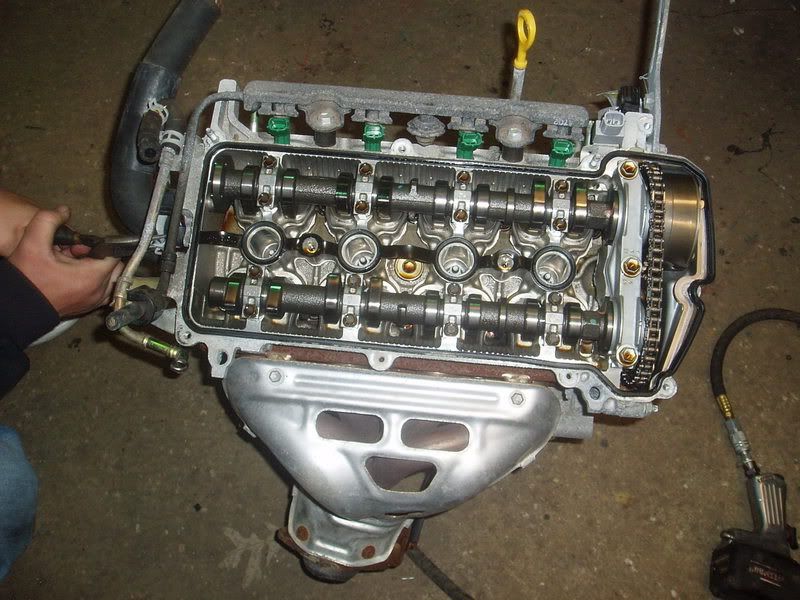 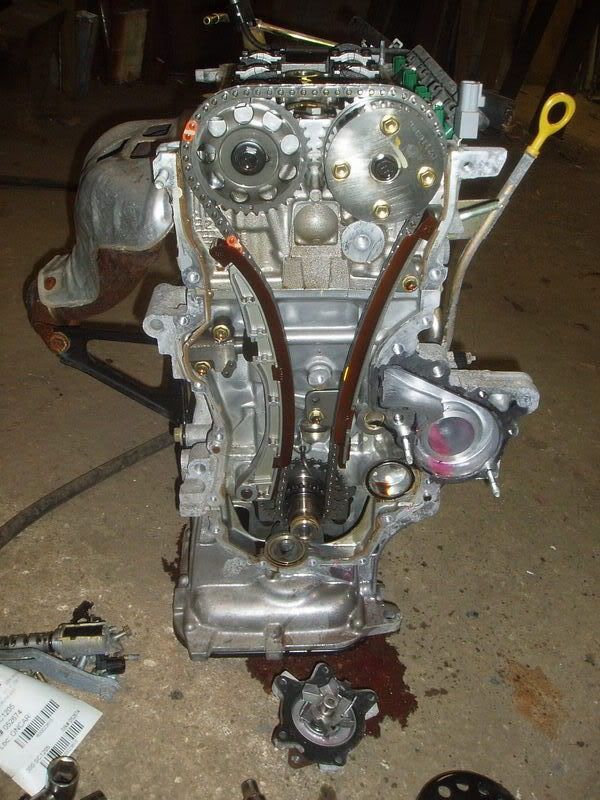
|

|

|
| Thread Tools | |
| Display Modes | |
|
|


 Threaded Mode