
 |
 |
|
|
 07-03-2010, 12:48 AM
|
#1 |
|
Banned

|
Glassylite Headlight Restoration Kit
First of all, big thanks to Garm for hooking this up!
Here's a DIY for this new product that Garm is now carrying, Glassylite Headlight Restoration Kit: http://shop.microimageonline.com/Gla...t-tour-gls.htm Since my Yaris headlights are not yet dull, yellow, or hazy, I decided to try this out on my daily commuter, which was a suitable candidate: Take a look at those dull bastards. This will be the last time you will see them in that condition! 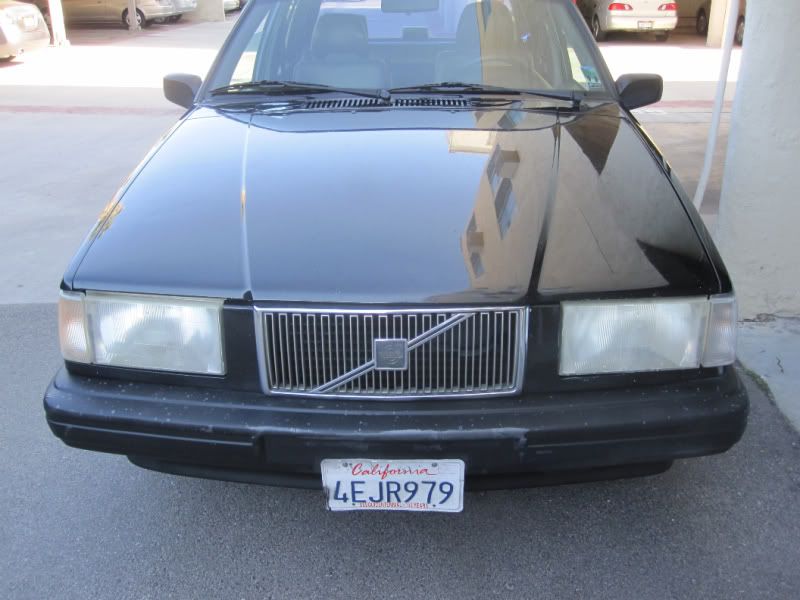 The first step is to clean up the headlights and remove as much dirt, bugs, and tree sap as possible. After you are done with that, grab yourself a spray bottle or hose and keep those headlights wet. You will be doing some wet sanding prep work. Included in the package is piece of 1500 grit sandpaper; you will be sanding the surface of the headlight in an UP AND DOWN motion only. Keep sanding until your wet headlights start turning the water a milky white. 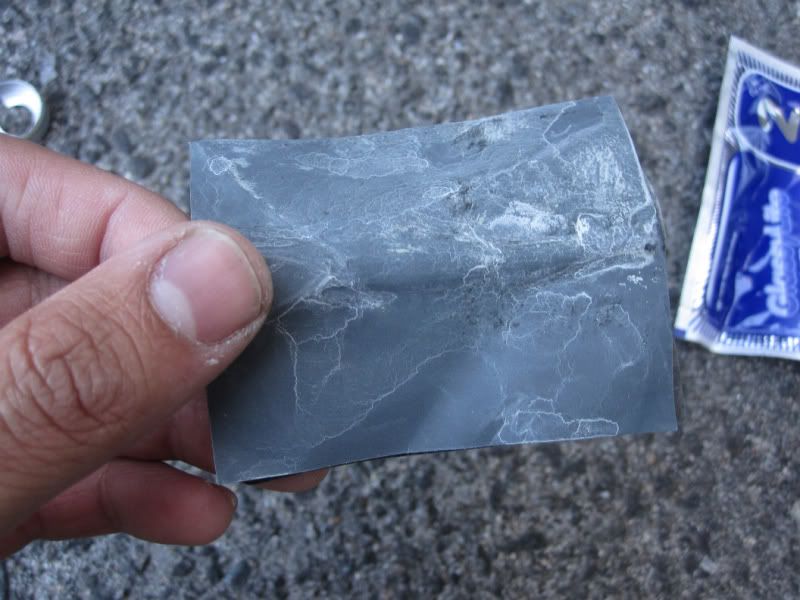 After you've scuffed up the surface some, you will have to whip out the 3000 grit sandpaper. Now you will sand your headlight surface from left to right (or right to left, whichever you prefer :)) until you can no longer see your previous up and down marks left from the 1500 sandpaper. Remember to keep your headlights wet with your spray bottle or hose. 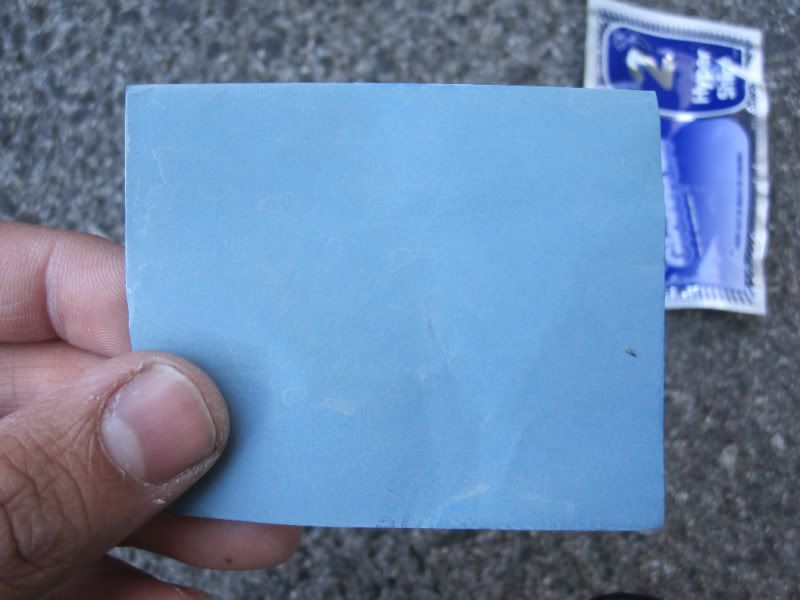 Now your headlights are looking a bit more terrible than they were before, but don't worry.. it'll shine in a few more steps! Rinse off your headlights and prepare to wipe on some milky-white substance: 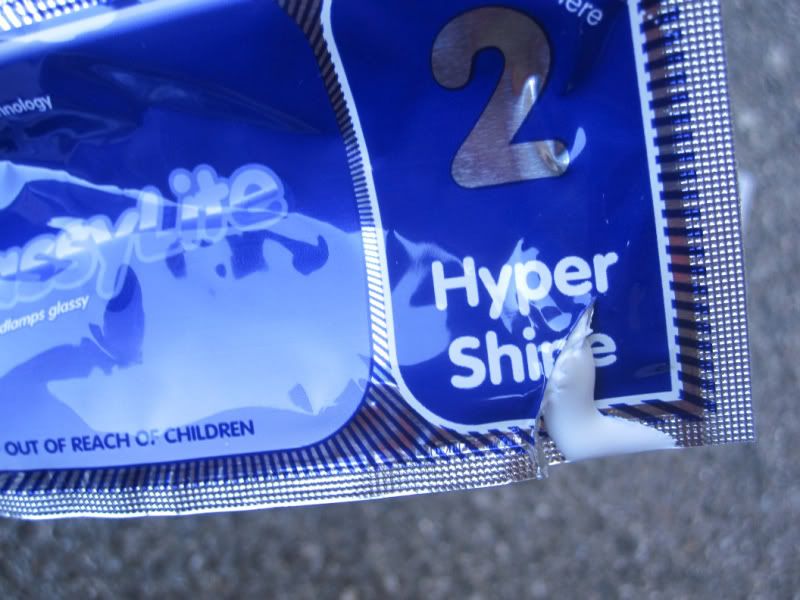 This is Glassylite's buffing agent, which they have called Hyper Shine. Squeeze half of the oozing liquid onto a paper towel; you will use the other half for the other headlight later. Now proceed to rub the Hyper Shine onto your headlight in circular motions. Keep rubbing.. and your headlight seems to be done! It's not finished yet! 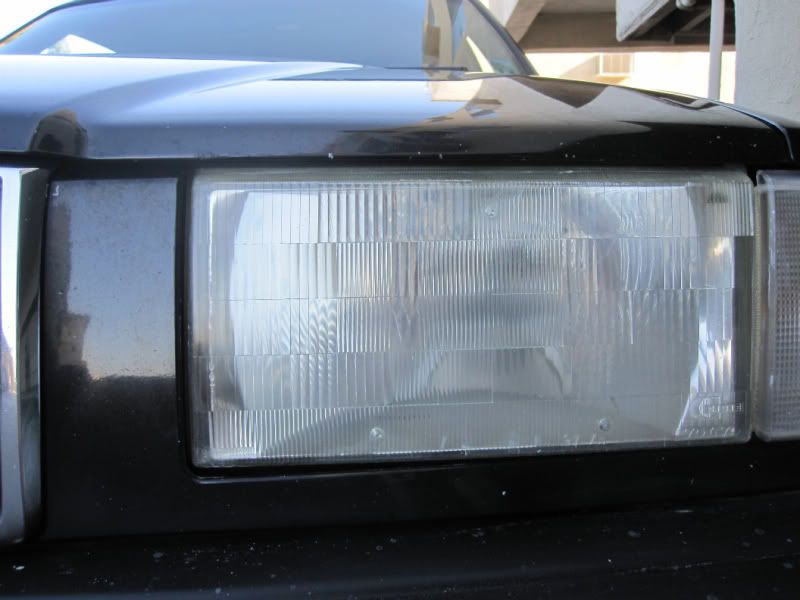 Look into the kit once more, and you'll find a bottle of morphine... *ermm* I mean Nano Sealant: 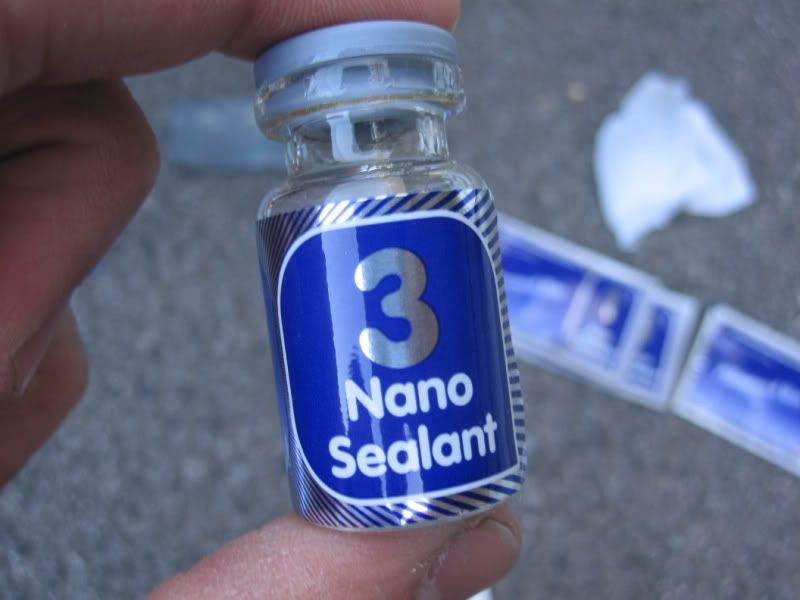 The instructions warn not to get this on your paint. :yuck: I would not want to see what happens if this stuff got on my paint :( So you take a clean paper towel and dab a few drops of this stuff on it, then rub it onto your headlights in a circular motion once again... Sweet jesus, you're done! Here's a comparison picture: Now just repeat the whole process for the other headlight and you've pretty much restored your headlights!  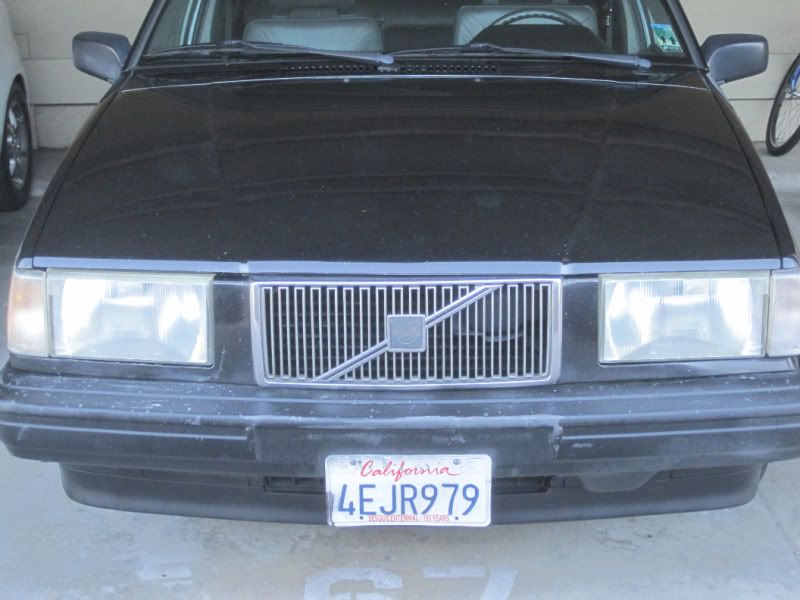 And since the black mamba is clean, Caroline (the Yaris) will allow her to sleep with her tonight (they're lesbians.) 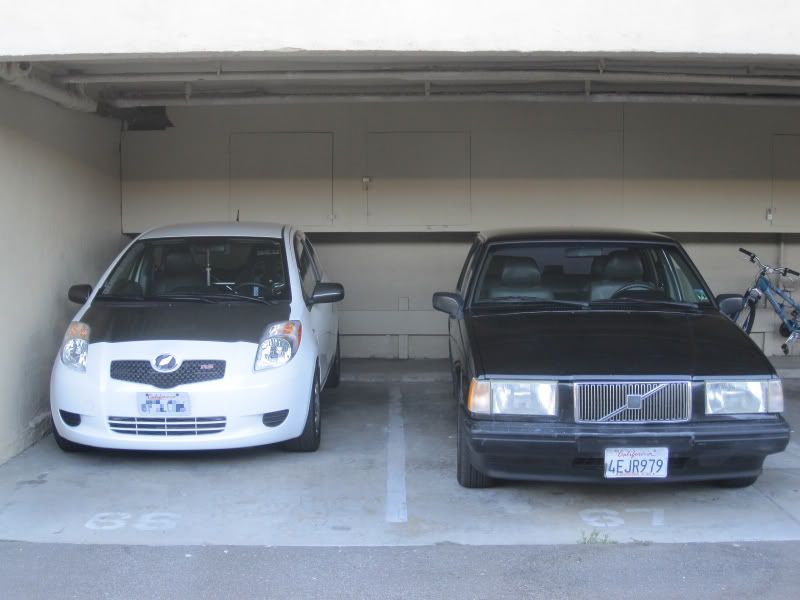 I've missed a few shots for some steps, but you get the ldea! Kthxbai.
__________________
DON'T LIKE ME? TAKE A SEAT WITH THE REST OF THE BITCHES WHO ARE WAITING FOR ME TO GIVE A FUCK. Sponsored by: Micro Image http://microimageonline.com |

|

|
|
07-03-2010, 12:51 AM
|
#2 |
 ULTIMATE ULTIMATEDrives: 07 Yaris Turbo Join Date: May 2007
Location: Canoga Park, CA
Posts: 14,859
 |
Nicely done, I was hoping to see one of us try it out and make sure the stuff works well.
 now you're ready to tint those suckers! 
__________________
Micro Image forums, online store and shop are now closed. It was a great eight year run, but it was time to focus on other things. I'm still selling parts on eBay under micro*image seller ID and customers can still make requests for anything specific. |
|
|
|
 |
|
|
 Similar Threads
|
||||
| Thread | Thread Starter | Forum | Replies | Last Post |
| Eurolight Headlight Tint Kit | cali yaris | Micro Image | 30 | 03-19-2012 06:06 PM |
| Headlight Restoration | Emerge | Wash, Wax, Detailing, Exterior Repairs | 23 | 06-26-2010 12:11 AM |
| Blending a Kit With a Factory Bezel | sqcomp | In Car Entertainment + Electronics (audio / video / alarm) | 6 | 05-02-2010 11:54 PM |
| fish-eye headlight kit for Yaris HID | kimona | Cosmetic Modifications (Exterior/Interior) | 16 | 08-24-2007 02:06 AM |


 Linear Mode

