 |
 |
 |
|
|
|
#1 |
|
Where did my stars go?
Drives: 2008 Liftback S Join Date: Oct 2008
Location: Morgan Hill, Ca
Posts: 6
|
Disclaimer: I'm not an electrician or an authorized Toyota installer. This is what worked for me. I am in no way responsible for you breaking, burning or otherwise destroying your car. If corrections need to be made to this guide, I will do so in my spare time. Feel free to PM me with suggestions/corrections/questions.
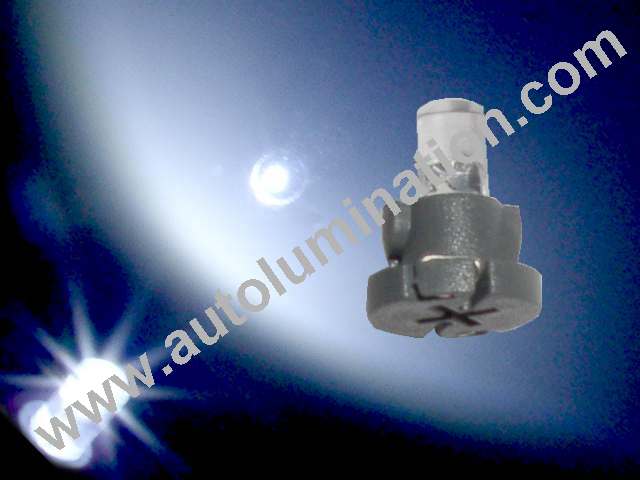
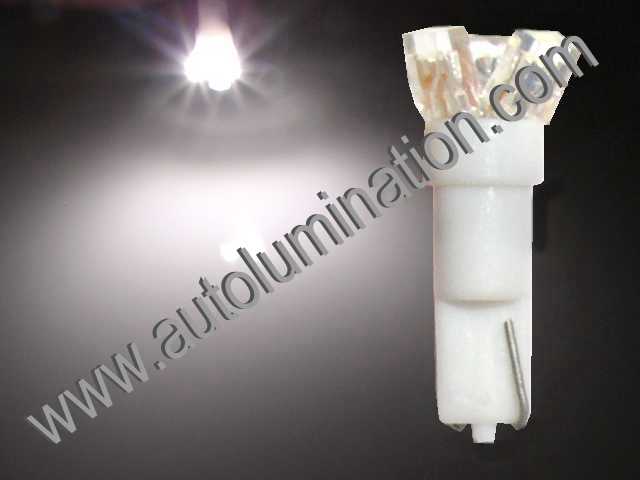
Note: Aside from the A/C controls and automatic shifter lights, all other lights require soldering equipment and skills. If you do not own either or know someone who does, I suggest you pass on this DIY. First off, much respect to vodkalush  for his original sedan DIY. This DIY is not a replacement for his DIY. It's more of a liftback specific addon. This DIY will cover changing the color of the lights in the stock radio, gauge cluster, center console switches, A/C controls, and door switches. I replaced the amber (orange) lights with white. Depending on the color you choose the part numbers will most certainly differ. I suggest you get more LEDs than you need for the job as some may get damaged during the install. I personally smoked at least 7 myself. for his original sedan DIY. This DIY is not a replacement for his DIY. It's more of a liftback specific addon. This DIY will cover changing the color of the lights in the stock radio, gauge cluster, center console switches, A/C controls, and door switches. I replaced the amber (orange) lights with white. Depending on the color you choose the part numbers will most certainly differ. I suggest you get more LEDs than you need for the job as some may get damaged during the install. I personally smoked at least 7 myself.  Stuff you'll need Top: Soldering Iron Bottom: Cutters, tweezers, very small flathead screwdriver, de-soldering braid, solder, needle nose pliers Unpictured: Standard size crosshead screwdriver  Parts: http://autolumination.com/74.htm 3 x Neo Wedge Based LED Bulbs (Type B): For the A/C controls  1 x Tri-Power 3 LED Bulb: For the Automatic shifter light  http://www.eled.com/product.asp?cata..._ID=E7104RWC-A 5 x E7104RWC-A - 3MM WHITE LED LAMP: For fog switch, door lock switch, drivers window switch, and A/C push button http://www.eled.com/product.asp?cata...ID=EA3528RWC-A 15 x EA3528RWC-A - 3.5X2.8MM WHITE SMD LED: For speedo and tach gauges http://www.eled.com/product.asp?cata...D=EPT2012RWF-A 50 x EPT2012RWF-A - 2.0X1.2MM WHITE SMD LED: For the stock radio  Dash Trim Remove the trim pieces on both sides of the radio and A/C controls by pulling up from the bottom lip.  Continue to pull up until the trim comes completely loose.  Do the same for the other side. Remember to disconnect the wiring harness(s) to free the trim pieces from the dash.   From the bottom of the gauge trim pull forward and up.  Pull the radio trim forward. The A/C duct should come out with the trim piece.  Stock Radio Remove the 4 screws the hold in the radio.  Pull the radio out.  Disconnect the wiring harnesses from the back of the radio to free it from the dash.  Find the tabs around the rim of the radio face and use a small flathead or butter knife to gently release them. This may take several tries as some of the tabs my snap back on after you've released them. Just be patient or you will break the tabs.  Once the front face is removed, lay it face down on a soft surface and remove the screws holding the PCB to the face.  Flip the PCB over to expose the LEDs. Pull the knobs off to expose the 8 LEDs. Again, this is not a "How-To Solder" instructional so I did not document the long and laborious process of swapping all 50 LEDs. Just take your time and note the LED polarity. You'll be fine. To test the LEDs without reassembling everything, reconnect the radio to the wiring harness, plug the PCB into the deck (you will have to hold it in place) and turn the car on. Turn the parking lights on to test all of the LEDs.  A/C Controls Now pull the A/C controls out from the top of the assembly.  Remove the black cable assemblies (do one at a time to make sure you do not get them mixed up) to expose the bulbs. Use a small crosshead screwdriver and turn the bulb counter clockwise. Hold the A/C control assembly upside down until the bulb falls out. Insert the new LED bulb and turn clockwise to lock it in place. At this point you will need to quickly flash the parking lights one then off. Since the new LED bulb is polarized, if it's in backwards, it will blow the fuse. If the light turns on, good job. If not, remove the blub, rotate it counter clockwise 180 degrees and reinstall it. It should work after that. If none of the interior light come on after the test you have blown your fuse. Replace it and try again.  Remove the center knob assembly from the A/C control bezel. Using a flathead, gently pry the tabs on all 4 sides of the switch to remove the knob from the assembly.  Remove the bottom of the switch assembly in the same way to expose the solder points for the LED.  After you replace the LED (Taking note of the polarity of course), reassemble the switch by aligning the triangular notches in the knob gears. If these are not aligned properly, the switch WILL BREAK! Gauge Cluster Remove the 2 screws and wiring harnesses holding the gauge cluster in. Pull the cluster forward to remove it from the dash.  Remove the one screw and black perimeter tabs from around the front gauge cover. Once you have access to the gauge needles, pull up until they come off. It will fell like they are going to break, but if you pull straight up, you be fine.  Remove the 2 screws and white perimeter tabs from around the back of the cluster. With the back of the cluster exposed, pull up on the left hand module and set it aside. Push the 2 white tabs in the center to the side to release the cluster PCB from the rest of the housing.  Flip the PCB over to expose the LEDs. You notice there are 2 different sized LEDs in the cluster. If you would like to change other LEDs aside from the LCD, speedo, and tach you will need more of the smaller LEDs used for the radio install.  Door Lock Switch Remove the door lock switch from the center console. Gently lift the tabs on both sides of the switch to remove the 'guts'.  Cut out the old led. Use it as a template and bend to legs of the new LED to match. Take note of the polarity and insert the new LED. Solder it in place and reassemble the switch.  ESUSE Fog Light Switch Use a small flathead to pop the cover off of the side of the switch.  Make sure the switch is on the off position (raised). Lift the PCB out of the housing from the harness end. Remove the LEDs noting their polarity. Use the picture below to properly angle the new LEDs. This took a lot of trial and error to get right.  Driver's Door Window Switch On the driver side door, lift the arm rest from the handle area.  Pull up until the arm rest is removed.  Pull up from the bottom of the switch assembly and remove the harness to free it from the door.  Disassemble the switch assembly my removing the retaining screws and lifting the PCB off of the harness clip fixture.  Note the polarity of the LED and remove it from the PCB. Insert the new LED and solder it in.   All Done! Just reassemble your car and enjoy your new lights. Before:   After:        
Last edited by revnull; 10-23-2008 at 11:49 PM. |
|
|

|
|
|
#2 |
|
Internet Superhero
Drives: '07 HB Black Sand Pearl Join Date: Mar 2009
Location: Massachusetts
Posts: 14
|
Bumping in an old thread :D
Nice DIY, this is just what I was looking for actually. |
|
|

|
|
|
#3 |
|
I've made a post!
Drives: yaris sedan(vios) Join Date: Apr 2009
Location: malaysia
Posts: 1
|
|
|
|

|
|
|
#4 |
  Drives: 08 Yaris LB Join Date: Mar 2009
Location: Rochester NY
Posts: 102
|
i have had my bulbs since last yr and jsut been to lazy to change em :(
|
|
|

|
|
|
#5 |
      |
give them to me
|
|
|

|
|
|
#6 |
 Drives: d4d TS Join Date: May 2009
Location: Catalonia
Posts: 11
|
How long did it take to do it? It looks quite tricky...
|
|
|

|
|
|
#7 |
   |
climate controle took 15 min tops
|
|
|

|
|
|
#8 |
 |
Nice! I did the Climate Control on my sedan looks great.
...any hint on how to change the bulb of the AT shift display? |
|
|

|
|
|
#9 |
 Drives: 2008 Yaris Liftback Join Date: Jan 2009
Location: Ohio
Posts: 16
|
Changing the light on the shifter
Does anyone know how to change the lights on the shifter for the automatic hatchback?
|
|
|

|
|
|
#10 |
     Drives: 2008 HB, A/T, Power W/L/M Join Date: Oct 2008
Location: LI, New Yawk
Posts: 2,063
|
That looks fantastic!
I hate those orange guages, looks outdated. Great job!  BTW, love the leather shifter and steering wheel.....
__________________
Never take eyes off opponent - Bruce Lee |
|
|

|
|
|
#11 |
|
Super Moderator
|
This thread is good enough to stick.

__________________
--[ FORUM RULES ]--[ SEARCHING TIPS ]--[ EYELIDS PICS ]--[ RBK SPOILER ]--[ BEST/WORST INVESTMENTS ]--
|
|
|

|
|
|
#12 |
    |
EDIT: my comp must be messing up cause I can see the pics now :) IDK
__________________
In a world... where things squeak, wont fit,start to bleed,  or are just plain hard to do.... ArmorAll will fix that or are just plain hard to do.... ArmorAll will fix that
Last edited by Slick; 09-12-2009 at 06:17 PM. |
|
|

|
|
|
#13 | |
      Drives: 07 Yaris 3dr LB (Bayou Blue) Join Date: Oct 2008
Location: Raleigh, NC
Posts: 2,602
|
This DIY looks scary.
__________________
-Jen <3  Quote:

|
|
|
|

|
|
|
#14 |
     |
pics work for me.
|
|
|

|
|
|
#15 |
|
Reluctantly Crouched...
Drives: 2008 Yaris HB M/T Join Date: Oct 2008
Location: DFW, TX
Posts: 867
|
Thanks! Great DIY and confidence-building in its simple instructions. Iswapped-in a Scion HU that has amber lighting - which i liked - but the green climate controls have made me nuts ever since. 15 minutes later, I'm all matched-up! autolumination FTW!

|
|
|

|
|
|
#16 |
|
Need to sell my Yaris :(
Drives: 07 Yaris S Join Date: Nov 2008
Location: Douglassville, PA/Hereford, AZ
Posts: 344
|
Looks awesome!
|
|
|

|
|
|
#17 |
  Drives: toyota yaris 2008 hatch Join Date: Nov 2008
Location: silver spring, md
Posts: 77
|
how much for me to send you the board of my radio so you can change the led for me?
i was looking for a mix of led, i want all the button to light up red and the screen white can you do that?? how much? |
|
|

|
|
|
#18 |
 Drives: 09 2 Door Liftback Join Date: Mar 2009
Location: Victorville, Ca
Posts: 2
|
Has anyone figured out the LED size for the indicators like the oil and temp
|
|
|

|
 |
|
|
 Similar Threads
|
||||
| Thread | Thread Starter | Forum | Replies | Last Post |
| DIY (08' USDM Liftback): ESUSE Fog Light Install v2.0 | goku87 | DIY / Maintenance / Service | 127 | 02-19-2023 07:01 PM |
| DIY Powered USB Ports | BailOut | DIY / Maintenance / Service | 27 | 02-22-2017 10:17 AM |
| DIY: Yaris LB Halo Led Projector Headlights | goku87 | DIY / Maintenance / Service | 37 | 11-15-2013 06:23 AM |
| DIY Requests. | TinyGiant | DIY / Maintenance / Service | 13 | 10-29-2008 10:39 AM |
| New Updated DIY Manual needed already?! | vodkalush | DIY / Maintenance / Service | 4 | 04-03-2007 01:26 PM |