
 |
 |
|
|
 07-29-2010, 10:46 PM
|
#1 |
 
Drives: '07 Yaris turbo, '11 Juke Join Date: Mar 2007
Location: Riverside, CA
Posts: 849
|
DIY - Carbon fiber wrapping
DIY CARBON FIBER WRAPPING NOTE: I am still working on the part in this D.I.Y. so I will continue to update the pics. SUPPLIES/TOOLS: Resin + hardener (I used West systems 105 resin with 207 special all weather hardener also has very little or no bubbling) Gloves (powder free Nitrile or Latex) Plastic mixing cups Stiring sticks (popsicle sticks) Brushes (bristle or foam) Respirator Sandpaper (240g, 320g, 600g, 1000g, 1500g, 2000g) Sharp scissors (I use aviation snips because theyre not too expensive and stay sharp plus I already had them) Isopropyl alcohol (I use a 50/50 mix with water) Tape (blue painters or the bright green automotive) 3M Super 77 spray adhesive Carbon Fiber fabric (3K 2x2 twill works best for overlays and cosmetic applications) Optional pump kits for resin and hardener UV resistant clear coat Rubbing compound STEP 1: Choose the part you want to wrap. If this is your first time, start with something relatively flat and without too many contours. Start by scuff sanding the part with 240g sandpaper on all surfaces where adhesive/resin will be applied. Wipe down with alcohol.  STEP 2: Figure out how much fabric it will take to cover the part. Make sure to leave at least ¼ to wrap it around the back. Before cutting the fabric from the roll, I like to apply masking tape around the perimeter. It keeps the weave in place. Cut out your piece of fabric. Test fit the piece of over your part so you know how you want to position it. 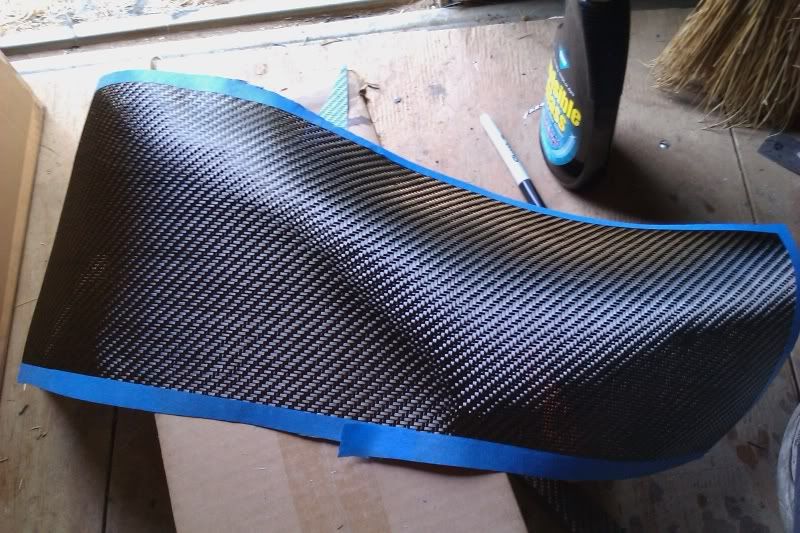 STEP 3: It is up to you how you want to proceed with this step. You can either use resin or the 3M Super 77. I prefer using 3M. Its faster and easier to get the fabric to stick. Spray your part about ¼ all the way around on the back and the entire front. 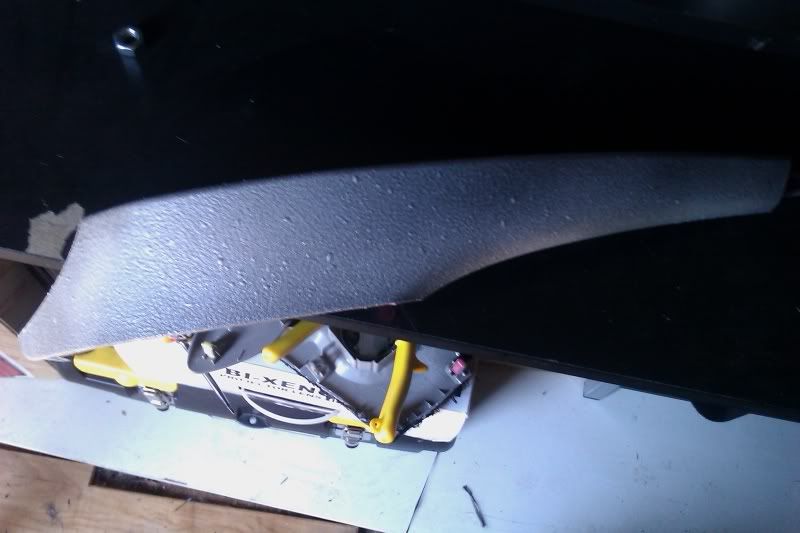 Let the adhesive become aggressively tacky. About 90 seconds depending on outside temperature. STEP 4: Make sure you know how you want to position the fabric and lay it down on top of your part. Dont mess up because in you try to move it or pull it off you will ruin the fabric. Starting from the middle and working outwards, push straight down on the fabric. Do not smooth it out by rubbing because it will disturb the weave. Wrap the fabric around the back over the adhesive you spayed. STEP 5: Now you will need to do some trimming. Whenever I make a cut I like to use masking tape to keep the weave straight. 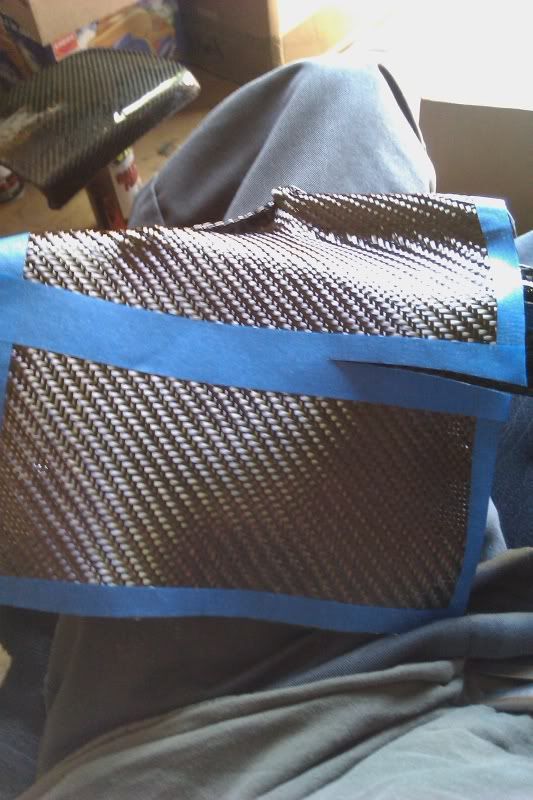 When you are satisfied, proceed to step 6. STEP 6: Now its time to Wet-out the CF. Grab a brush and cut about half of the bristles off or use a foam brush. Mix resin + hardener according to manufacturer (this is where the pumps come in handy). Dip brush in resin and apply it to the part in a dabbing motion. Do not brush it on for the first coat because it will mess up the weave. If you use the foam brush its possible to brush the resin on but you need to do it very lightly. If you use a bristle brush make sure to immediately remove any bristle that comes off. Cover the entire part including the back. 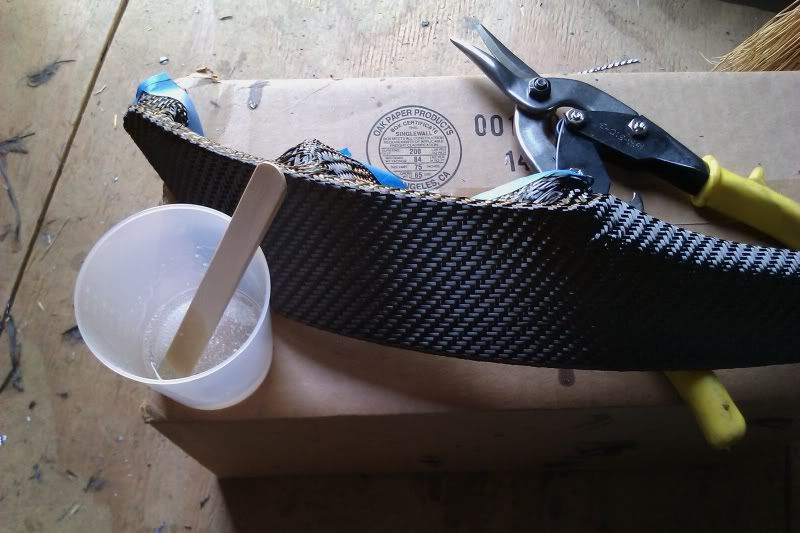 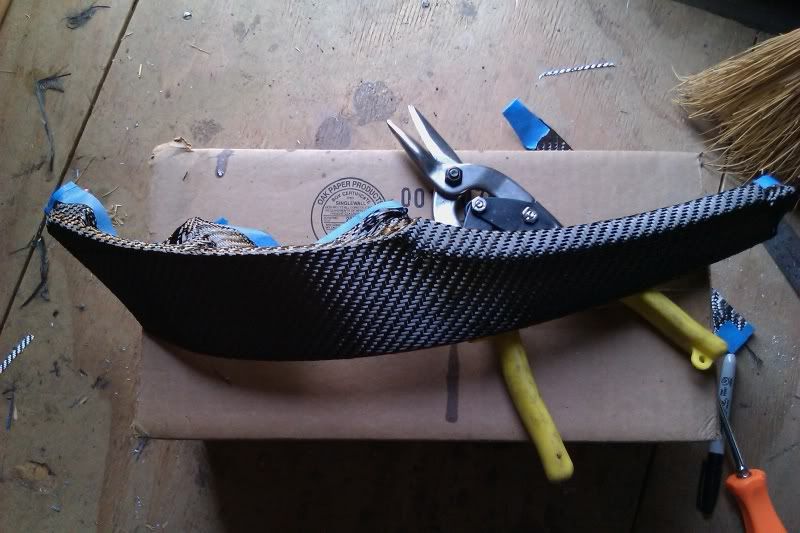 Allow resin to cure overnight. STEP 7: Now you will need to apply 2-3 more coats of resin. These coats can be brushed on. Make the coats as even as possible, makes sanding easier later on. Wait a couple of hours between coats. STEP 8: Now that you have built up a nice layer of resin, its time for a little clean up. Use a dremel and cut-off wheel to trim up the back so the part sits flat when you put it on your vehicle. Start sanding the top of your part. Start with the most coarse sandpaper to get rid of any high spots and work your way up to a finer grit. Be very careful not to sand down into the fabric. If you think youll have to go to far, apply more resin. Youre part will look horrible and dull, but thats okay.  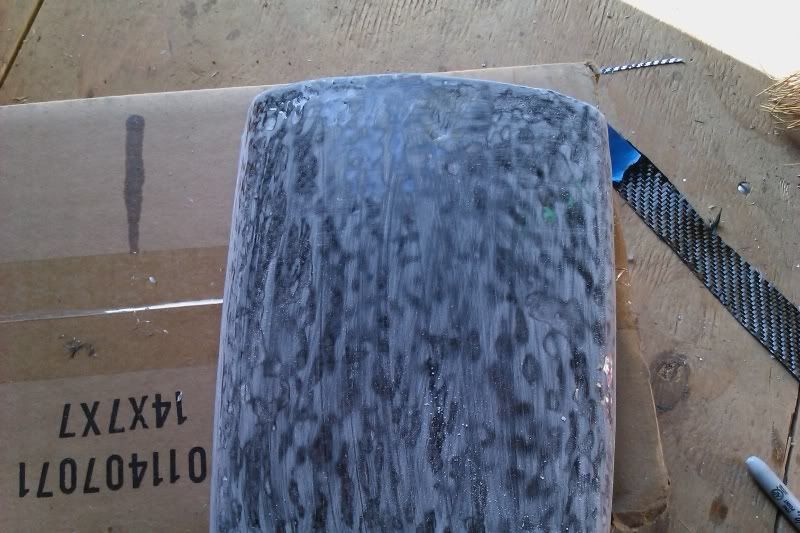 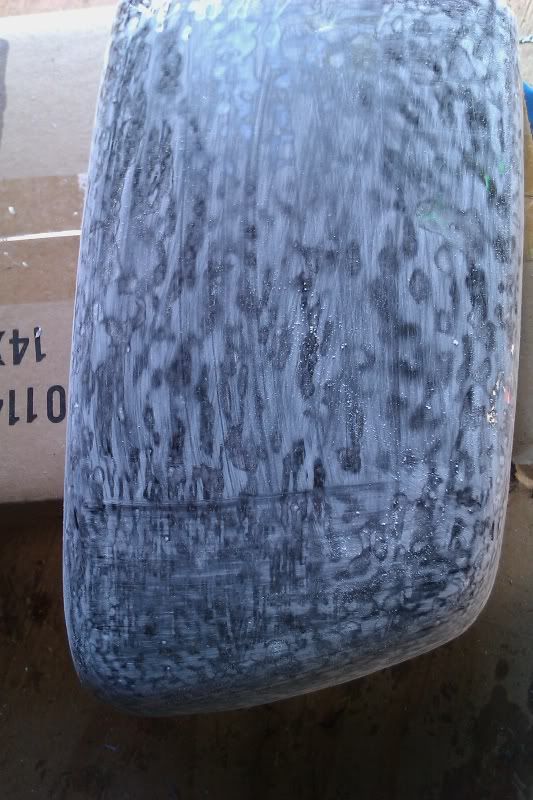 You can also see where the high/low spots are when you sand your part. Keep sanding until the whole surface is flat and smooth. STEP 9: Wipe off your part with alcohol/water. Make sure to remove all the dust and particles from sanding. STEP 10: This next step will be your decision on how to proceed. You can use either a clear coat or rubbing compound. Rubbing compound takes more effort and time but either way results are almost identical. I prefer a clear coat for added UV protection. If you use a clear coat you will still need to wet sand the part with 1000g-2000g. Apply 2-3 coats of clear, allowing to flash 5-10 minutes in between coats. STEP 11: Once clear coat has dried completely, smooth it out by wet sanding with 1000g-2000g wet/dry sandpaper. After I wet sanded the part, the clear coat had a haze. I then buffed it with rubbing compound, ultra cut compound, show car glaze polish, and carnuba wax. Here is the final outcome: 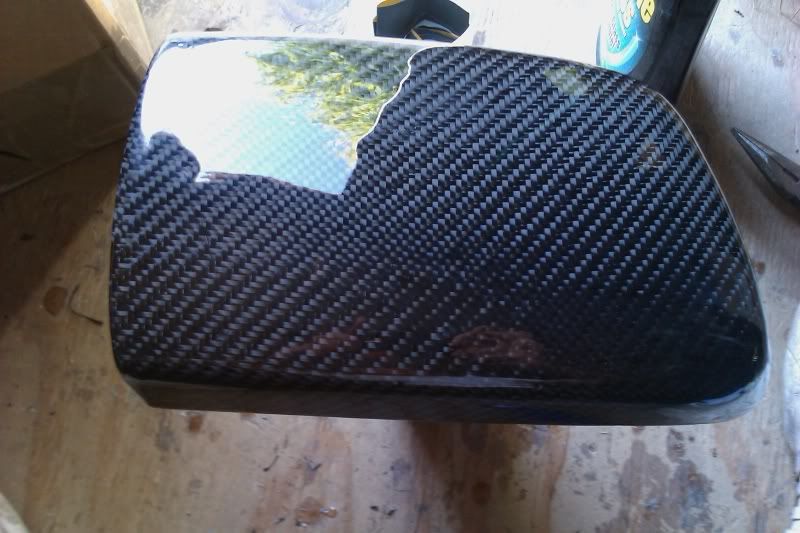 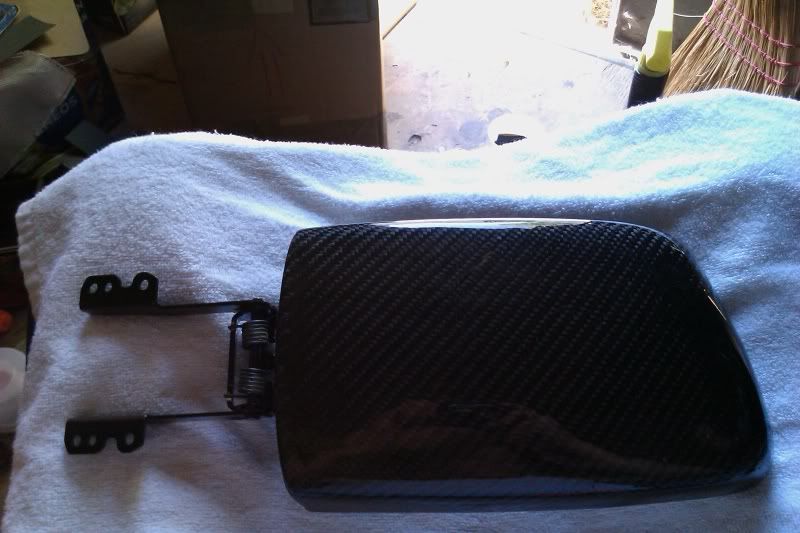 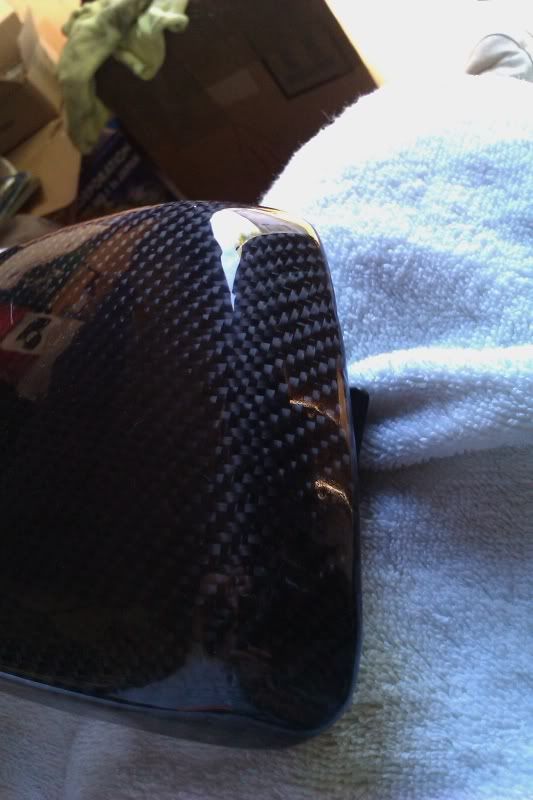 SUPPLY RESOURCES: SOLLER COMPOSITES (http://sollercomposites.com/) CF, resin, safety equipment, tools TAP PLASTICS (http://www.tapplastics.com/index.php?) plastic, brushes RPLASTICS (http://www.rplastics.com/mixingcups.html) mixing cups US COMPOSITES (http://uscomposites.com/) tools, supplies
__________________
http://www.cardomain.com/ride/3875996 |

|

|
|
|
 Similar Threads
|
||||
| Thread | Thread Starter | Forum | Replies | Last Post |
| NEFFY carbon fiber wrap material | cali yaris | Micro Image | 29 | 02-24-2010 08:34 PM |
| Seibon Carbon Fiber | CorSport | CorSport | 17 | 06-09-2009 02:00 PM |
| Carbon fiber wrapping | TEHxFALLEN V1.2 | Cosmetic Modifications (Exterior/Interior) | 24 | 01-24-2009 11:05 PM |
| Carbon Fiber Engine Cover | R0ME0 | Cosmetic Modifications (Exterior/Interior) | 15 | 06-06-2007 08:10 AM |
| Carbon offsetting with TerraPass | BailOut | General Yaris / Vitz Discussion | 14 | 05-28-2007 12:29 AM |


 Threaded Mode