

 |
 |
|
|
 08-12-2010, 10:10 PM |
#11 |
 ULTIMATE 
Drives: 09 5dr LB, 2x 08 3dr LB Join Date: Oct 2008
Location: USA, CT
Posts: 13,450
|
I received mine today as well. The UPS guy saw that it was a Micro Image package that said CF Hood on it, so he made me open it before he left, so he could check it out (and, he was quite impressed).
Installing it was super quick and easy. I noticed, as Garm mentioned, that the latch wasn't catching correctly. Nothing was rubbing, but rather I found that the latch couldn't close around the MI hood's striker (the U shaped metal piece). I measured the OEM hood's and the MI Hood's strikers and found that the MI one was about 1/32" larger than the OEM one. To open the latch catch enough to allow the MI striker to catch, I removed the hood latch ran a 5/16" drill bit through the opening in the catch. After doing so, I reinstalled the latch and the hood closed and latched without issue. Here are some pics of the hood installed: 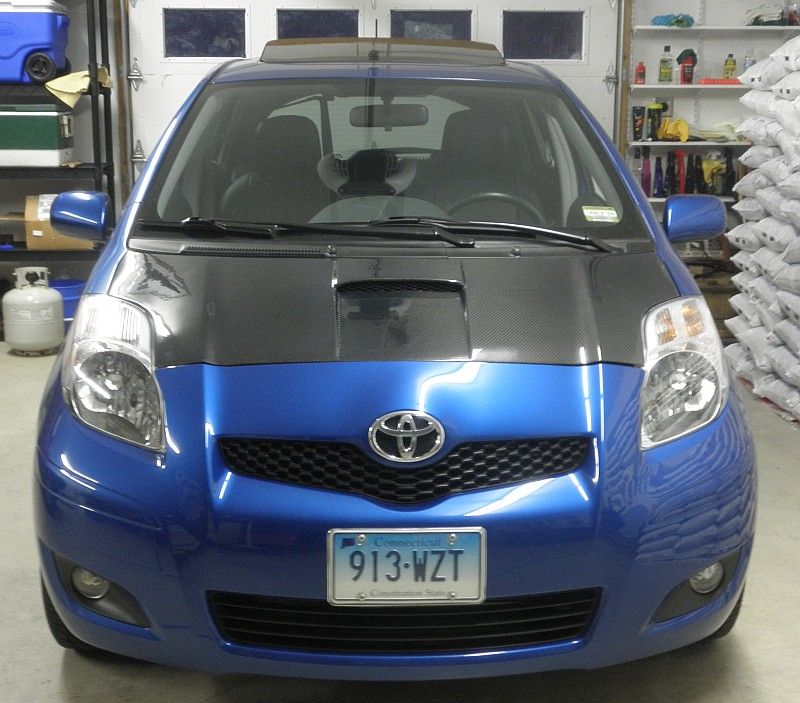 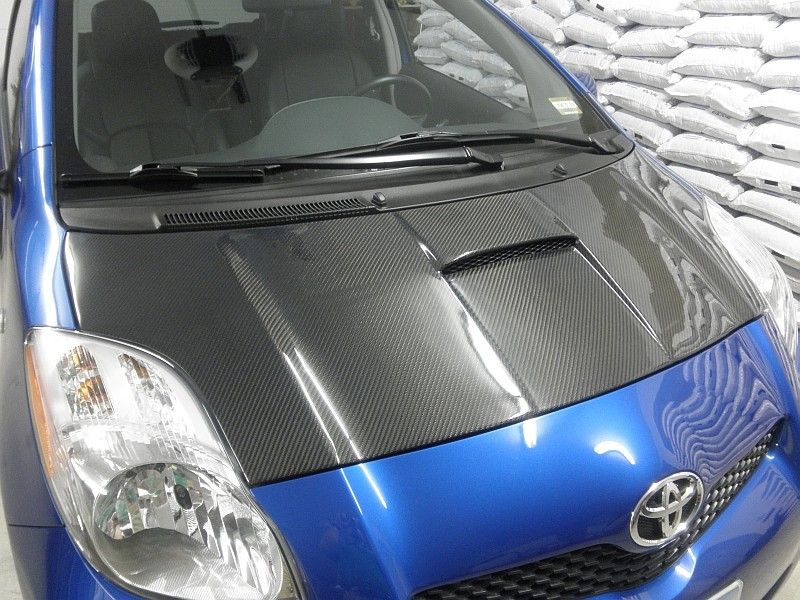 Here are some bottom views. I am very impressed with the construction. The scoop can be functional, or you can leave the bottom cover on to have it just be cosmetic. The hood prop hole was perfect as well. Bottom view with scoop cover on: 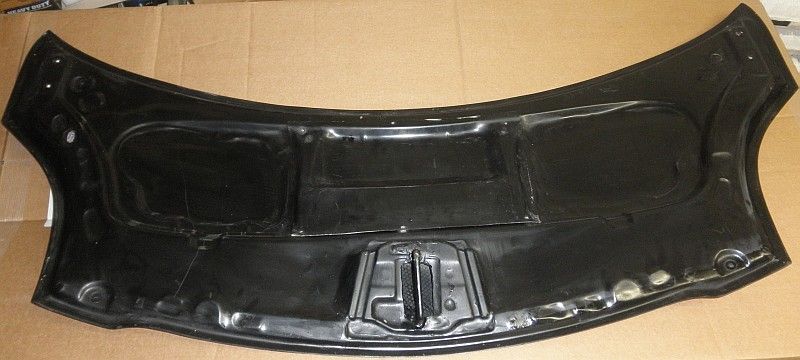 Scoop cover removed: 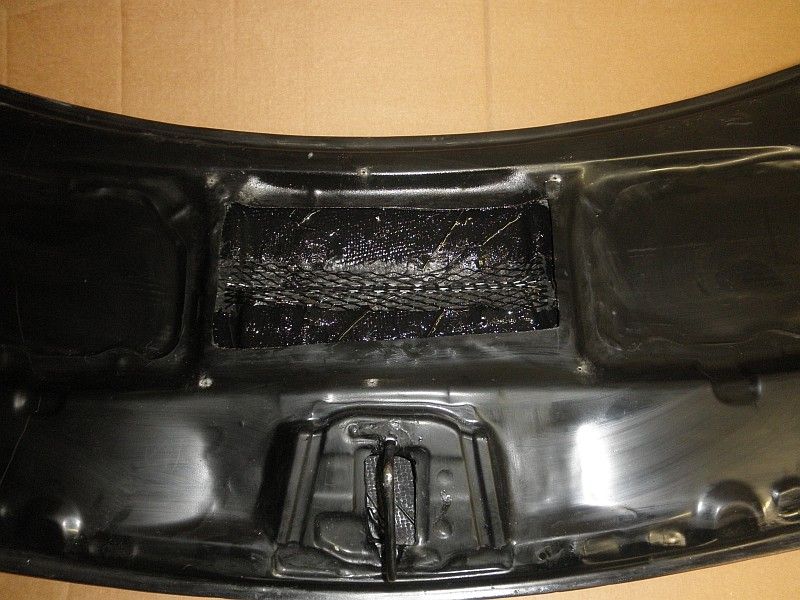 Close-up of hinge bolt inserts. I mounted the hood with the stock centering bolts to test alignment and was amazed that I was able to leave them on, and didn't need to switch to the included bolts, which allow for adjustment. 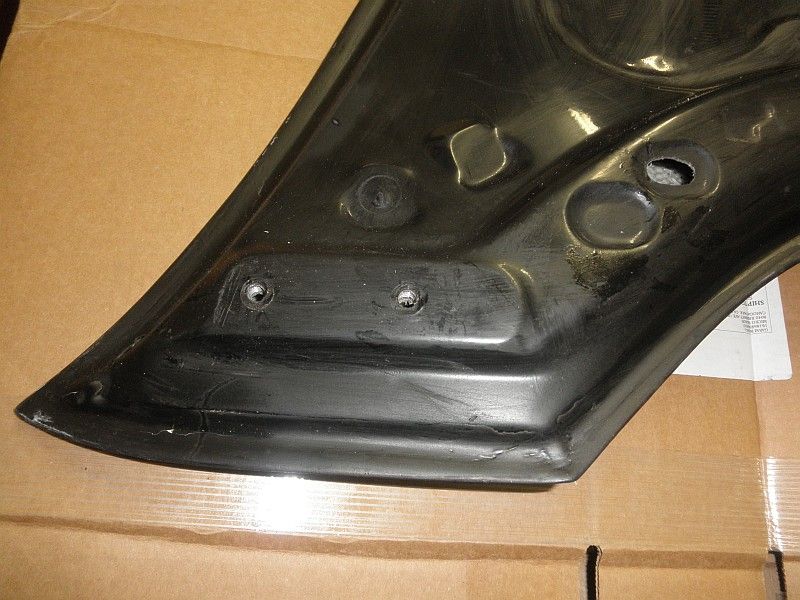 Here's my procedure for opening the hood latch catch to allow the hood to close properly: 1. Remove the 3 mounting bolts (10mm socket required) for the latch. 2. Disconnect the hood release cable. Push the bracket with the ball-end attached towards the cable and slip the ball-end out of the slot. 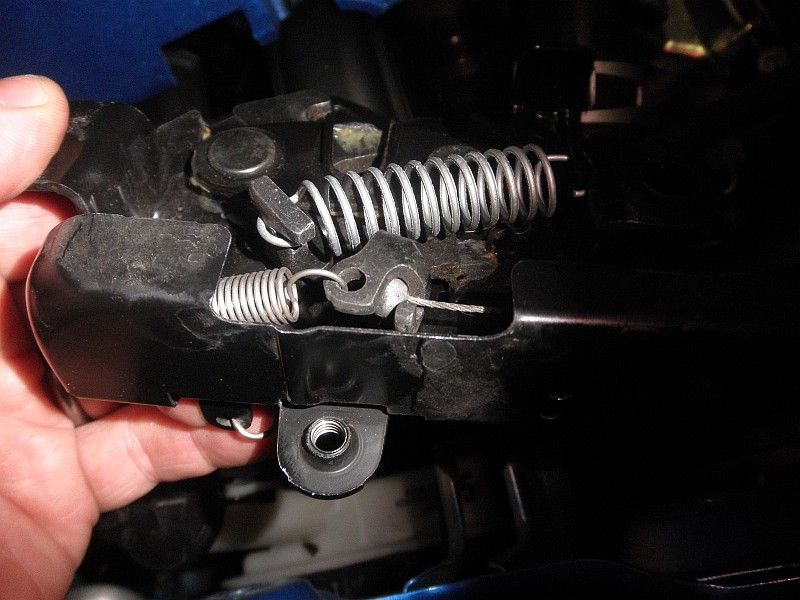 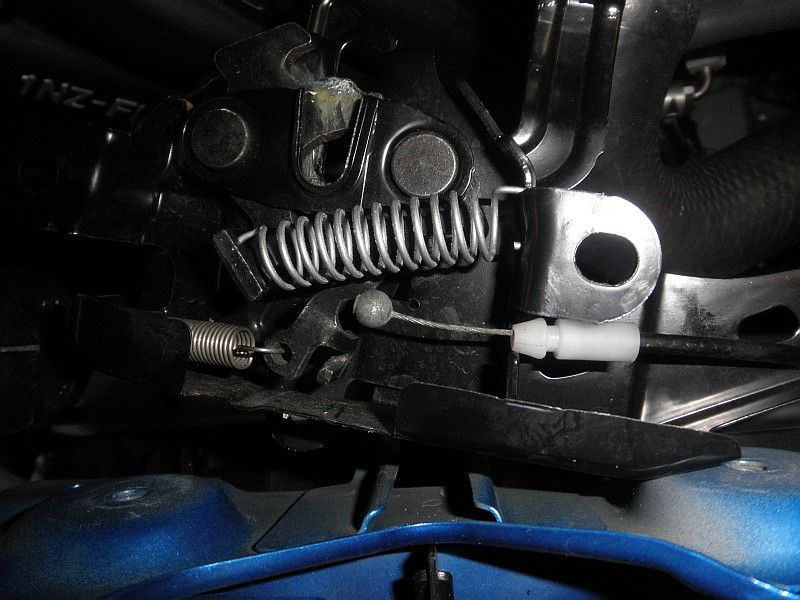 3. Latch the hood latch as if the hood is closed by pushing the catch down with a screwdriver. 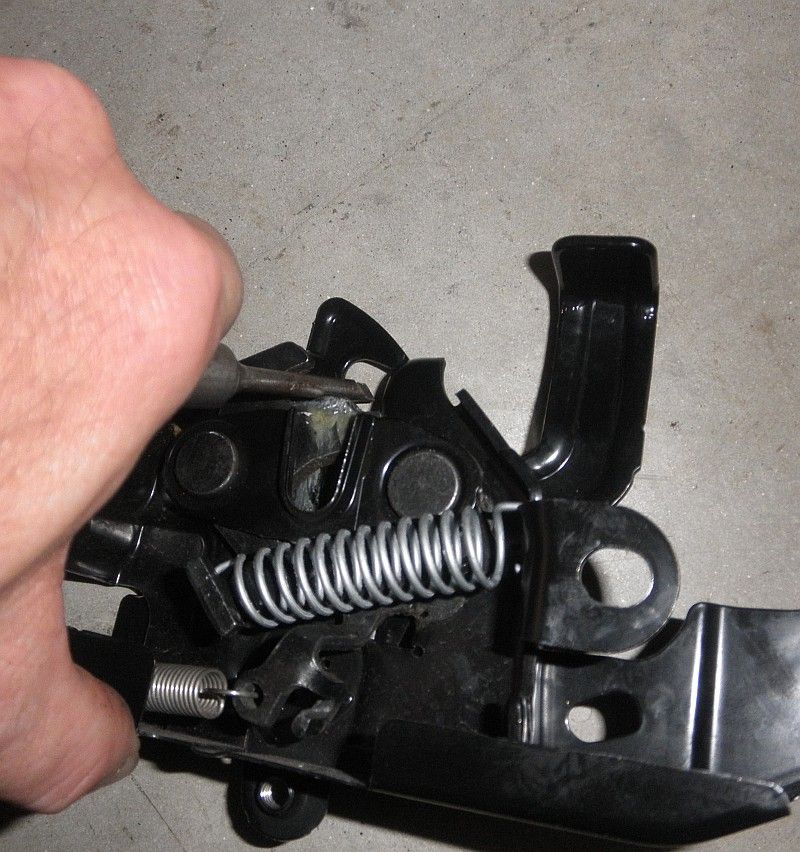 4. With the latch closed, run a 5/16" drill bit through the slot where the striker is held when latched. 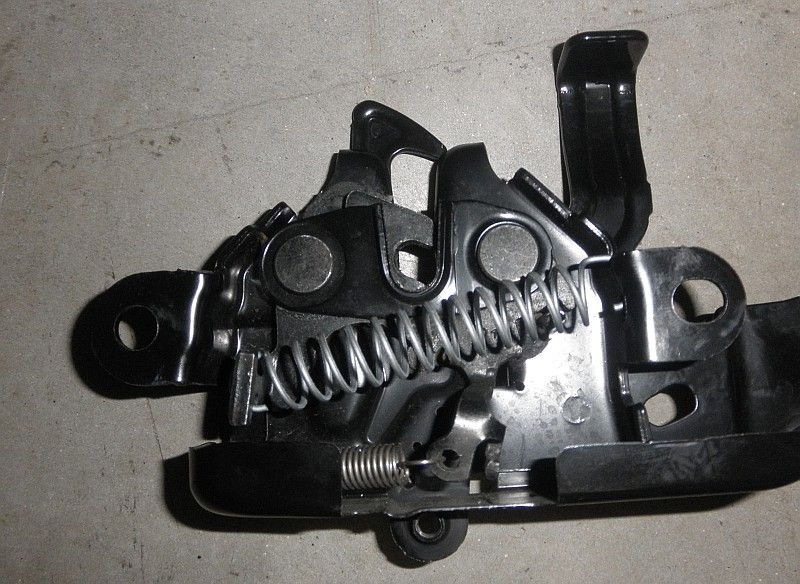 5. Before reinstalling the latch, release the catch by pulling the lever where the hood release cable connects. 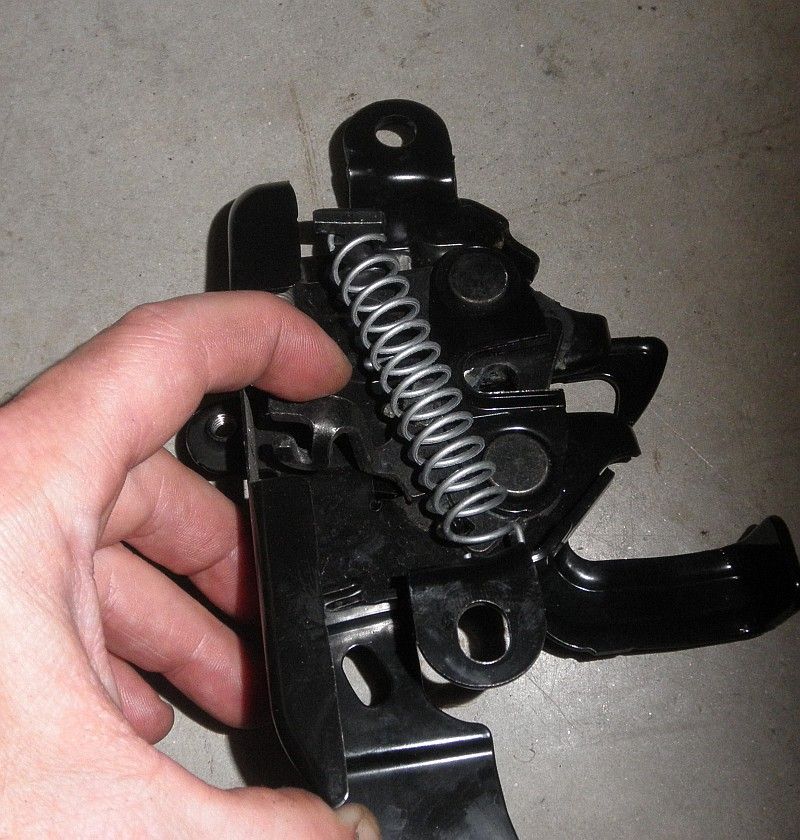 6. When reinstalling the latch, make sure it is centered on the striker and is up as high as it will go. |

|

|
| Thread Tools | |
| Display Modes | |
|
|
 Similar Threads |
||||
| Thread | Thread Starter | Forum | Replies | Last Post |
| Micro Image Rocks and so do Yokohama S.drives in the rain! | 03Z33 | General Yaris / Vitz Discussion | 17 | 12-14-2011 11:08 PM |
| Micro Image meet Jan 30, 2010 | Brian | Photo-Video-Media Gallery | 57 | 02-06-2010 11:27 PM |
| Micro Image Parts FOR SALE | 1NZYaris1 | Items for Sale by private party | 0 | 01-11-2010 11:22 PM |
| Mid-West Chapter Micro Image Car Club | lilredrocket | Southwest | 10 | 10-05-2009 02:06 PM |
| Micro Image Hood Design Contest | cali yaris | Micro Image | 209 | 10-04-2009 03:49 AM |


 Threaded Mode
